如何安装 Debian 12 (Bookworm) 最小服务器
本教程详细介绍了如何安装 Debian 12 - Bookworm - 最小服务器,并包含许多屏幕截图。本指南的目的是提供一个最小的设置,可以用作我们在 linux教程 上的其他 Debian 12 教程的基础。
1 要求
要安装 Debian 12 服务器系统,您将需要以下内容:
- Debian Bookworm 网络安装 CD 可在此处获取:
64 位:https://cdimage.debian.org/debian-cd/current/amd64/iso-cd/debian-12.1.0-amd64-netinst.iso(x86_64 /amd64) - 快速的互联网连接。
我将使用 Debian 12.1.0 64Bit (amd64) 安装介质。
Debian 下载链接会定期更改。如果上述链接不再有效,请转到此处获取最新的 Debian netinst 映像:https://cdimage.debian.org/debian-cd/current/amd64/iso-cd/。
2 初步说明
在本教程中,我将使用主机名 server1.example.com、IP 地址 192.168.0.100 和网关 192.168.0.1。这些设置可能与您不同,因此您必须在适当的情况下替换它们。
3 Debian 基础系统
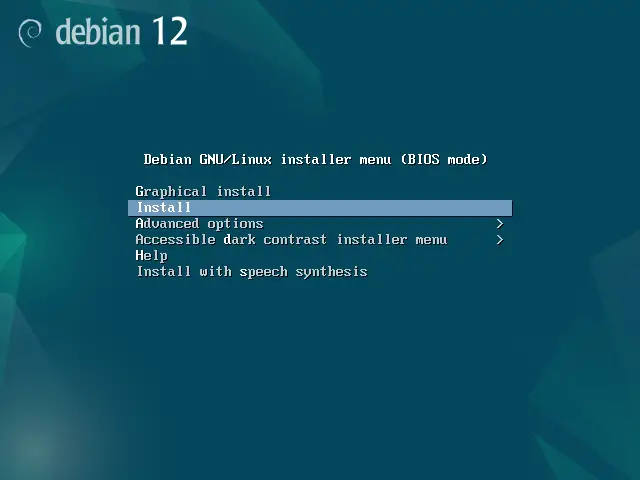
将 Debian 12 (Bookworm) 网络安装 CD 插入系统(或安装了 iso 文件的 USB 驱动器)并从中启动。当您使用 VMware 或 Virtualbox 等虚拟化软件时,请选择 Debian 12 最小 iso 文件作为 VM DVD 驱动器的源文件。您不必先将其刻录到 CD 或 DVD。
选择安装(这将启动文本安装程序 - 如果您喜欢图形安装程序,请选择图形安装):
选择你的语言:
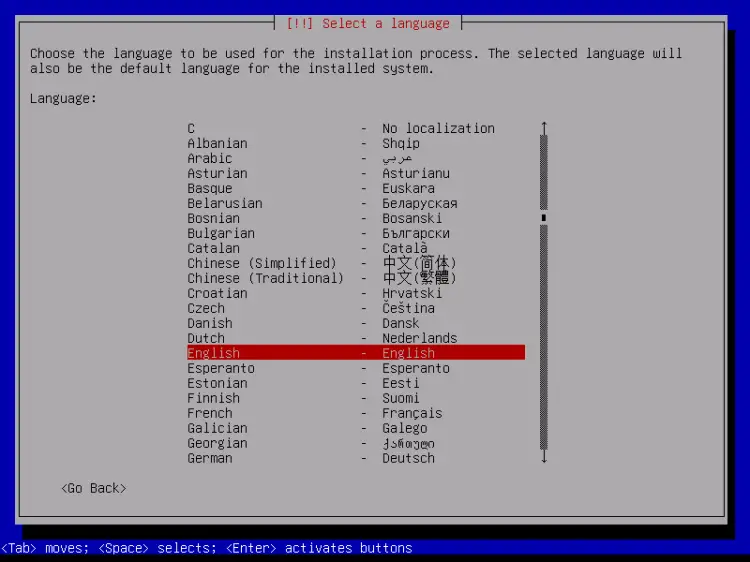
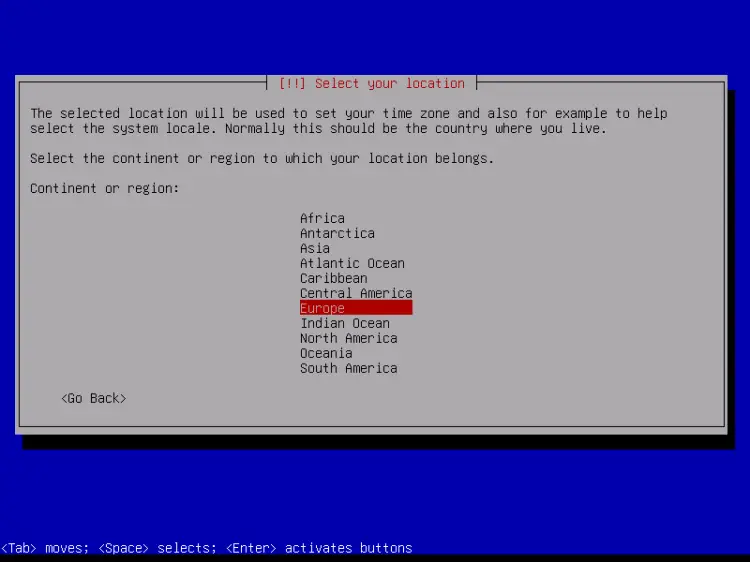
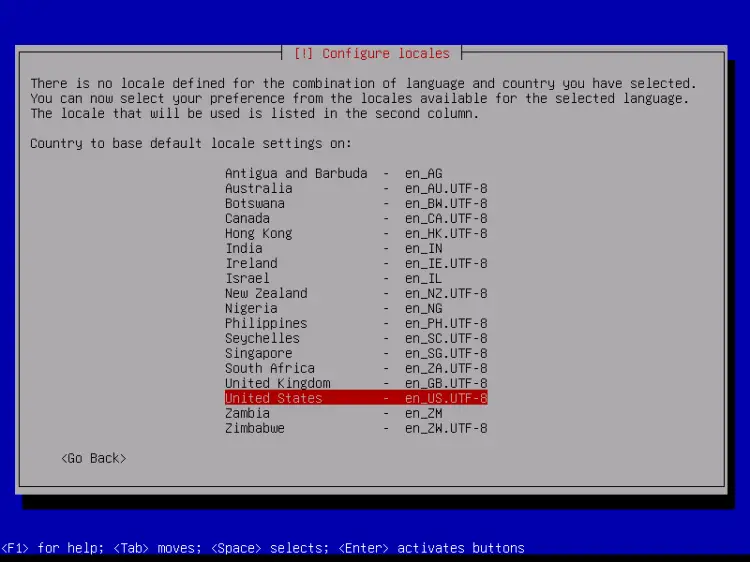
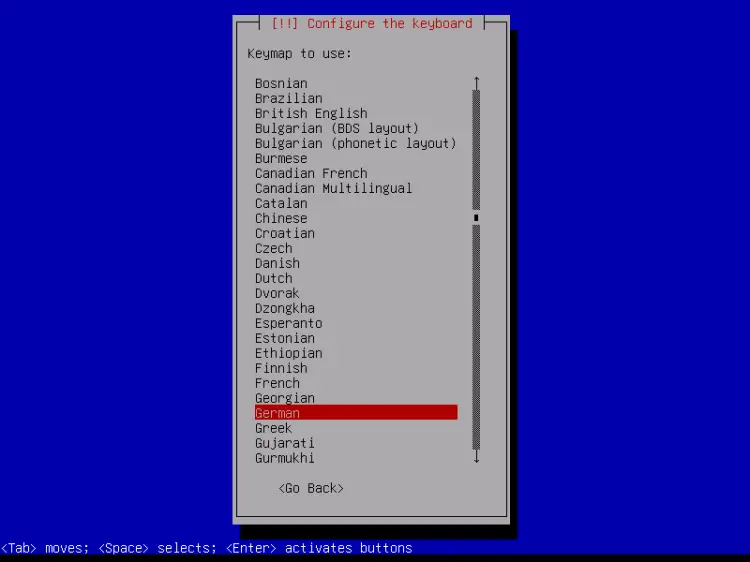
然后选择您的位置并选择键盘布局。接下来的屏幕将根据您的选择而有所不同。只需选择适合您的国家/地区和键盘布局,因为它们定义了您的 Debian 系统将在 shell 上使用的语言以及使用的键盘布局。就我而言,我将使用德语键盘布局,但更喜欢英语作为外壳上的语言。
选择国家、地区或地区:

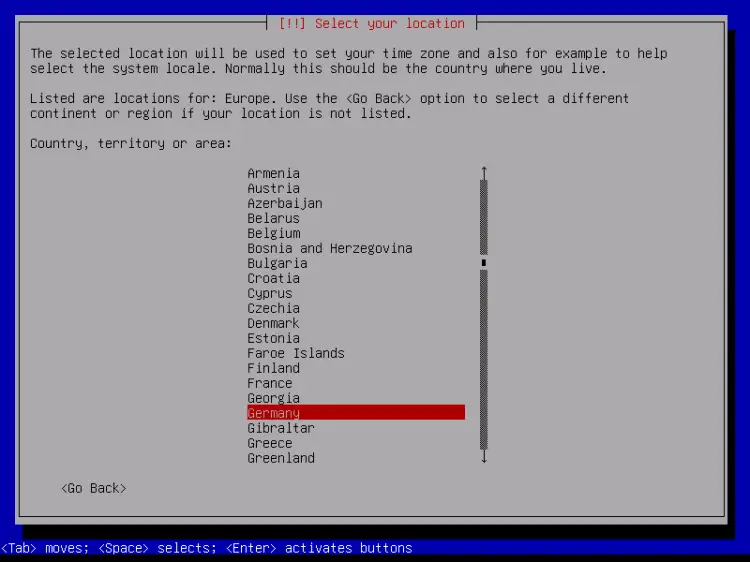
再次选择您的位置、地区以及区域设置和键盘:
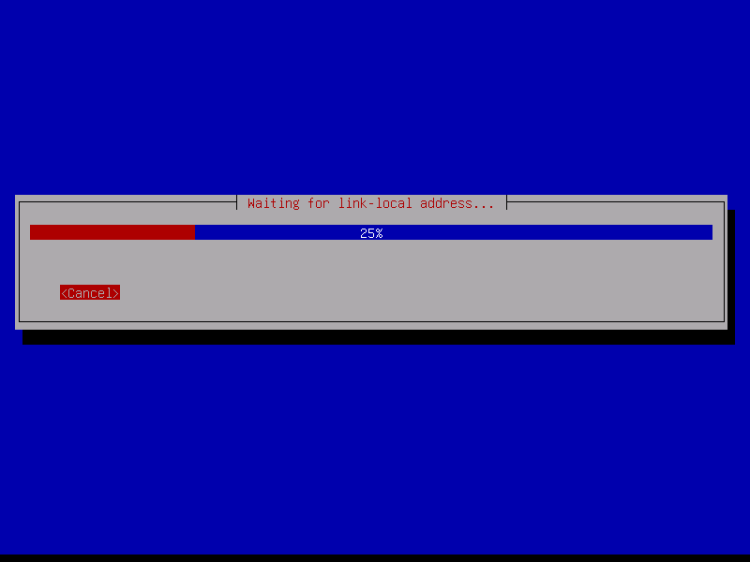
安装程序会检查安装 CD 和您的硬件,并使用 DHCP 配置网络(如果网络中有 DHCP 服务器):
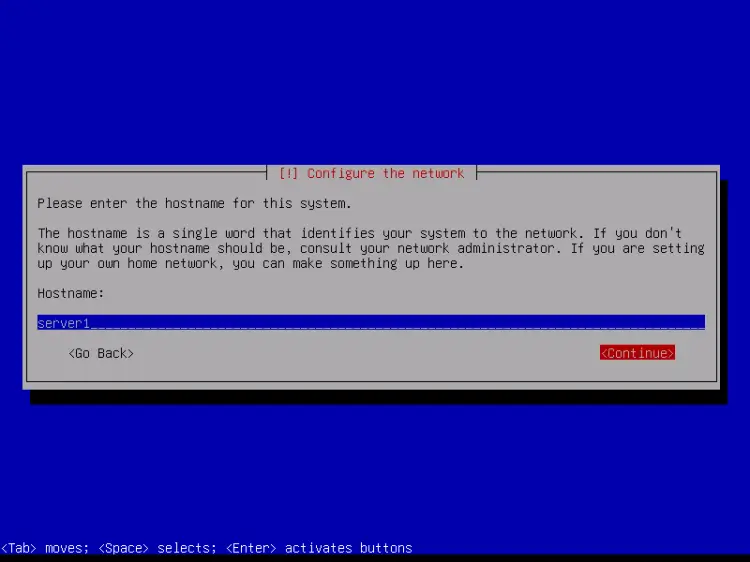
输入主机名。在此示例中,我的系统名为 server1.example.com,因此我输入 server1:
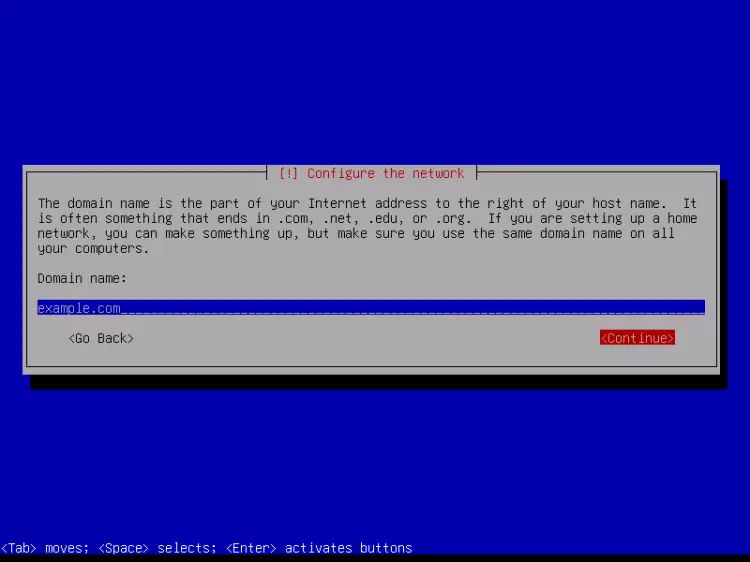
输入您的域名。在此示例中,这是 example.com:
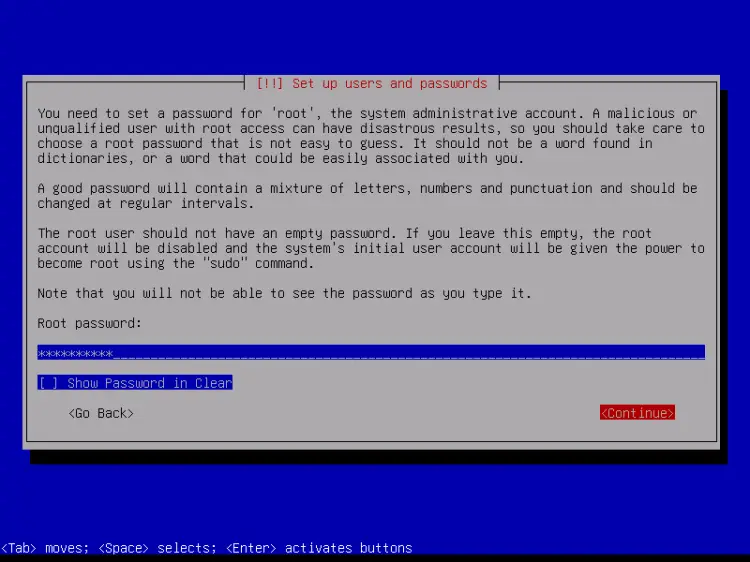
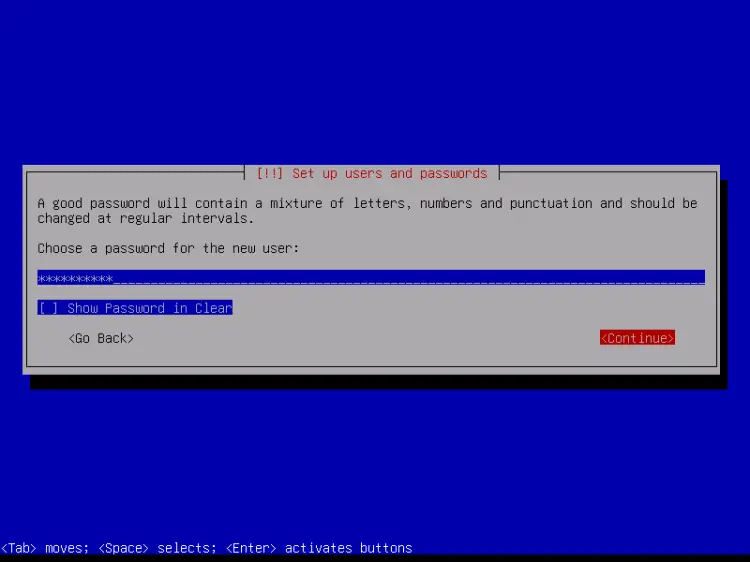
然后,给root用户一个密码:
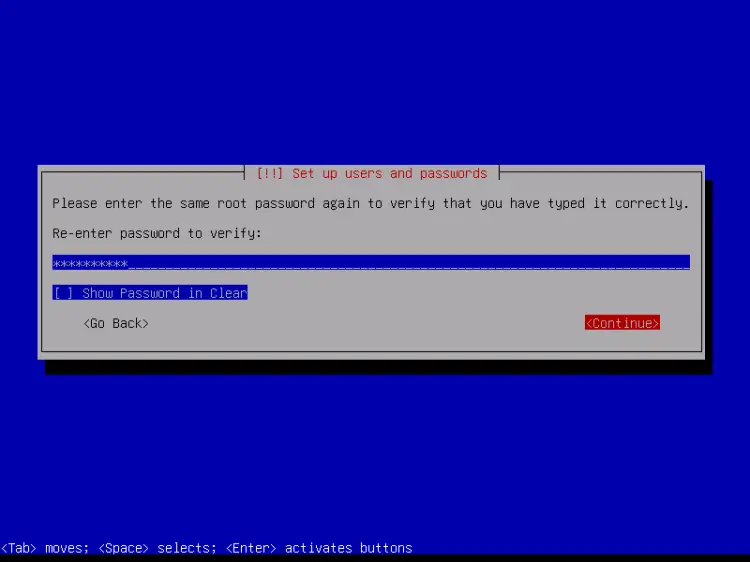
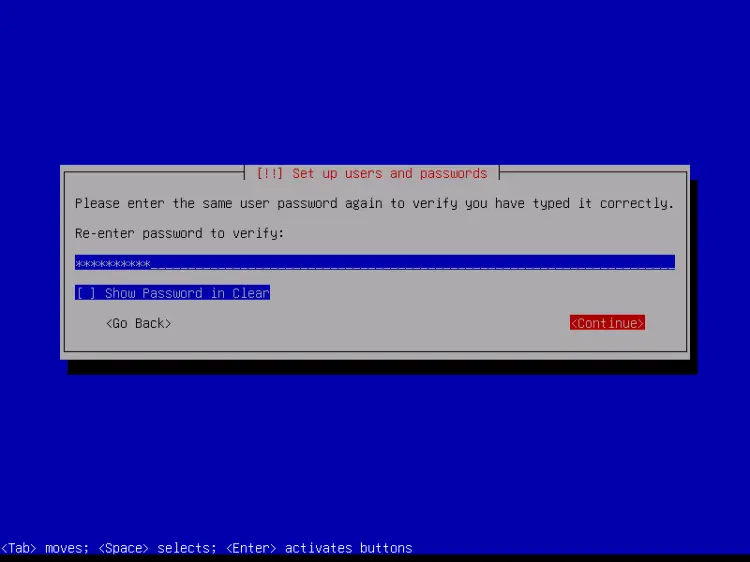
确认该密码以避免拼写错误:
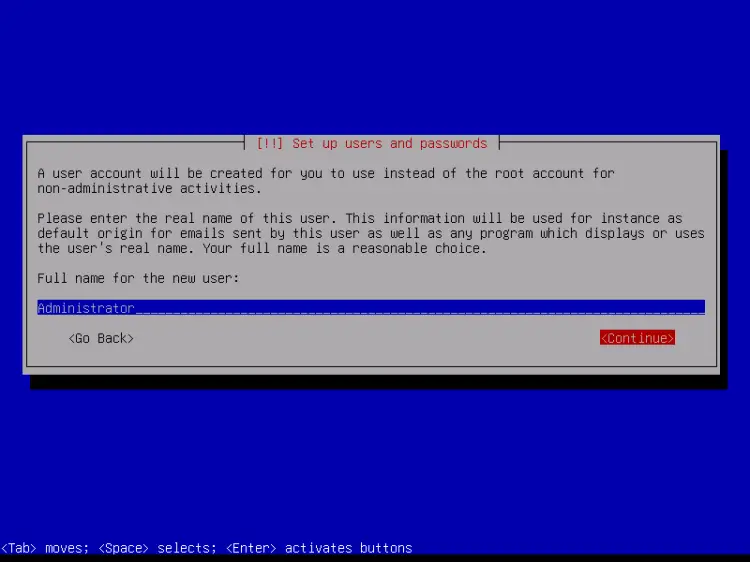
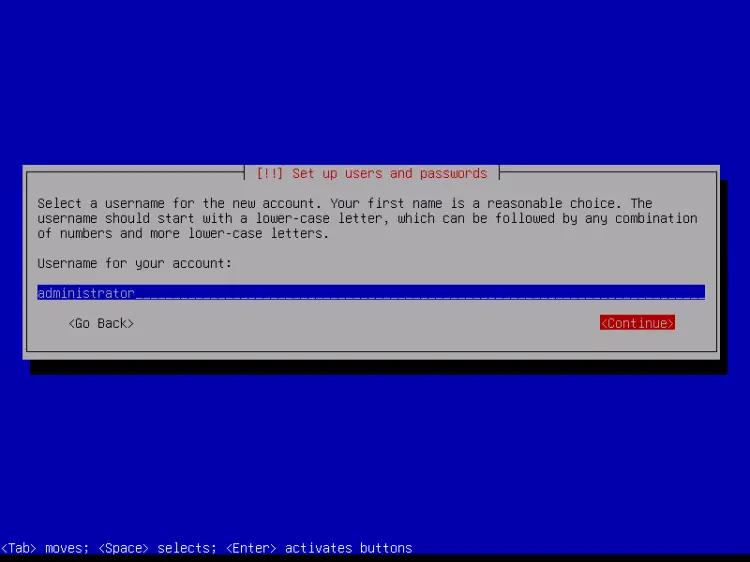
创建一个 Linux 用户帐户,使用例如你的名字或昵称。对于此示例安装,我将选择名称“administrator”和用户名administrator(不要使用用户名admin,因为它是Debian Linux 上的保留名称):
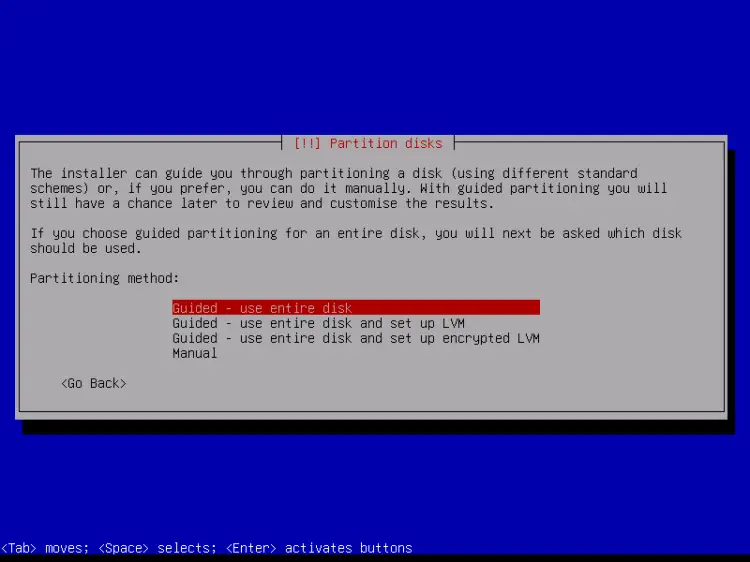
现在您必须对硬盘进行分区。为了简单起见,我选择引导 - 使用整个磁盘 - 这将为/文件系统创建一个大分区,另一个用于交换(当然,分区完全取决于你 - 如果你知道自己在做什么,你也可以手动设置分区)。对于像 ISPConfig 3 完美服务器教程这样的托管系统,您可能需要选择例如 60GB 的/和一个大的 /var 分区,因为所有网站和电子邮件数据都存储在 /var 的子目录中。
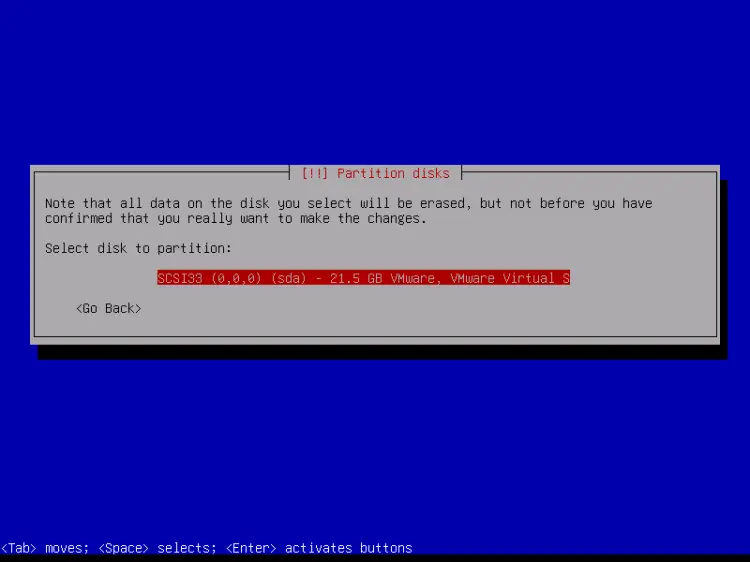
选择要分区的磁盘:
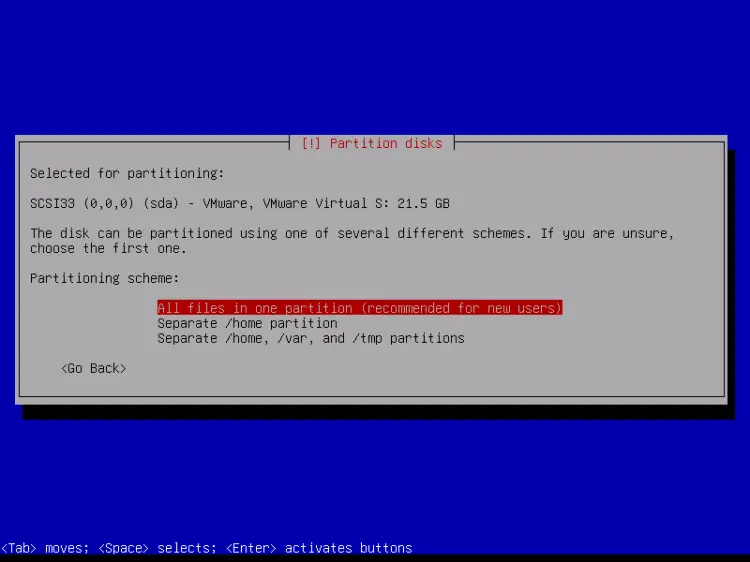
然后选择分区方案。如前所述,为了简单起见,我选择一个分区中的所有文件(推荐新用户) - 这取决于您在这里选择的内容:
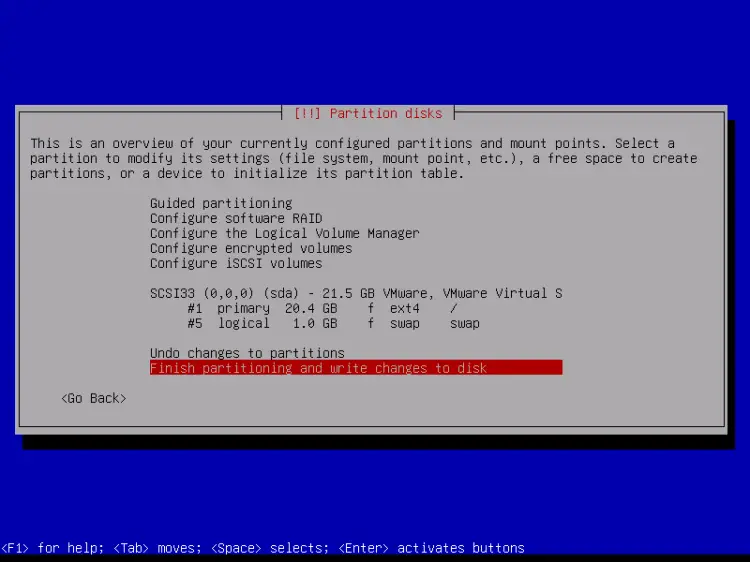
完成后,选择完成分区并将更改写入磁盘:
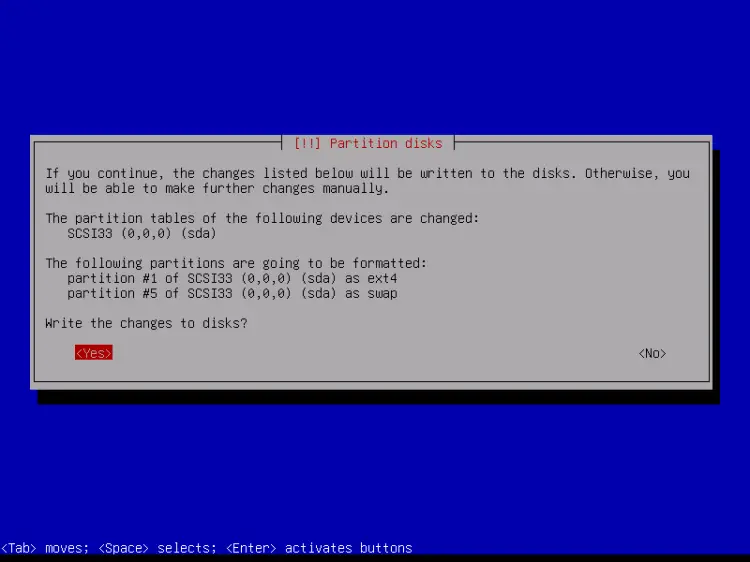
当系统询问您“将更改写入磁盘吗?”时,选择“是”:
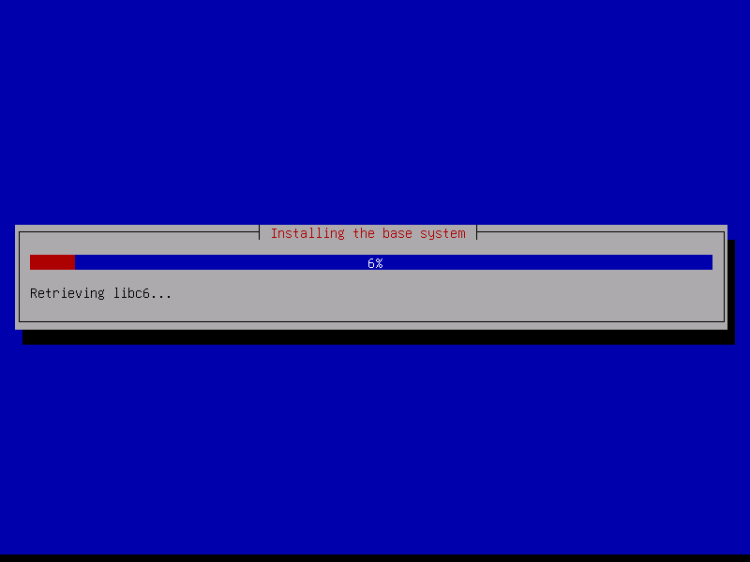
之后,您的新分区将被创建并格式化。现在分区已创建,基本系统已安装:
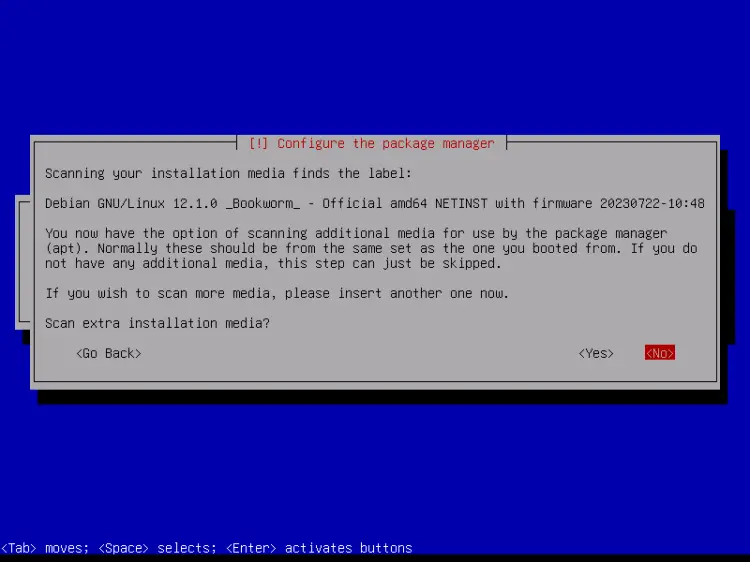
根据您的安装介质,可能会弹出以下屏幕。我将进行基于网络的安装(所有附加安装包都是从互联网下载的),因此我在这里选择不扫描任何附加安装磁盘。
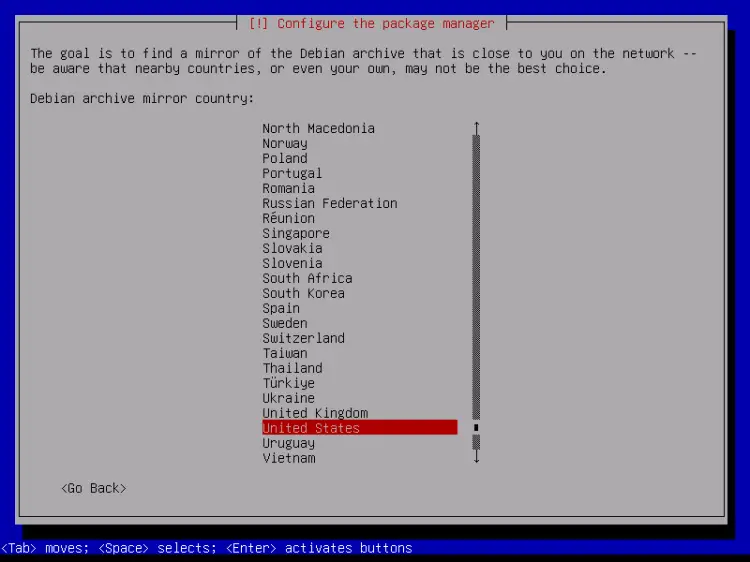
接下来,您必须配置 apt。因为我们使用的是 Debian Netinstall CD,其中只包含最少的软件包集,所以我们必须使用网络镜像。选择您要使用的网络镜像所在的国家(通常是您的服务器系统所在的国家):
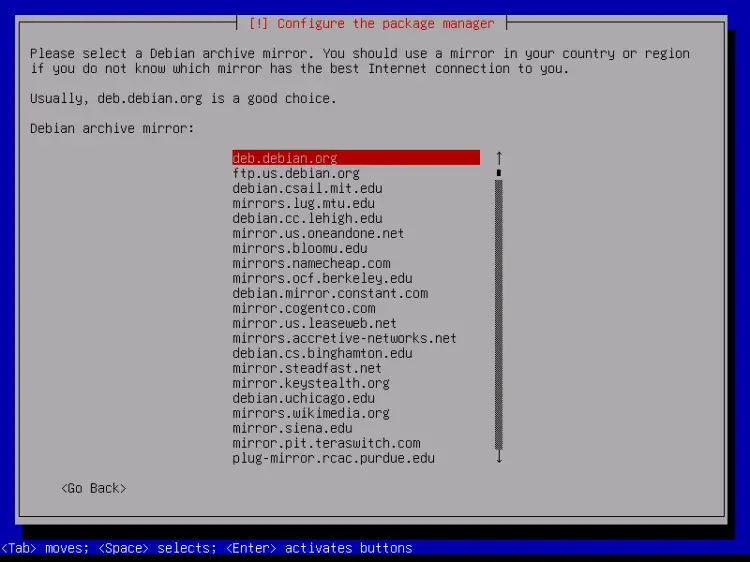
然后选择您要使用的镜像(例如 deb.debian.org):
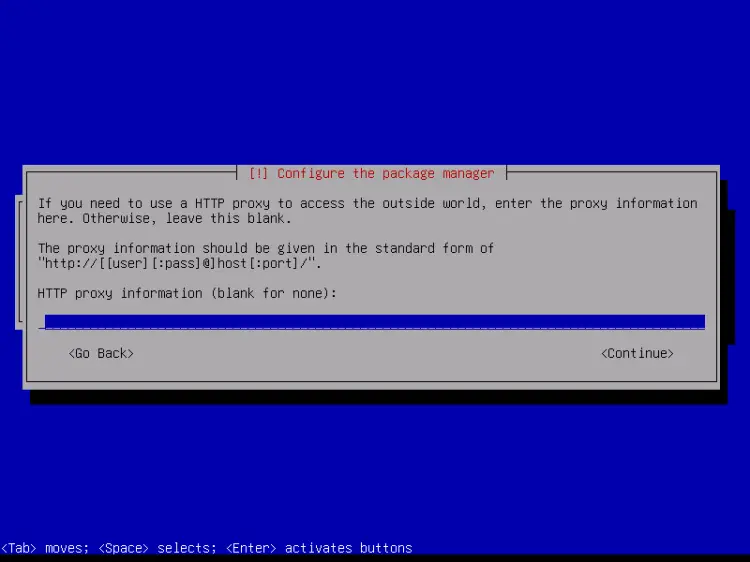
除非您使用 HTTP 代理,否则请将以下字段留空并点击继续:
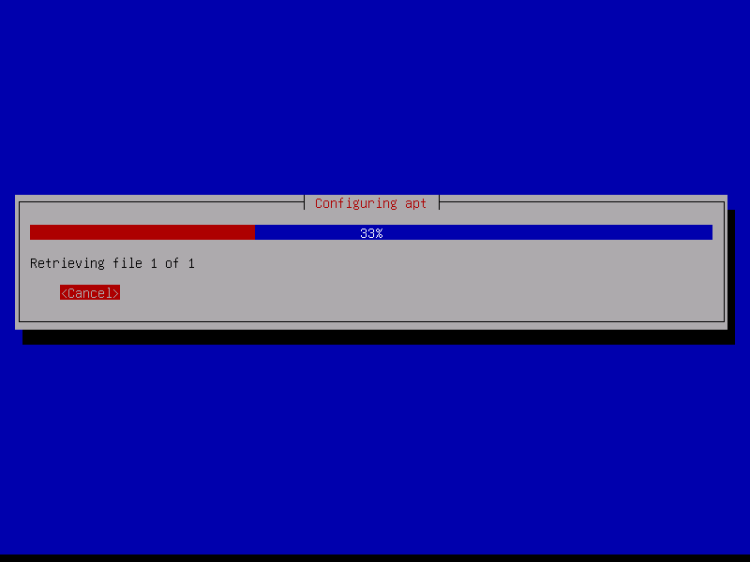
Apt 现在正在更新其软件包数据库:
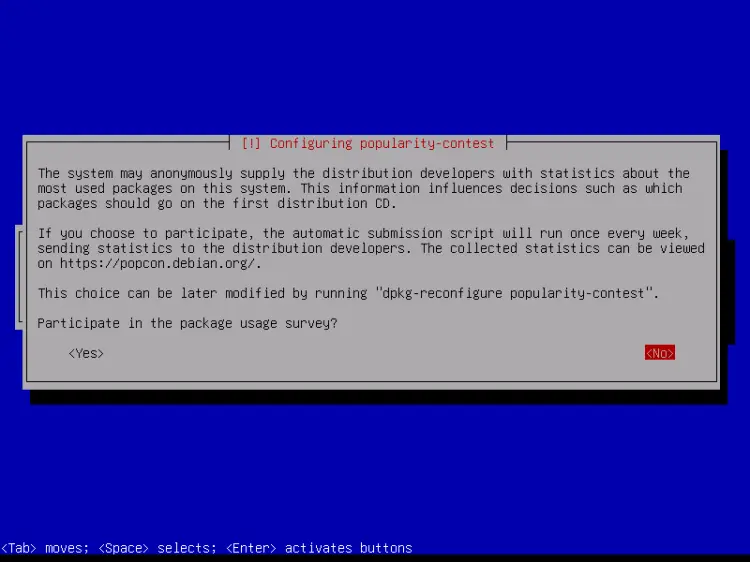
您可以通过选择“否”来跳过软件包使用情况调查:
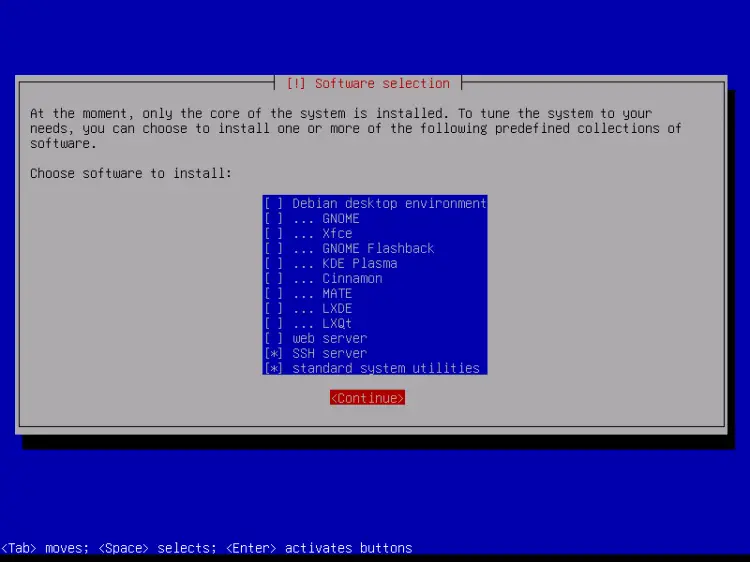
我们选择标准系统实用程序和 SSH 服务器(以便在安装完成后我可以立即使用 SSH 客户端(例如 PuTTY)连接到系统)并点击继续。
有些人可能会争辩说,不应在最小的服务器上安装标准系统实用程序。不过,在我看来,无论如何,您稍后都会需要大多数标准实用程序,因此我将把它们作为基本设置的一部分安装在该服务器上。
所需的软件包已下载并安装在系统上:

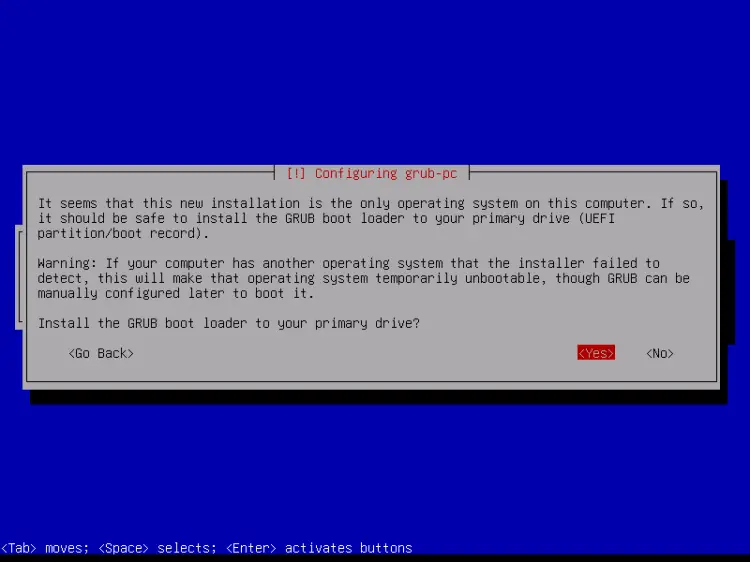
当系统询问您是否将 GRUB 引导加载程序安装到主引导记录?时,选择是:
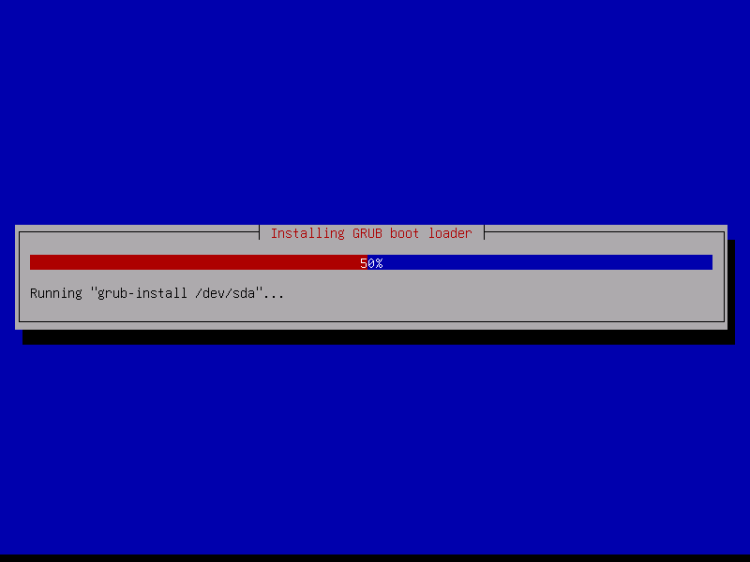
安装程序可能会询问您 Grub 应安装到哪个分区。这台服务器只有一个硬盘,所以我这里选择/dev/sda。
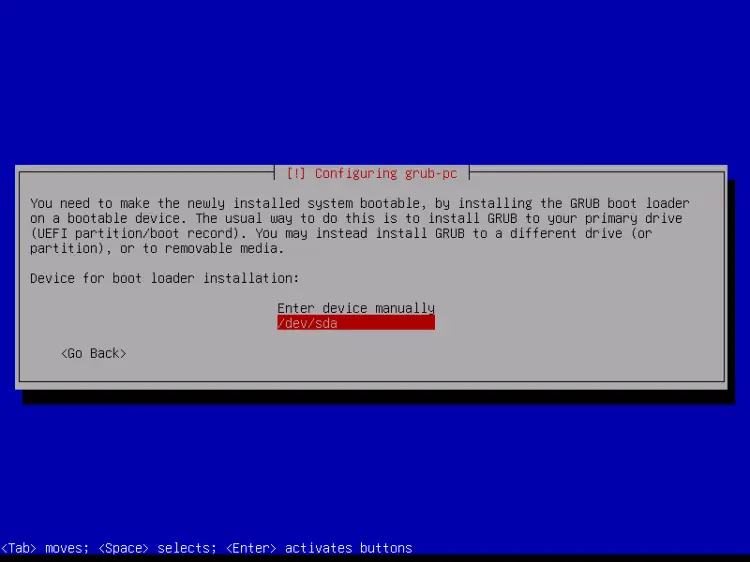
按 Enter 键,安装程序将安装 Grub 并完成安装。
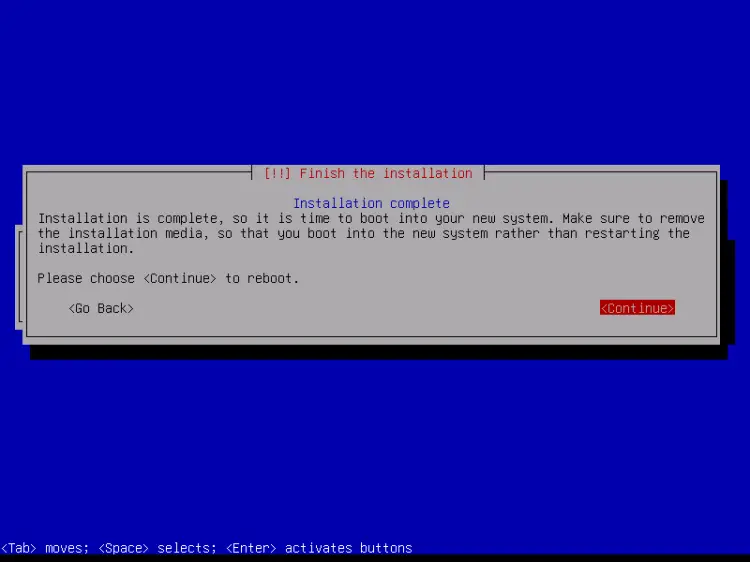
基本系统安装现已完成。从 CD 驱动器中取出 Debian Netinstall CD,然后点击“继续”重新启动系统:
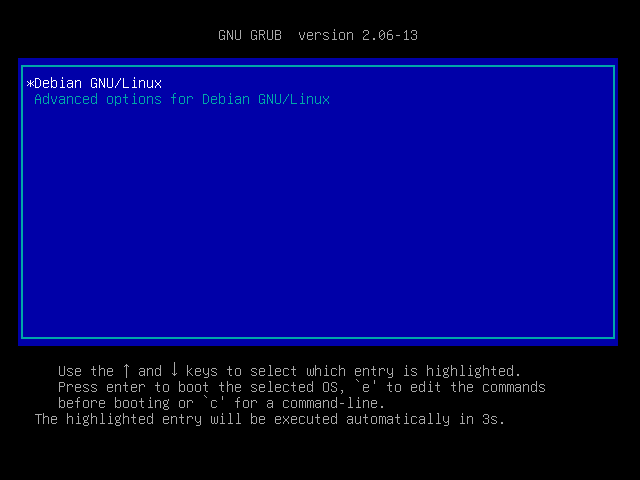
新安装的Debian 10服务器的首次启动:首先,您将看到Grub Boot Loader的启动屏幕,按回车键或等待几秒钟,启动过程将自动继续。
几秒钟后,应该会出现登录提示。
使用用户名“root”和您在安装过程中选择的 root 密码登录。当您通过 SSH 登录时,请使用用户名“administrator”,因为 root 用户已禁用远程登录。然后运行命令“su -”:
su -成为root用户。使用带有“-”的命令 su 或使用“su --login”非常重要,因为这是为 root 用户正确初始化 PATH 变量所必需的。
继续下一步...
4 安装SSH服务器(可选)
如果您在系统安装时没有安装OpenSSH服务器,现在可以安装:
apt -y install ssh openssh-server从现在开始,您可以使用 SSH 客户端(例如 PuTTY)并从工作站连接到 Debian Jessie 服务器,并按照本教程中的其余步骤进行操作。
5 安装 shell 编辑器(可选)
我将使用
apt -y install vim-nox nano(如果您使用其他文本编辑器(例如 joe 或 mc 的内置编辑器),则不必执行此操作)。
6 配置网络
您可以使用以下命令获取当前的 IP 地址:
ip a默认情况下,某些网络工具可能不可用。使用以下命令安装软件包:
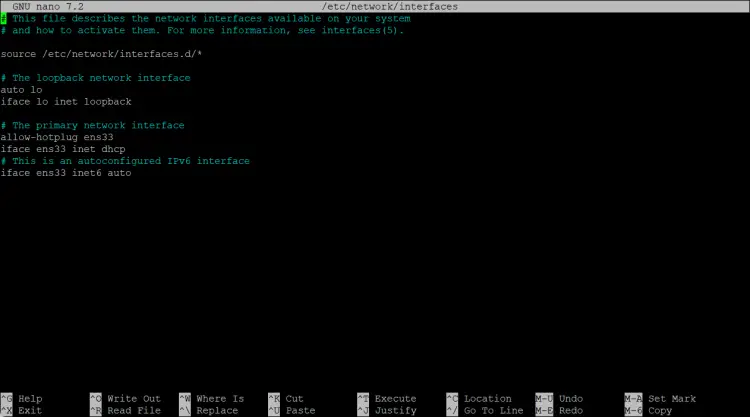
apt install net-tools由于 Debian 12 安装程序已将我们的系统配置为通过 DHCP 获取其网络设置,因此我们现在必须更改它,因为服务器应该具有静态 IP 地址。编辑 /etc/network/interfaces 并根据您的需要进行调整(在本示例设置中,我将使用 IP 地址 192.168.0.100)(请注意,我将 allowed-hotplug ens33 替换为 auto ens33;否则,重新启动网络不会不起作用,我们必须重新启动整个系统):
nano /etc/network/interfaces由 apt 安装程序创建的启用 DHCP 的接口文件:
# This file describes the network interfaces available on your system
# and how to activate them. For more information, see interfaces(5).
source /etc/network/interfaces.d/*
# The loopback network interface
auto lo
iface lo inet loopback
# The primary network interface
allow-hotplug ens33
iface ens33 inet dhcp
# This is an autoconfigured IPv6 interface
iface ens33 inet6 auto
或者作为截图:
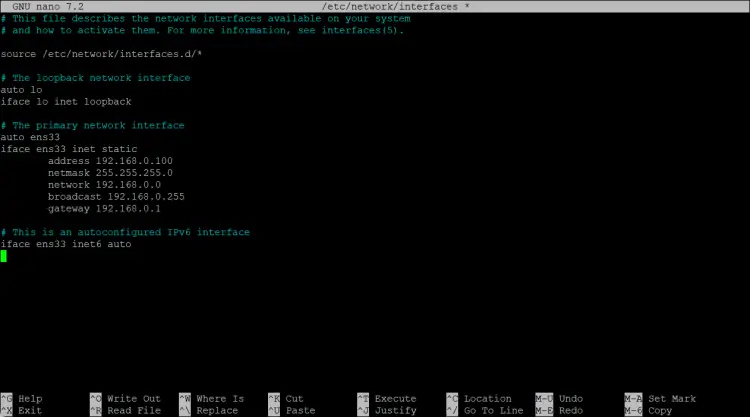
这是编辑后的接口文件,配置了静态 IP 192.168.0.100。
# This file describes the network interfaces available on your system
# and how to activate them. For more information, see interfaces(5).
source /etc/network/interfaces.d/*

# The loopback network interface
auto lo
iface lo inet loopback

# The primary network interface
auto ens33
iface ens33 inet static
        address 192.168.0.100
        netmask 255.255.255.0
        network 192.168.0.0
        broadcast 192.168.0.255
        gateway 192.168.0.1
# This is an autoconfigured IPv6 interface
iface ens33 inet6 auto
编辑后的文件应如下所示:
然后重新启动您的网络:
systemctl restart networking然后编辑/etc/hosts。让它看起来像这样:
nano /etc/hosts127.0.0.1 localhost.localdomain localhost
192.168.0.100 server1.example.com server1
# The following lines are desirable for IPv6 capable hosts
::1 localhost ip6-localhost ip6-loopback
ff02::1 ip6-allnodes
ff02::2 ip6-allrouters现在编辑主机名,以防您没有在安装程序中选择最终主机名
nano /etc/hostname/etc/hostname 文件包含不带域部分的主机名,因此在我们的例子中只是“server1”。
然后重新启动服务器以应用主机名更改:
systemctl reboot再次登录后,执行以下命令:
hostname
hostname -f
验证新主机名设置是否正确。输出应该是:
root@server1:/home/administrator# hostname
server1
root@server1:/home/administrator# hostname -f
server1.example.com
root@server1:/home/administrator#
7 更新您的 Debian 安装
首先,确保您的 /etc/apt/sources.list 包含 bookworm-updates 存储库(这确保您始终获得最新更新),并且 contrib、非自由和非自由固件 存储库已启用。
nano /etc/apt/sources.list#deb cdrom:[Debian GNU/Linux 12.1.0 _Bookworm_ - Official amd64 NETINST with firmware 20230722-10:48]/ bookworm main non-free-firmware
deb http://deb.debian.org/debian/ bookworm main contrib non-free non-free-firmware
deb-src http://deb.debian.org/debian/ bookworm main contrib non-free non-free-firmware
deb http://security.debian.org/debian-security bookworm-security main contrib non-free non-free-firmware
deb-src http://security.debian.org/debian-security bookworm-security main contrib non-free non-free-firmware
# bookworm-updates, to get updates before a point release is made;
# see https://www.debian.org/doc/manuals/debian-reference/ch02.en.html#_updates_and_backports
deb http://deb.debian.org/debian/ bookworm-updates main contrib non-free non-free-firmware
deb-src http://deb.debian.org/debian/ bookworm-updates main contrib non-free non-free-firmware
# This system was installed using small removable media
# (e.g. netinst, live or single CD). The matching "deb cdrom"
# entries were disabled at the end of the installation process.
# For information about how to configure apt package sources,
# see the sources.list(5) manual.跑步
apt update更新 apt 软件包数据库并
apt upgrade安装最新更新(如果有)。
8 Debian 12 VMWare 服务器映像
本教程以 ovf/ova 格式的即用型虚拟机映像提供,与 VMWare 和 Virtualbox 兼容。虚拟机映像使用以下登录详细信息:
SSH/Shell 登录
用户名:administrator
密码:howtoforge
用户名:root
密码:howtoforge
虚拟机的IP是192.168.0.100。可以在文件 /etc/network/interfaces 中更改它。请更改以上所有密码以保护虚拟机。
9 链接
- Debian:http://www.debian.org/