在 Ubuntu 20.04 上安装 Zimbra Zextras Carbonio CE |
欢迎阅读本指南,了解如何在 Ubuntu 20.04 上安装 Zextras Carbonio CE 电子邮件和协作套件。Zextras Carbonio CE 是一款免费的开源电子邮件和协作解决方案它提供以下功能:
- 聊天和视频聊天 – 它提供个人聊天、群组视频会议以及视频会议所需的一流功能。
- 完整的邮件服务器 – 配备反垃圾邮件和防病毒软件,还包括本机移动应用程序
- 实时备份和恢复 – 它提供先进的灾难恢复工具,还支持外部存储备份。
- EAS 支持 – 它提供与 Android、iOS 和 Outlook 的本机同步。
- 高级存储管理 – 这包括 HSM 压缩、重复数据删除和对象存储支持。
- 高级网络邮件 – 它可以轻松管理电子邮件、联系人和日历要素,并且这些内容也可以跨域共享。
- 文件管理系统 – 包括协作编辑和文档共享
- 安全身份验证 – 支持双因素身份验证、QR Code e,t,c
Zextras Carbonio CE 电子邮件和协作套件是首选,因为:
- 作为 Linux 软件包安装很简单,并且开箱即用
- 它可以灵活地满足当今协作工作场所的需求
- 它专注于数据主权和隐私
Zextras Carbonio CE 电子邮件和协作套件以英语为主要语言,支持的其他语言包括:西班牙语、荷兰语、葡萄牙语(PT、BR)、法语、意大利语、土耳其语、泰语、简体中文、日语、印度尼西亚语、俄语、印地语和德语。
按照本指南进行到底,您应该能够在 Ubuntu 20.04 上安装 Zextras Carbonio CE 电子邮件和协作套件。
系统要求。
为了能够安装 Zextras Carbonio CE 电子邮件和协作套件,您需要满足以下条件:
- Ubuntu 20.04 – 安装64位
- CPU – Intel/AMD 64 位 CPU 1.5 GHz
- 内存 – 8 GB
- 磁盘空间(操作系统和Carbonio CE) - 40 GB
1 – 准备您的服务器
建议您在系统上设置静态 IP。首先切换到 root 用户:
sudo su -安装vim文本编辑器
apt update
apt install tmux vim
现在编辑以下文件来为系统分配 IP 地址。
vim /etc/netplan/50-cloud-init.yaml在该文件中,适当设置 Ip 地址:
#This file is generated from information provided by
# the datasource.  Changes to it will not persist across an instance.
# To disable cloud-init's network configuration capabilities, write a file
# /etc/cloud/cloud.cfg.d/99-disable-network-config.cfg with the following:
# network: {config: disabled}
network:
    ethernets:
        enp0s1:
            addresses:
            - 192.168.205.11/24
            gateway4: 192.168.205.1
            nameservers:
                addresses:
                - [1.1.1.1]
    version: 2
请记住替换设备的正确接口名称和 IP 地址。应用所做的更改:
# netplan apply接下来设置系统的主机名。在这里,您需要一个有效的 FQDN 作为主机名,并在 /etc/hosts 文件中添加一个条目。设置系统主机名如下:
hostnamectl set-hostname mail.computingforgeeks.com现在更新 /etc/hosts 文件。
# vim /etc/hosts
192.168.205.11 mail.computingforgeeks.com mail
2 – 安装和配置 DNS 服务器(可选)
在本指南中,我们将安装 dnsmasq DNS 服务器,这对于本指南来说既简单又方便。如果您有外部 DNS 服务器,请配置并使用它。
apt install dnsmasq现在继续对域(MX 和 A 记录)和 FQDN(A 记录)进行以下配置。
# vim /etc/dnsmasq.conf
server=1.1.1.1
mx-host=computingforgeeks.com,mail.computingforgeeks.com,50
host-record=computingforgeeks.com,192.168.205.11
host-record=mail.computingforgeeks.com,192.168.205.11停止并禁用系统解析服务。
systemctl disable systemd-resolved
systemctl stop systemd-resolved
重新启动 dnsmasq 服务:
systemctl restart dnsmasq使服务在启动时自动运行:
systemctl enable dnsmasq验证 MX 是否解析:
# dig mx computingforgeeks.com
; <<>> DiG 9.16.1-Ubuntu <<>> mx computingforgeeks.com
;; global options: +cmd
;; Got answer:
;; ->>HEADER<<- opcode: QUERY, status: NOERROR, id: 10965
;; flags: qr aa rd ra ad; QUERY: 1, ANSWER: 1, AUTHORITY: 0, ADDITIONAL: 2

;; OPT PSEUDOSECTION:
; EDNS: version: 0, flags:; udp: 4096
;; QUESTION SECTION:
;computingforgeeks.com.			IN	MX

;; ANSWER SECTION:
computingforgeeks.com.		0	IN	MX	50 mail.computingforgeeks.com.

;; ADDITIONAL SECTION:
mail.computingforgeeks.com.	0	IN	A	192.168.205.11

;; Query time: 0 msec
;; SERVER: 127.0.0.53#53(127.0.0.53)
;; WHEN: Mon Mar 28 09:52:43 UTC 2022
;; MSG SIZE  rcvd: 94
另外,验证类型 A 的 DNS 条目是否解析:
# dig mail.computingforgeeks.com
; <<>> DiG 9.16.1-Ubuntu <<>> mail.computingforgeeks.com
;; global options: +cmd
;; Got answer:
;; ->>HEADER<<- opcode: QUERY, status: NOERROR, id: 40491
;; flags: qr aa rd ra; QUERY: 1, ANSWER: 1, AUTHORITY: 0, ADDITIONAL: 1

;; OPT PSEUDOSECTION:
; EDNS: version: 0, flags:; udp: 4096
;; QUESTION SECTION:
;mail.computingforgeeks.com.		IN	A

;; ANSWER SECTION:
mail.computingforgeeks.com.	0	IN	A	192.168.205.11

;; Query time: 0 msec
;; SERVER: 127.0.0.53#53(127.0.0.53)
;; WHEN: Mon Mar 28 09:53:15 UTC 2022
;; MSG SIZE  rcvd: 64
就这样,MX 和 A DNS 条目都得到解析。
3 – 配置 Zextras Carbonio CE 存储库
为了能够在 Ubuntu 20.04 上添加 Zextras Carbonio CE 存储库,您需要填写 Zextras 产品页面上的表格,之后您将收到一份包含存储库 URL 和存储库 GPG 密钥的表单。
使用提供的说明添加存储库,然后按以下步骤操作:
apt update && apt upgrade -y4 – 在 Ubuntu 20.04 上安装 Zextras Carbonio CE
将存储库添加到您的系统后,继续使用以下命令安装 Carbonio CE:
apt install carbonio-ce安装完成后,执行命令开始配置:
carbonio-bootstrap此命令将启用所需的服务并创建一个没有密码的管理员帐户。按y继续:
----------------------------------
| Starting Carbonio Bootstrap... |
----------------------------------
--------------------------------------------------------------------------------
Zextras may collect a minimal set of public-facing technical information about
your use of Carbonio CE. This data should not contain personal identifiable
information, but in case they are subject to Zextras' Privacy Policy
[https://www.zextras.com].
...
Checking for port conflicts

Main menu

   1) Common Configuration:
   2) carbonio-directory-server:               Enabled
   3) carbonio-logger:                         Enabled
   4) carbonio-mta:                            Enabled
   5) carbonio-appserver:                      Enabled
   6) carbonio-proxy:                          Enabled
   s) Save config to file
   x) Expand menu
   q) Quit

*** CONFIGURATION COMPLETE - press 'y' to apply configuration
Select from menu, or press 'y' to apply config (? - help) y
一旦完成。为创建的用户创建密码,如下所示:
su - zextras
zmprov setpassword [email  <newpassword>
设置符合良好安全标准的强密码。这里有两个用户:
- zextras – 管理员的 UNIX 帐户,必须用于从命令行执行管理任务。
- [email – 默认管理员用户,用于从 Web 界面访问管理 UI 并管理 Carbonio CE。
5 – 访问 Zextras Carbonio CE Web UI
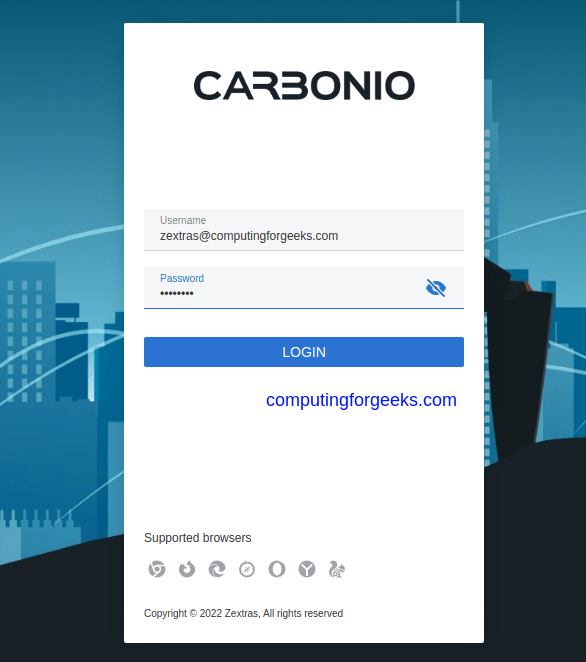
按照上述方式安装和配置后,继续使用 URL https://mail.computingforgeeks.com 访问 Carbonio CE 网络客户端
成功登录后,您将看到以下仪表板。
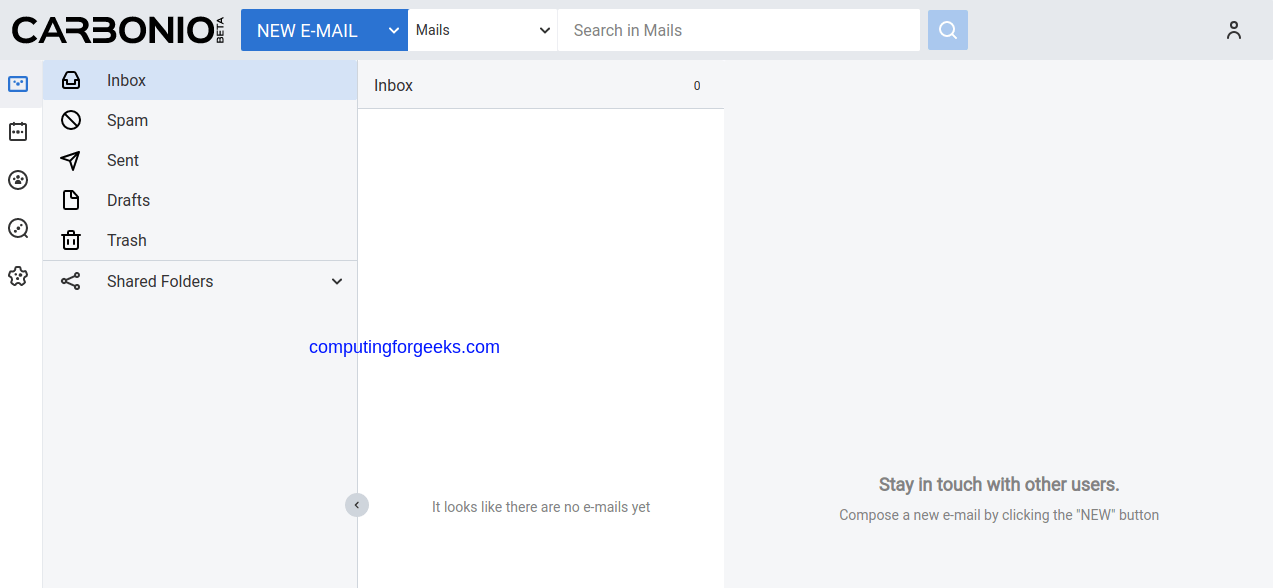
在这里,您可以管理邮件、日历、联系人等
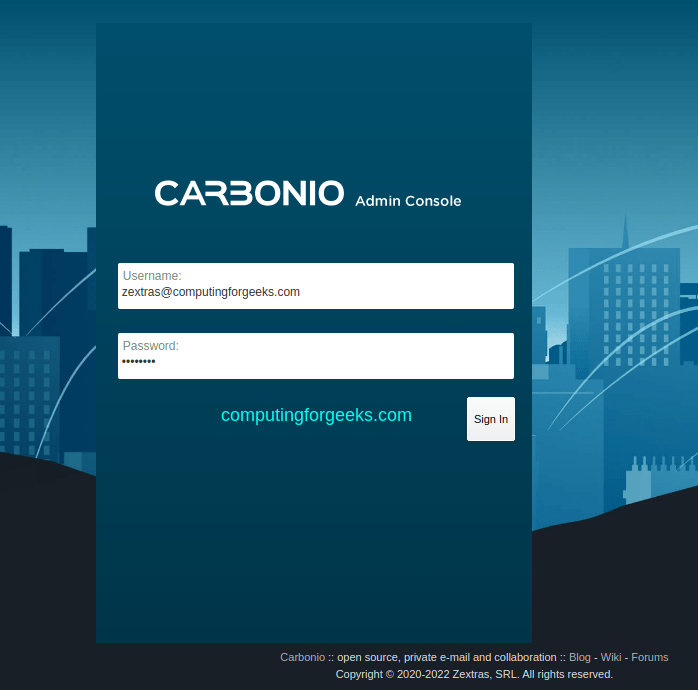
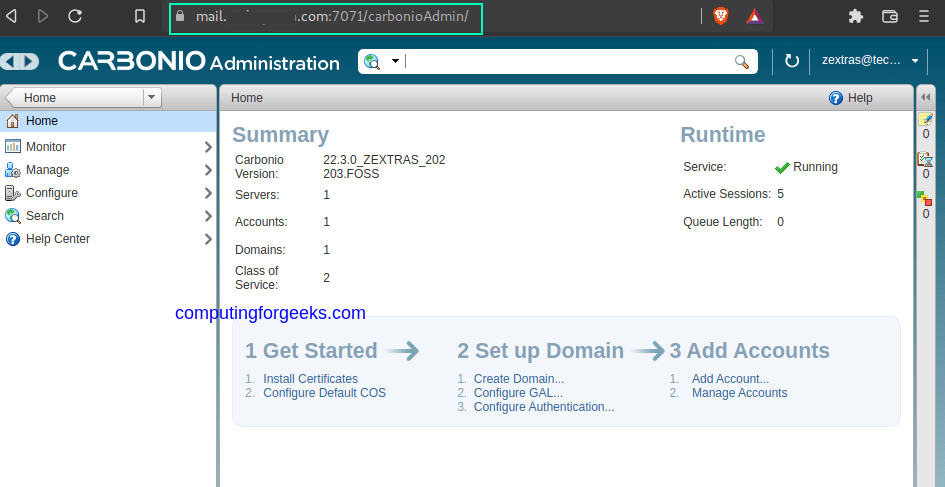
可以使用 https://mail.computingforgeeks.com:7071/carbonioAdmin 访问管理客户端
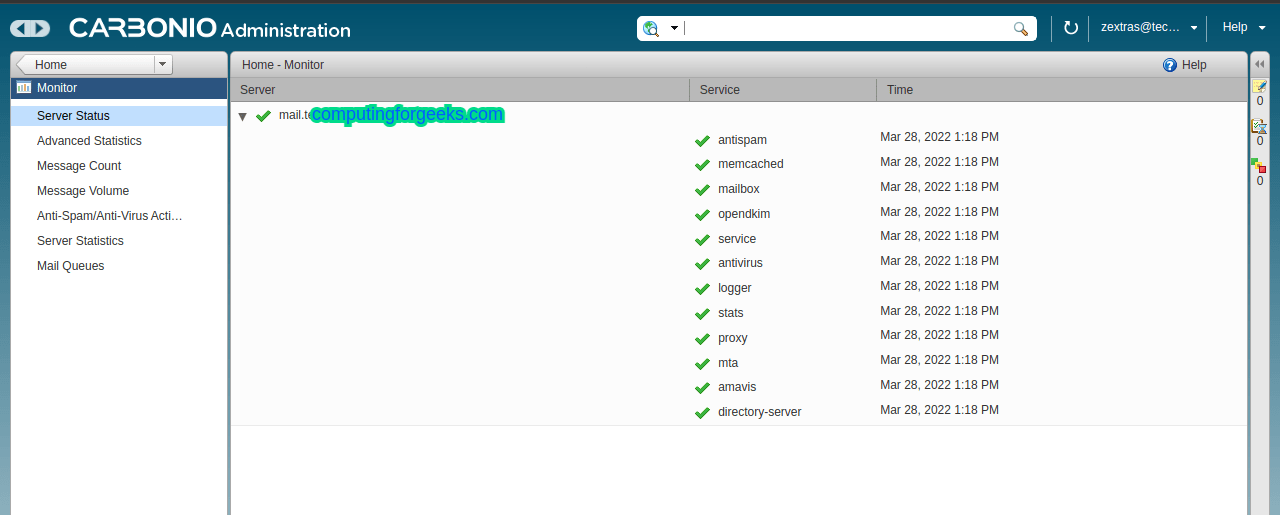
在此仪表板上,您可以管理/配置 Carbonio CE 服务器。
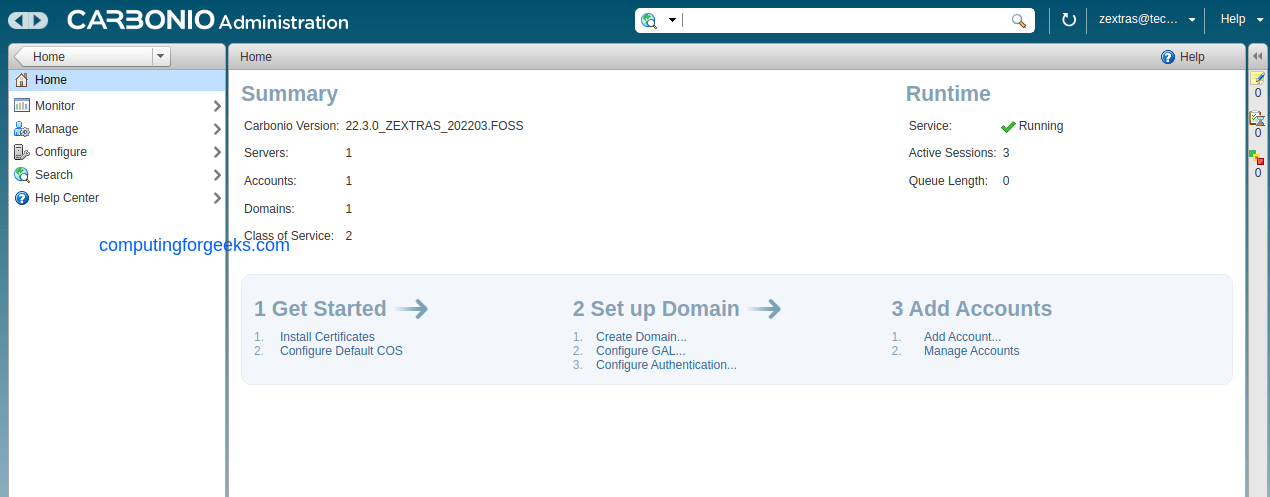
例如,监控正在运行的服务:
6 – 使用 Let’s Encrypt 保护 Zextras Carbonio CE。
Let’s Encrypt 用于为域名颁发免费的可信 SSL 证书。为了能够使用 Let’s Encrypt 继续并保护 Zextras Carbonio CE,您需要拥有一个完全合格的域名。
继续并安装所需的软件包:
apt install software-properties-common
add-apt-repository universe
add-apt-repository ppa:certbot/certbot
apt update
apt install certbot
现在使用 Certbot 生成证书:
certbot certonly -d mail.computingforgeeks.com按以下步骤操作,并提供生成 SSL 证书所需的详细信息
How would you like to authenticate with the ACME CA?
- - - - - - - - - - - - - - - - - - - - - - - - - - - - - - - - - - - - - - - -
1: Spin up a temporary webserver (standalone)
2: Place files in webroot directory (webroot)
- - - - - - - - - - - - - - - - - - - - - - - - - - - - - - - - - - - - - - - -
Select the appropriate number [1-2] then [enter] (press 'c' to cancel): 1
...
继续并生成证书。现在,您将在 /etc/letsencrypt/live 中获得生成的证书。您将拥有 privkey.pem、cert.pem 和 chain.pem。
复制私钥。 pem 到 Carbonio 目录:
export DOMAIN="mail.computingforgeeks.com"
cp /etc/letsencrypt/live/$DOMAIN/privkey.pem /opt/zextras/ssl/carbonio/commercial/commercial.key
请记住在命令中适当替换 mail.computingforgeeks.com 。
继续并部署 SSL 证书:
cp /etc/letsencrypt/live/$DOMAIN/cert.pem /tmp
cp /etc/letsencrypt/live/$DOMAIN/chain.pem /tmp
现在,编辑 /tmp/chain.pem 并删除最后一个证书,然后再按以下步骤操作。
下载ISRG Root X1链如下:
wget -O /tmp/ISRG-X1.pem https://letsencrypt.org/certs/isrgrootx1.pem.txt
cat /tmp/ISRG-X1.pem >> /tmp/chain.pem
设置正确的权限:
chown -R zextras:zextras /opt/zextras/ssl/carbonio/commercial/commercial.key验证证书是否正常:
# su - zextras -c 'zmcertmgr verifycrt comm /opt/zextras/ssl/carbonio/commercial/commercial.key /tmp/cert.pem /tmp/chain.pem'
** Verifying '/tmp/cert.pem' against '/opt/zextras/ssl/carbonio/commercial/commercial.key'
Certificate '/tmp/cert.pem' and private key '/opt/zextras/ssl/carbonio/commercial/commercial.key' match.
** Verifying '/tmp/cert.pem' against '/tmp/chain.pem'
Valid certificate chain: /tmp/cert.pem: OK
现在使用以下命令部署证书:
# su - zextras -c 'zmcertmgr deploycrt comm /tmp/cert.pem /tmp/chain.pem'
....
** Copying '/opt/zextras/ssl/carbonio/ca/ca.pem' to '/opt/zextras/conf/ca/ca.pem'
** Creating CA hash symlink 'e2eeaa7a.0' -> 'ca.pem'
** Creating /opt/zextras/conf/ca/commercial_ca_1.crt
** Creating CA hash symlink '8d33f237.0' -> 'commercial_ca_1.crt'
** Creating /opt/zextras/conf/ca/commercial_ca_2.crt
** Creating CA hash symlink '4042bcee.0' -> 'commercial_ca_2.crt'
重新启动服务:
su - zextras -c 'zmcontrol restart'现在访问Carbonio CE页面:
瞧!
我们已在 Ubuntu 20.04 上成功安装并配置了 Zextras Carbonio CE 电子邮件和协作套件。现在享受开源电子邮件和协作解决方案。
相关文章:
- 如何在 Ubuntu 上安装 Zimbra 协作
- 在 Rocky Linux 8|AlmaLinux 8|RHEL 8 上安装 Zimbra 9 邮件服务器
- 最佳开源协作和群件软件解决方案