如何在 Debian 12 上使用 Rsyslog 设置远程日志记录
本教程适用于这些 OS 版本
- Debian 12(书虫)
- Debian 11 (靶心)
- Debian 9 (Stretch)
本页内容
- 先决条件
- 安装 Rsyslog
- 设置 UFW(简单防火墙)
- Rsyslog 从远程服务器接收日志
- 将日志发送到 Rsyslog 服务器
- 检查 Rsyslog 服务器上的日志文件
- 结论
Rsyslog 是一个开源日志记录系统守护程序,用于收集、筛选、存储和转发作系统和应用程序的日志消息。它是一个功能强大且灵活的日志记录系统,支持多种协议,包括 TCP、UDP 和 RELP(可靠事件日志记录协议)。您可以使用 Rsyslog 集中服务器、应用程序和数据库的日志。
本指南将向您展示如何在 Debian 12 服务器上安装 rsyslog 和设置远程日志记录。您还将设置一个 Linux 服务器,以将日志远程发送到 Rsyslog 服务器。
先决条件
要开始使用本指南,您需要满足以下条件:
- Debian 12 服务器
- 具有管理员权限的非 root 用户
- 一台 Linux 计算机作为测试的客户端
安装 Rsyslog
在开始之前,您需要将 Rsyslog 安装到您的 Debian 服务器。在此步骤中,您将通过 APT 安装 Rsyslog,然后启动并启用 Rsyslog 服务。
首先,运行以下命令以更新您的 Debian 软件包索引并将 Rsyslog 安装到您的系统中。输入 'Y' 以确认安装。
sudo apt update
sudo apt install rsyslog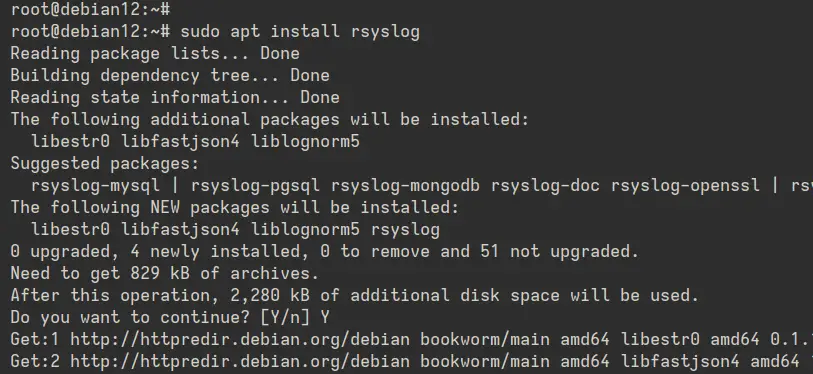
安装完成后,运行下面的 'systemctl' 命令以启动并启用 'rsyslog' 服务器。然后,验证它以确保它正在运行。
sudo systemctl enable --now rsyslog
sudo systemctl status rsyslog
在以下输出中,您可以看到 Rsyslog 正在运行并启用。

设置 UFW(简单防火墙)
安装 Rsyslog 后,您将安装并配置 UFW(Uncomplicated Firewall)。您将为 OpenSSH 服务打开端口“22”,为 Rsyslog 打开端口“514”。然后,您将启动并启用 UFW 服务。
要安装 UFW,请运行以下 'apt' 命令。输入 'Y' 以确认安装。
sudo apt install ufw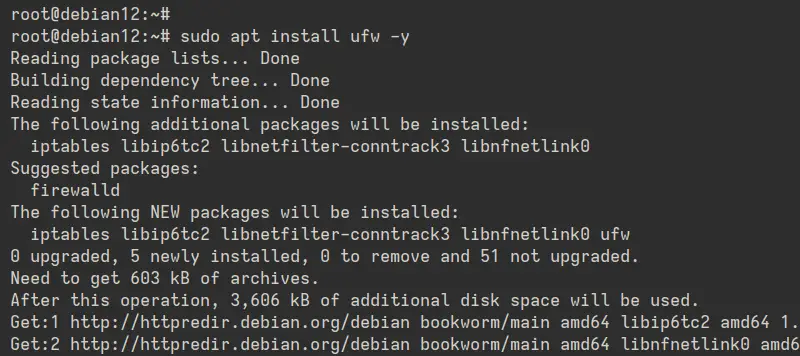
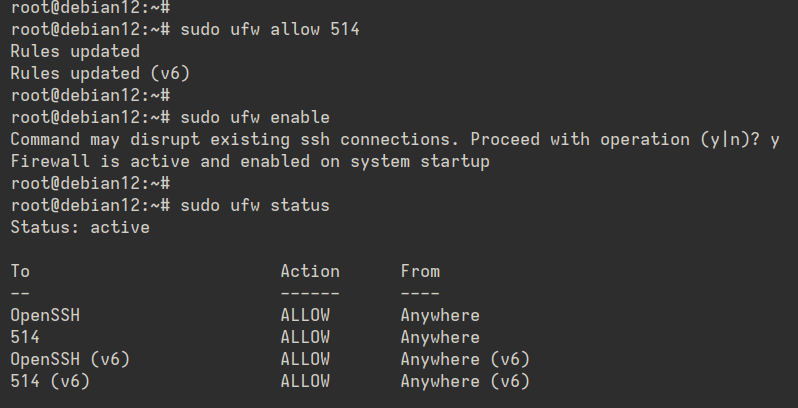
安装完成后,运行以下 ufw 命令以启用 OpenSSH 配置文件并允许访问端口 514。“OpenSSH”配置文件将允许 SSH 访问,端口“514”是 syslog 端口。
sudo ufw allow OpenSSH
sudo ufw allow 514
现在使用以下命令启动并启用 UFW。键入 'y' 进行确认,您将获得 'Firewall is active and enabled at system startup' 等输出。
sudo ufw enable最后,使用以下命令检查 UFW 状态。
sudo ufw status在下面的输出中,您可以看到状态为 active、OpenSSH 配置文件和端口“514”的 UFW。
Rsyslog 从远程服务器接收日志
现在,您已经安装了 Rsyslog 并配置了 UFW,您可以设置 Rsyslog 以从远程服务器接收日志。要实现此目的,您需要修改 '/etc/rsyslog.conf' 文件并配置:
- 启用 imudp 模块以通过 UDP 从远程服务器接收日志
- 可选,启用 'imtcp' 以通过 TCP 接收日志
- 启用 'AllowedSender' 选项以允许特定子网远程发送日志
- 为 Rsyslog 添加自定义模板
- 检查 Rsyslog 配置
- 启动、启用和验证 Rsyslog 服务
让我们开始吧。
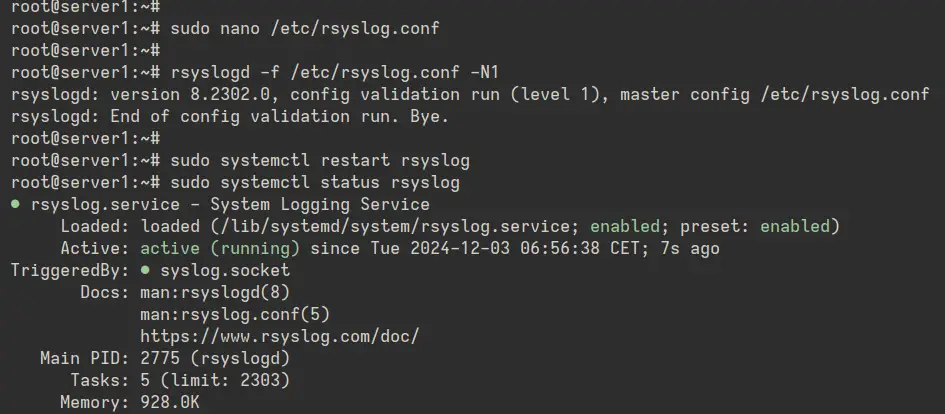
首先,使用以下 'nano' 编辑器编辑 '/etc/rsyslog.conf' 文件。
sudo nano /etc/rsyslog.conf取消注释以下行以启用“imudp”模块,并使 syslog 能够登录到 Rsyslog 服务器。
# provides UDP syslog reception
module(load="imudp")
input(type="imudp" port="514")
此外,如果您需要通过 TCP 启用 syslog,请启用“imtcp”模块,如下所示:
# provides TCP syslog reception
module(load="imtcp")
input(type="imtcp" port="50514")现在添加“AllowedSender”选项并输入允许将 Syslog 消息发送到 Rsyslog 服务器的网络子网。
# $AllowedSender - specifies which remote systems are allowed to send syslog messages to rsyslogd
$AllowedSender UDP, 192.168.10.0/24, [::1]/128, *.howtoforge.local, db.howtoforge.local
输入以下配置,为来自远程服务器的日志文件设置模板。在此示例中,来自远程服务器的日志文件将存储在 '/var/log/servers/server-ip' 目录中。
#Custom template to generate the log filename dynamically based on the client's IP address.
$template RemInputLogs, "/var/log/servers/%FROMHOST-IP%/%PROGRAMNAME%.log"
*.?RemInputLogs
保存文件并在完成后退出编辑器。
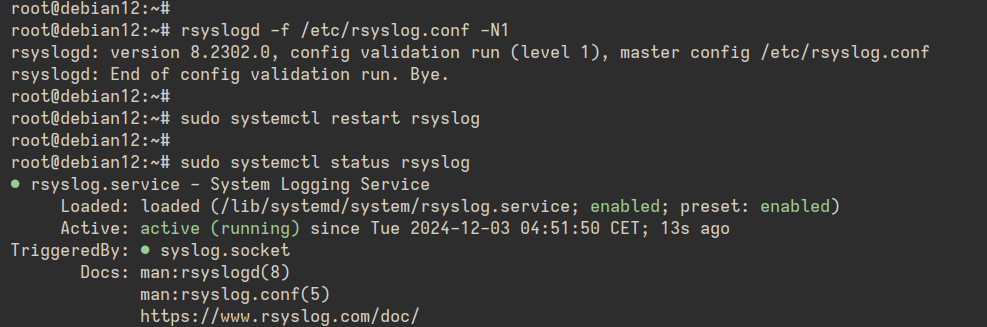
接下来,运行下面的“rsyslogd”命令以检查 Rsyslog 配置并确保您拥有正确的配置。
rsyslogd -f /etc/rsyslog.conf -N1如果没有发生错误,请运行下面的 'systemctl' 命令以重新启动 'rsyslog' 服务并应用更改。
sudo systemctl restart rsyslog
最后,检查“rsyslog”服务状态以确保它正在运行。
sudo systemctl status rsyslog在下面的输出中,您可以看到 'rsyslog' 正在运行。
此外,请检查服务器上的端口“514”,以确保 Rsyslog 正在运行。
ss -tulpn | grep 514您可以在下面看到 Rsyslog 使用的 UDP 端口“514”。

将日志发送到 Rsyslog 服务器
现在您已经在 Debian 服务器上配置了 Rsyslog 的远程日志记录,让我们尝试将日志从 '192.168.10.41' 发送到 '192.168.10.10' 服务器。为此,您需要满足以下条件:
- 在您的计算机上安装 Rsyslog 软件包
- 编辑 Rsyslog 配置并定义将发送到已删除的 Rsyslog 服务器的日志
- 可选,为 Rsyslog 设置磁盘队列缓冲区
使用下面的 'apt' 命令安装 'rsyslog' 包。输入 'Y' 以确认安装。
sudo apt install rsyslog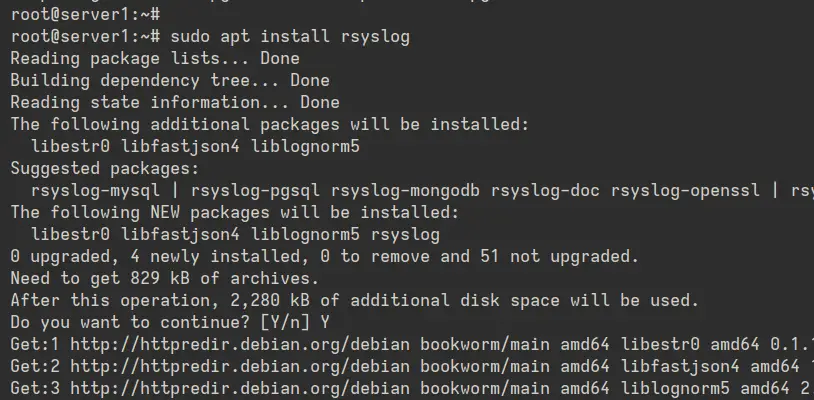
现在用 'nano' 编辑器打开默认的配置 '/etc/rsyslog.conf' 文件。
sudo nano /etc/rsyslog.conf添加以下配置以将日志发送到 Rsyslog 服务器 '192.168.10.10'。在本例中,我们将 kernel、cron 和身份验证日志发送到 Rsyslog 服务器。
# Send logs to a remote syslog server over UDP
auth,[email :514
[email :514
[email :514
现在添加以下内容以设置 Rsyslog 的队列缓冲区。
# Define Disk Queue Buffer in case the server goes down
$ActionQueueFileName queue # define a file name for disk assistance.
$ActionQueueMaxDiskSpace 1g # The maximum size that all queue files together will use on disk.
$ActionQueueSaveOnShutdown on # specifies that data should be saved at shutdown
$ActionQueueType LinkedList # holds enqueued messages in memory which makes the process very fast.
$ActionResumeRetryCount -1 # prevents rsyslog from dropping messages when retrying to connect if the server is not responding,
保存文件并退出编辑器。
接下来,运行下面的“rsyslogd”命令来检查和验证您的 Rsyslog 配置。
rsyslogd -f /etc/rsyslog.conf -N1如果没有发生错误,请运行下面的 'systemctl' 命令以重新启动 Rsyslog 并验证它以确保它正在运行。
sudo systemctl restart rsyslogd
sudo systemctl status rsyslogd
您可以在下面看到 Rsyslog 服务正在运行,您的日志将被发送到位于“192.168.10.10”的 Rsyslog 服务器。
检查 Rsyslog 服务器上的日志文件
要确保您的 Rsyslog 正常工作,您需要检查您在模板中配置的日志目录。在此示例中,来自远程服务器的日志文件将存储在 '/var/log/servers' 目录中。
使用以下命令检查日志目录 '/var/log/servers'。这将显示每个服务器的目录。
ls /var/log/servers现在检查服务器的日志目录,它存储在 '/var/log/servers/server-ip' 目录中。您将看到 Rsyslog 服务器上有多个日志文件可用。
您现在可以使用 'cat' 或 'tail' 命令检查日志文件,以查看日志的详细信息。
cat /var/log/servers/logfile.log
tail -f /var/log/servers/logfile.log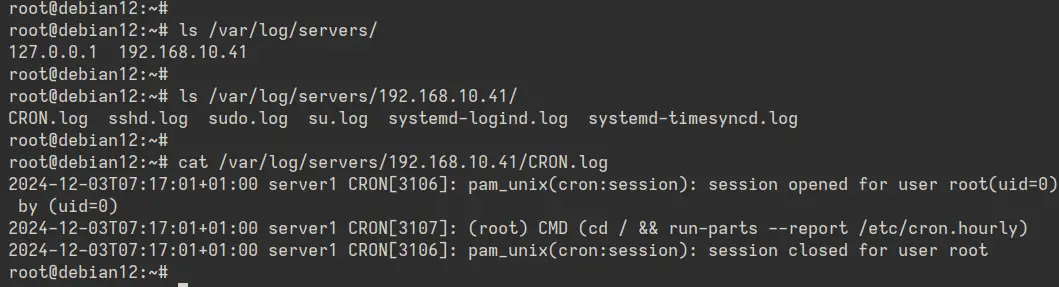
结论
祝贺!您已在 Debian 12 服务器上完成了 Rsyslog 的安装。您还通过 Rsyslog 配置了远程日志记录,并通过 syslog UDP 将日志发送到服务器。下一步,您还可以设置 TCP 和 UDP 输入模块,并将它们与 Rsyslog 或 Logstash 等日志系统集成。