如何在 Debian 12/11/10 上安装 Ansible AWX
Ansible AWX 是一款免费开源 Ansible 管理工具,旨在为系统管理员和开发人员提供易于使用、直观且功能强大的基于 Web 的用户界面,用于管理 Ansible 剧本、秘密、库存和计划在特定时间运行的自动化 cron 作业。间隔。本指南介绍如何在 Debian 12/11/10 Linux 系统上安装 Ansible AWX。
对于 Vanilla Ansible 安装:如何在 Debian 上安装和使用 Ansible
第1步:更新Debian系统
在安装 Ansible AWX 之前更新和升级您的 Debian 系统:
sudo apt update && sudo apt -y full-upgrade如果需要重新启动,则应重新启动系统。
[ -f /var/run/reboot-required ] && sudo reboot -f步骤2:安装单节点k3s Kubernetes
我们将使用 k3s 轻量级工具部署单节点 kubernetes。 K3s是经过认证的 Kubernetes 发行版,专为无人值守、资源受限环境中的生产工作负载而设计。 k3s 的好处是,如果需要,您可以在后期添加更多 Worker 节点。
通过运行以下命令在 Debian 系统上安装 K3s Kubernetes:
curl -sfL https://get.k3s.io | bash -s - --write-kubeconfig-mode 644预期的安装输出 – 该过程应在几秒/分钟内完成。
[INFO]  Finding release for channel stable
[INFO]  Using v1.27.4+k3s1 as release
[INFO]  Downloading hash https://github.com/k3s-io/k3s/releases/download/v1.27.4+k3s1/sha256sum-amd64.txt
[INFO]  Downloading binary https://github.com/k3s-io/k3s/releases/download/v1.27.4+k3s1/k3s
[INFO]  Verifying binary download
[INFO]  Installing k3s to /usr/local/bin/k3s
[INFO]  Skipping installation of SELinux RPM
[INFO]  Creating /usr/local/bin/kubectl symlink to k3s
[INFO]  Creating /usr/local/bin/crictl symlink to k3s
[INFO]  Creating /usr/local/bin/ctr symlink to k3s
[INFO]  Creating killall script /usr/local/bin/k3s-killall.sh
[INFO]  Creating uninstall script /usr/local/bin/k3s-uninstall.sh
[INFO]  env: Creating environment file /etc/systemd/system/k3s.service.env
[INFO]  systemd: Creating service file /etc/systemd/system/k3s.service
[INFO]  systemd: Enabling k3s unit
Created symlink /etc/systemd/system/multi-user.target.wants/k3s.service → /etc/systemd/system/k3s.service.
[INFO] systemd: Starting k3s为您配置安装kubectl后,使用它来检查集群详细信息:
$ kubectl get nodes
NAME     STATUS   ROLES                  AGE   VERSION
debian   Ready    control-plane,master   33s   v1.27.4+k3s1
步骤 3:在 Kubernetes 上部署 AWX Operator
AWX Operator 用于管理集群内任何命名空间中的一个或多个 AWX 实例。
安装git并制作工具:
sudo apt update
sudo apt install git vim build-essential apparmor apparmor-utils -y
安装自定义:
curl -s "https://raw.githubusercontent.com/kubernetes-sigs/kustomize/master/hack/install_kustomize.sh"  | bash
sudo mv kustomize /usr/local/bin
通过检查版本确认 Kustomize 的安装:
$ kustomize version
v5.1.1
将 AWX Operator 版本的最新版本保存为 RELEASE_TAG 变量,然后使用 git 检出到分支。
sudo apt update
sudo apt install curl jq -y
RELEASE_TAG=`curl -s https://api.github.com/repos/ansible/awx-operator/releases/latest | grep tag_name | cut -d '"' -f 4`
echo $RELEASE_TAG
创建一个名为 kustomization.yaml 的文件,其中包含以下内容:
tee kustomization.yaml<<EOF
apiVersion: kustomize.config.k8s.io/v1beta1
kind: Kustomization
resources:
  # Find the latest tag here: https://github.com/ansible/awx-operator/releases
  - github.com/ansible/awx-operator/config/default?ref=$RELEASE_TAG

# Set the image tags to match the git version from above
images:
  - name: quay.io/ansible/awx-operator

# Specify a custom namespace in which to install AWX
namespace: awx
EOF
通过运行以下命令安装清单:
$ kustomize build . | kubectl apply -f -
namespace/awx created
customresourcedefinition.apiextensions.k8s.io/awxbackups.awx.ansible.com created
customresourcedefinition.apiextensions.k8s.io/awxrestores.awx.ansible.com created
customresourcedefinition.apiextensions.k8s.io/awxs.awx.ansible.com created
serviceaccount/awx-operator-controller-manager created
role.rbac.authorization.k8s.io/awx-operator-awx-manager-role created
role.rbac.authorization.k8s.io/awx-operator-leader-election-role created
clusterrole.rbac.authorization.k8s.io/awx-operator-metrics-reader created
clusterrole.rbac.authorization.k8s.io/awx-operator-proxy-role created
rolebinding.rbac.authorization.k8s.io/awx-operator-awx-manager-rolebinding created
rolebinding.rbac.authorization.k8s.io/awx-operator-leader-election-rolebinding created
clusterrolebinding.rbac.authorization.k8s.io/awx-operator-proxy-rolebinding created
configmap/awx-operator-awx-manager-config created
service/awx-operator-controller-manager-metrics-service created
deployment.apps/awx-operator-controller-manager created
将当前上下文设置为 NAMESPACE 变量中设置的值:
# export NAMESPACE=awx
# kubectl config set-context --current --namespace=$NAMESPACE
Context "default" modified.
几分钟后,awx-operator 应处于运行状态:awx-operator
# kubectl get pods -n awx
NAME                                               READY   STATUS    RESTARTS   AGE
awx-operator-controller-manager-54787fcf67-swcbr   2/2     Running   0          96s
卸载 AWX Operator(仅供参考)
您始终可以通过运行以下命令来删除运算符和所有关联的 CRD:
kustomize build . | kubectl delete -f -步骤 4:在 K3s Kubernetes 上的 Debian 上部署 AWX
我们需要通过创建 PVC – 参考 AWX 数据持久性来持久保存 Web 应用程序数据。在终端中执行以下命令来启动 PersistentVolumeClaim 创建:
cat <<EOF | kubectl create -f -
apiVersion: v1
kind: PersistentVolumeClaim
metadata:
  name: static-data-pvc
  namespace: awx
spec:
  accessModes:
    - ReadWriteOnce
  storageClassName: local-path
  resources:
    requests:
      storage: 5Gi
EOF
创建 AWX 部署实例部署 YAML 文件:
tee awx-deploy.yml<<EOF
---
apiVersion: awx.ansible.com/v1beta1
kind: AWX
metadata:
  name: awx
spec:
  service_type: nodeport
  projects_persistence: true
  projects_storage_access_mode: ReadWriteOnce
  web_extra_volume_mounts: |
    - name: static-data
      mountPath: /var/lib/projects
  extra_volumes: |
    - name: static-data
      persistentVolumeClaim:
        claimName: static-data-pvc
EOF
更新 Kustomize 文件:
RELEASE_TAG=`curl -s https://api.github.com/repos/ansible/awx-operator/releases/latest | grep tag_name | cut -d '"' -f 4`
tee kustomization.yaml<<EOF
apiVersion: kustomize.config.k8s.io/v1beta1
kind: Kustomization
resources:
  # Find the latest tag here: https://github.com/ansible/awx-operator/releases
  - github.com/ansible/awx-operator/config/default?ref=$RELEASE_TAG
  # Add this extra line:
  - awx-deploy.yml
# Set the image tags to match the git version from above
images:
  - name: quay.io/ansible/awx-operator

# Specify a custom namespace in which to install AWX
namespace: awx
EOF
应用配置来创建所需的对象:
$ kustomize build . | kubectl apply -f -
namespace/awx unchanged
customresourcedefinition.apiextensions.k8s.io/awxbackups.awx.ansible.com unchanged
customresourcedefinition.apiextensions.k8s.io/awxrestores.awx.ansible.com unchanged
customresourcedefinition.apiextensions.k8s.io/awxs.awx.ansible.com unchanged
serviceaccount/awx-operator-controller-manager unchanged
role.rbac.authorization.k8s.io/awx-operator-awx-manager-role configured
role.rbac.authorization.k8s.io/awx-operator-leader-election-role unchanged
clusterrole.rbac.authorization.k8s.io/awx-operator-metrics-reader unchanged
clusterrole.rbac.authorization.k8s.io/awx-operator-proxy-role unchanged
rolebinding.rbac.authorization.k8s.io/awx-operator-awx-manager-rolebinding unchanged
rolebinding.rbac.authorization.k8s.io/awx-operator-leader-election-rolebinding unchanged
clusterrolebinding.rbac.authorization.k8s.io/awx-operator-proxy-rolebinding unchanged
configmap/awx-operator-awx-manager-config unchanged
service/awx-operator-controller-manager-metrics-service unchanged
deployment.apps/awx-operator-controller-manager configured
awx.awx.ansible.com/awx created
等待几分钟,然后检查部署的 AWX 实例:
$ kubectl -n awx get pods -l "app.kubernetes.io/managed-by=awx-operator"
NAME                       READY   STATUS    RESTARTS   AGE
awx-postgres-13-0          1/1     Running   0          3m34s
awx-task-58cbc7bdc-s7dfq   4/4     Running   0          2m49s
awx-web-56cdd7bdcf-mczsg   3/3     Running   0          102s
列出部署。
$ kubectl get deployments -n awx
NAME                              READY   UP-TO-DATE   AVAILABLE   AGE
awx-operator-controller-manager   1/1     1            1           7m54s
awx-task                          1/1     1            1           5m22s
awx-web                           1/1     1            1           4m15s
如果 Pod 启动时遇到任何问题,请检查部署日志:
kubectl logs -f deployments/awx-operator-controller-manager -c awx-manager -n awx数据库数据将是持久的,因为它们存储在持久卷中:
# kubectl get pvc
NAME                            STATUS   VOLUME                                     CAPACITY   ACCESS MODES   STORAGECLASS   AGE
postgres-13-awx-postgres-13-0   Bound    pvc-998f2911-fa1d-4d84-acbb-445bf6837292   8Gi        RWO            local-path     11s
卷是使用 local-path-provisioner 和主机路径创建的
$ ls /var/lib/rancher/k3s/storage/
pvc-998f2911-fa1d-4d84-acbb-445bf6837292_awx_postgres-13-awx-postgres-13-0
列出所有可用服务并检查 awx-service Nodeport
$ kubectl get svc -l "app.kubernetes.io/managed-by=awx-operator"
NAME           TYPE        CLUSTER-IP     EXTERNAL-IP   PORT(S)        AGE
awx-postgres   ClusterIP   None           <none>        5432/TCP       2m5s
awx-service    NodePort    10.43.182.53   <none>        80:30080/TCP   116s
您可以编辑节点端口并设置为您喜欢的数字
$ kubectl edit svc awx-service
....
ports:
  - name: http
    nodePort: <value>
    port: 80
    protocol: TCP
    targetPort: 8052
如果集群中有入口控制器,您可以为 AWX 应用程序创建路由以通过域名访问应用程序。
访问 AWX 容器的 Shell
列出部署。
$ kubectl get deploy -n awx
NAME                              READY   UP-TO-DATE   AVAILABLE   AGE
awx-operator-controller-manager   1/1     1            1           6m47s
awx-task                          1/1     1            1           5m39s
awx-web                           1/1     1            1           3m37s
列出容器
以下是访问每个容器的 shell 的方法:
kubectl exec -ti deploy/awx-web -c redis -- /bin/bash
kubectl exec -ti deploy/awx-web  -c  awx-web -- /bin/bash
kubectl exec -ti awx-postgres-13-0  -c  postgres -- /bin/bash
检查 AWX 容器的日志
列出部署。
# kubectl get deploy -n awx
NAME                              READY   UP-TO-DATE   AVAILABLE   AGE
awx-operator-controller-manager   1/1     1            1           13m
awx-task                          1/1     1            1           12m
awx-web                           1/1     1            1           10m
列出 Pod。
# kubectl get pods  -n awx
NAME                                               READY   STATUS    RESTARTS   AGE
awx-operator-controller-manager-77d4cc4746-phx7l   2/2     Running   0          16m
awx-postgres-13-0                                  1/1     Running   0          15m
awx-task-56599458d6-5rb8m                          4/4     Running   0          15m
awx-web-75dfc8f8d7-4mgsk                           3/3     Running   0          13m
列出每个 Pod 中的容器。
$ kubectl -n awx get pod awx-task-56599458d6-5rb8m -o jsonpath='{.spec.containers[*].name}';echo
redis awx-task awx-ee awx-rsyslog

$ kubectl -n awx get pod awx-web-75dfc8f8d7-4mgsk -o jsonpath='{.spec.containers[*].name}';echo
redis awx-task awx-ee awx-rsyslog
awx-xxx-yyy pod 将包含容器,即:
- redis
- awx-任务
- awx-ee
- awx-rsyslog
从下面的命令输出可以看出:
# kubectl -n awx logs deploy/<deployment-name>检查容器日志的语法。
kubectl -n awx  logs deploy/<deployment> -c <container>
# OR kubectl -n awx logs pod/<podName> -c <containerName>
请参阅下面的示例。
kubectl -n awx  logs deploy/awx-web -c redis
kubectl -n awx  logs deploy/awx-web -c awx-web
kubectl -n awx  logs deploy/awx-web -c awx-rsyslog
kubectl -n awx  logs deploy/awx-task -c redis
升级 AWX Operator 和实例
我们创建了用于升级 Operator 和 AWX 实例的专用指南:
- 如何升级 Kubernetes 中运行的 Ansible AWX
第 5 步:访问 Ansible AWX 仪表板
现在可以通过 http://hostip_or_hostname:30080 访问 Ansible AWX 网络门户。
通过使用密码值解码密钥来获取管理员用户密码:
kubectl get secret awx-admin-password -o go-template='{{range $k,$v := .data}}{{printf "%s: " $k}}{{if not $v}}{{$v}}{{else}}{{$v | base64decode}}{{end}}{{"\n"}}{{end}}'示例输出:
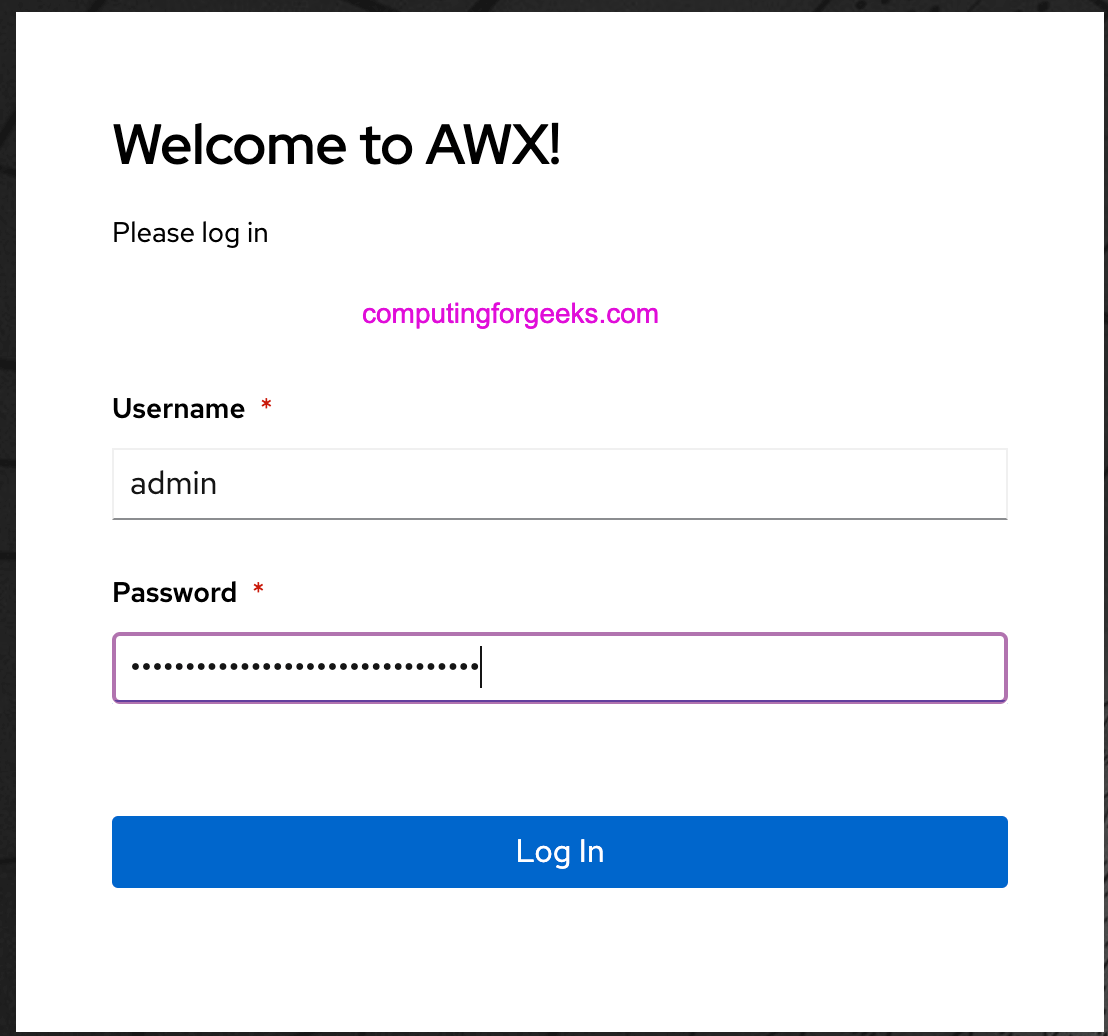
password: LkyWUKDwKdnhiEcvFe0zRQ9jOJCz7eMS使用用户admin和解码密码登录:
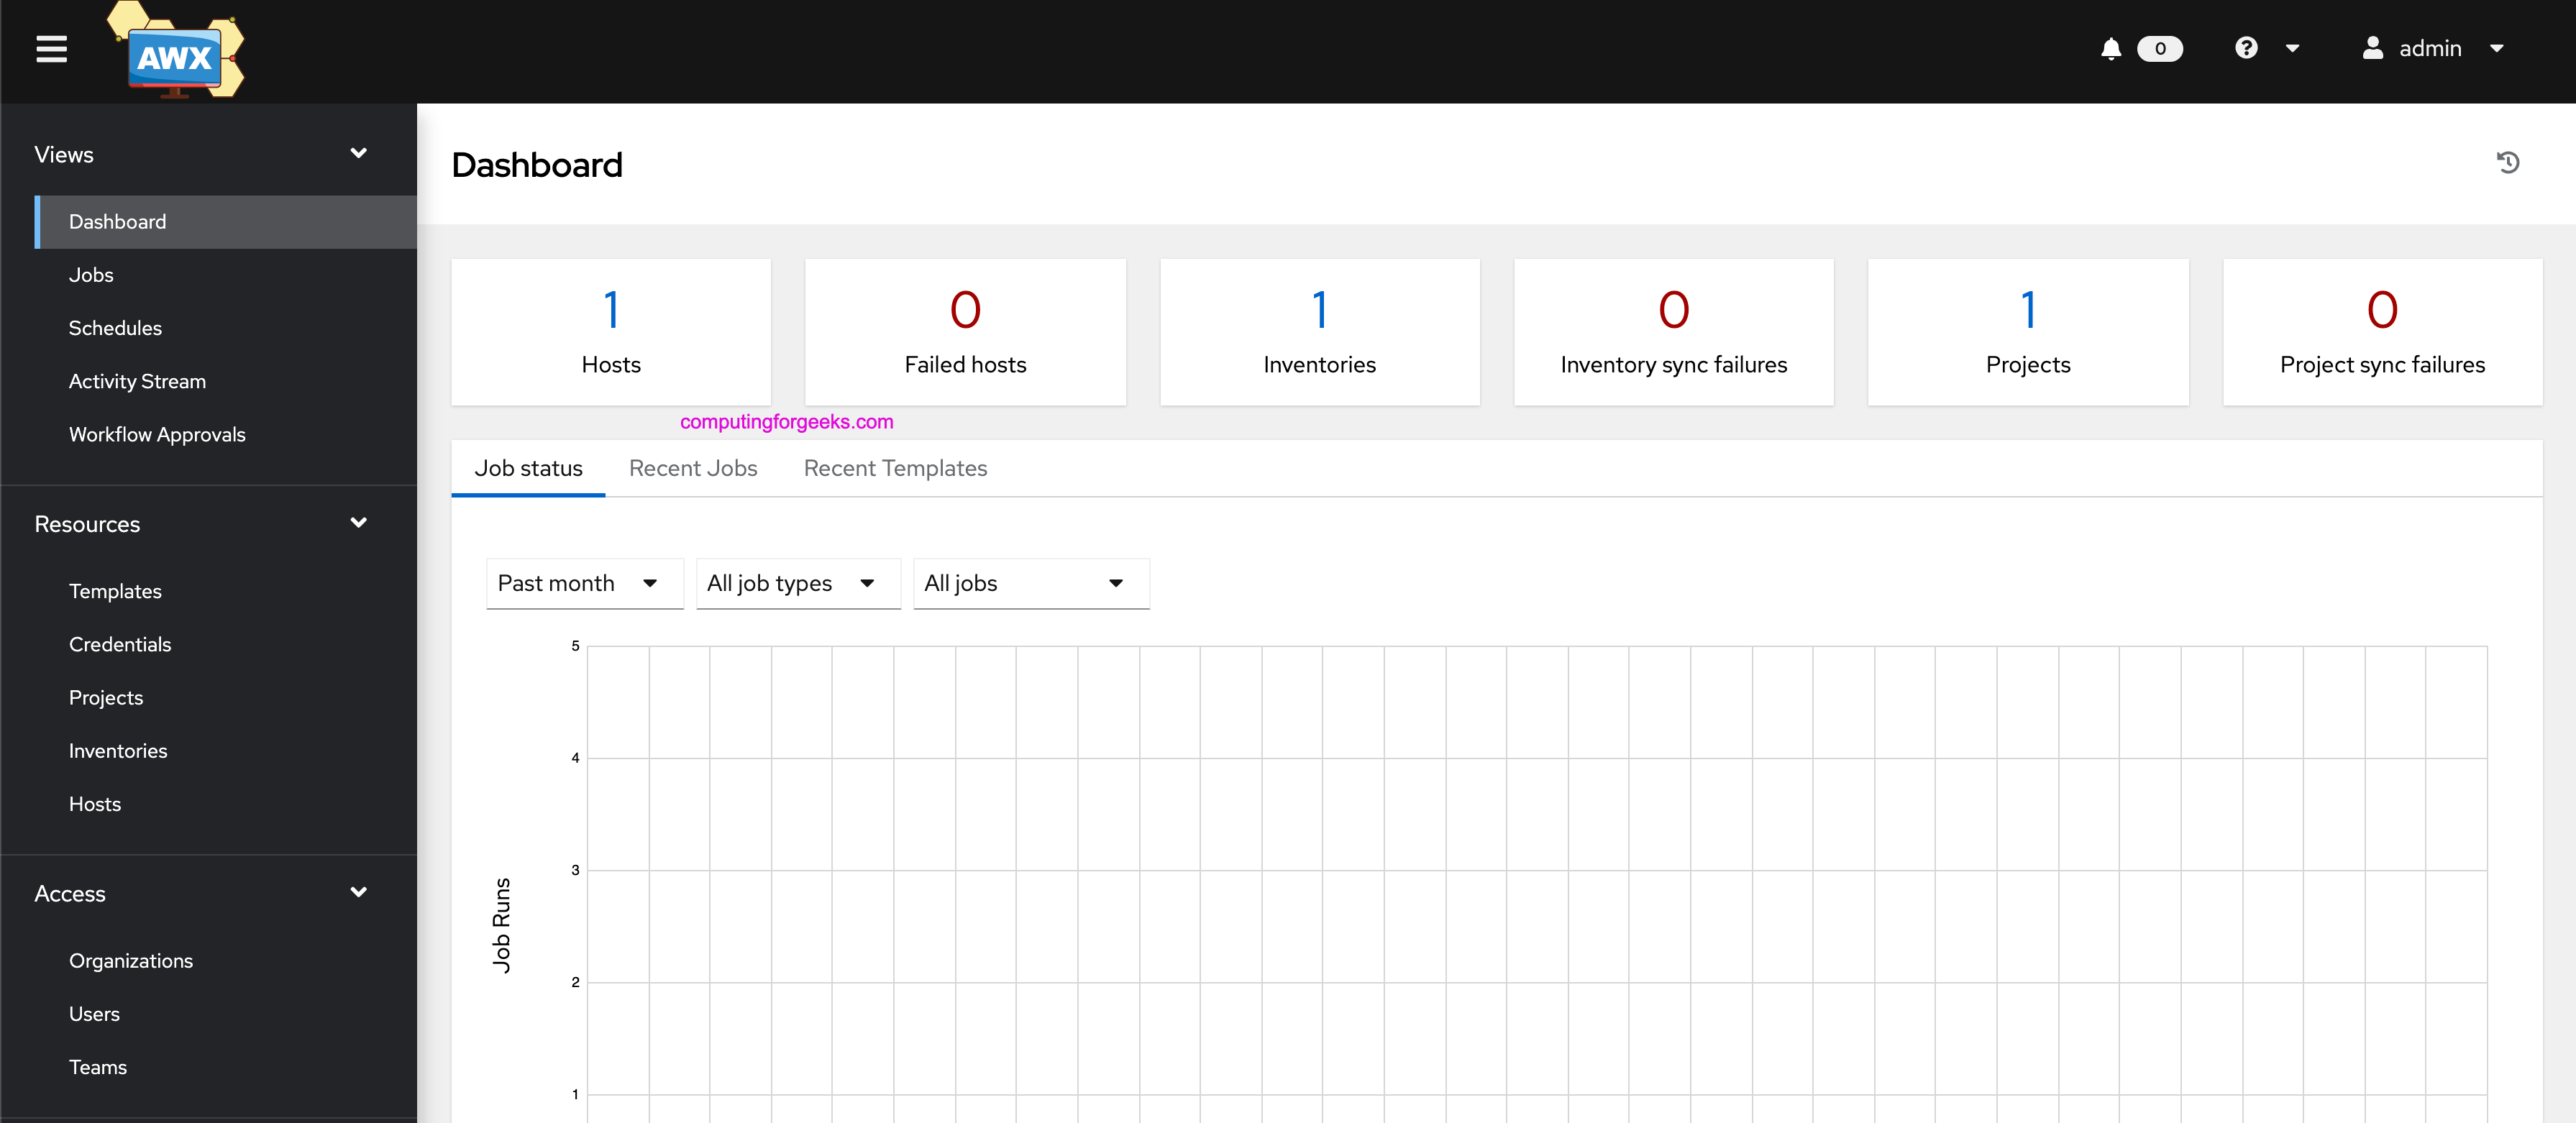
那里有 AWX 管理界面。开始添加清单、导入 Ansible 角色并自动化基础设施和应用程序部署。
步骤 6:为 AWX 配置入口
如果您想使用域名和 SSL 访问您的 AWX,请查看我们的入口文章:
- 如何使用 Traefik Ingress 路由公开 Ansible AWX 服务
- 如何使用 Nginx Ingress 公开 Ansible AWX 服务
相关指南。
- 在 Ubuntu 上安装 Ansible AWX
- 如何在 CentOS 7 上安装和配置 Ansible Tower
- 在 CentOS 7/Fedora 上安装 Ansible AWX
- Semaphore – 从 Web UI 管理 Ansible 任务


