如何在 Ubuntu 20.04 LTS 上安装 NetBox 网络文档和管理工具
本教程适用于这些操作系统版本
- Ubuntu 20.04(Focal Fossa)
- Ubuntu 18.04(仿生海狸)
在此页
- 先决条件
- 开始
- 安装和配置 PostgreSQL 数据库
- 安装和配置 NetBox
- 安装和配置 Gunicorn
- 安装和配置 Supervisor
- 为 NetBox 配置 Nginx
- 访问 Netbox 网络界面
- 结论
Netbox 是一款免费且功能强大的 IP 地址 (IPAM) 和数据中心基础设施管理 (DCIM) 工具。它用于存储有关您的网络、虚拟机、清单等的信息。它最初是由 DigitalOcean 的网络工程团队开发的。该工具使用 Django Python 框架编写,依赖 PostgreSQL 数据库。它的目标是充当网络操作的特定领域的真实来源。
在本教程中,我们将解释如何在 Ubuntu 20.04 上使用 Nginx 作为反向代理安装 Netbox。
先决条件
- 一台运行 Ubuntu 20.04 的服务器。
- 在您的服务器上配置了根密码。
入门
在开始之前,您需要安装 Netbox 所需的一些依赖项。您可以通过运行以下命令来安装所有这些:
apt-get install nginx git gcc supervisor python3 python3-dev python3-pip python3-setuptools build-essential libxml2-dev libxslt1-dev libffi-dev graphviz libpq-dev libssl-dev zlib1g-dev -y安装所有软件包后,您可以继续下一步。
安装和配置 PostgreSQL 数据库
Netbox 依赖 PostgreSQL 数据库进行数据存储。您可以使用以下命令安装它:
apt-get install postgresql postgresql-contrib -y安装 PostgreSQL 后,使用以下命令登录到 PostgreSQL:
su - postgres
:~$ psql
您应该得到以下输出:
psql (12.2 (Ubuntu 12.2-4))
Type "help" for help.
接下来,使用以下命令为 Netbox 创建数据库和用户:
postgres=# CREATE DATABASE netbox;
postgres=# CREATE USER netbox WITH PASSWORD 'password';
接下来,使用以下命令授予 Netbox 数据库的所有权限:
postgres=# GRANT ALL PRIVILEGES ON DATABASE netbox TO netbox;接下来,使用以下命令退出 PostgreSQL shell:
postgres=# exit
:~$ exit
安装和配置 NetBox
首先,将目录更改为 /opt 并使用以下命令从 Git Hub 存储库下载最新版本的 Netbox:
cd /opt/
git clone -b master https://github.com/digitalocean/netbox.git
接下来,使用以下命令创建 Python 二进制文件的符号链接:
ln -s /usr/bin/python3 /usr/bin/python接下来,将目录更改为 /opt/netbox/netbox/ 并通过运行以下命令生成 Django SECRET Key:
cd /opt/netbox/netbox/
./generate_secret_key.py
您应该得到以下输出:
)eTDpo(k^f4Sm9bariUnK0syCPMGEIjW6XV_8l5xhB7z
接下来,将目录更改为 netbox 并重命名示例配置文件:
cd netbox
mv configuration.example.py configuration.py
接下来,编辑 Netbox 配置文件并定义您的数据库、密钥和允许的主机:
nano configuration.py进行以下更改:
ALLOWED_HOSTS = ['your-server-ip']

# PostgreSQL database configuration. See the Django documentation for a complete list of available parameters:
#   https://docs.djangoproject.com/en/stable/ref/settings/#databases
DATABASE = {
    'NAME': 'netbox',         # Database name
    'USER': 'netbox',               # PostgreSQL username
    'PASSWORD': 'password',           # PostgreSQL password
    'HOST': 'localhost',      # Database server
    'PORT': '',               # Database port (leave blank for default)
    'CONN_MAX_AGE': 300,      # Max database connection age
}

SECRET_KEY = ')eTDpo(k^f4Sm9bariUnK0syCPMGEIjW6XV_8l5xhB7z'
保存并关闭文件,然后使用以下命令安装所有 Python 依赖项:
pip3 install -r /opt/netbox/requirements.txt接下来,使用以下命令迁移数据库:
cd /opt/netbox/netbox/
python3 manage.py migrate
接下来,使用以下命令创建一个 Netbox 管理用户:
python3 manage.py createsuperuser您将被要求提供用户名和密码,如下所示:
Username (leave blank to use 'root'): netboxadmin
Email address:
Password:
Password (again):
Superuser created successfully.
接下来,使用以下命令收集静态文件:
python3 manage.py collectstatic您应该看到以下输出:
976 static files copied to '/opt/netbox/netbox/static'.
安装和配置 Gunicorn
Netbox 是一个基于 Django 的应用程序。所以你需要在你的系统中安装 Gunicorn。您可以通过运行以下命令来安装它:
pip3 install gunicorn安装 Gunicorn 后,使用以下命令为 Netbox 创建一个新的 Gunicorn 配置文件:
nano /opt/netbox/gunicorn_config.py添加以下行:
command = '/usr/local/bin/gunicorn'
pythonpath = '/opt/netbox/netbox'
bind = 'your-server-ip:8001'
workers = 3
user = 'www-data'
完成后保存并关闭文件。
安装和配置主管
Supervisor 是一个客户端/服务器系统,允许您监视和控制 NetBox 服务。您可以使用以下命令为 Netbox 创建一个新的 Supervisor 配置文件:
nano /etc/supervisor/conf.d/netbox.conf添加以下行:
[program:netbox]
command = gunicorn -c /opt/netbox/gunicorn_config.py netbox.wsgi
directory = /opt/netbox/netbox/
user = www-data
完成后保存并关闭文件。然后,使用以下命令重新启动 Supervisor 服务:
systemctl restart supervisor您还可以使用以下命令验证 Supervisor 服务的状态:
systemctl status supervisor您应该得到以下输出:
? supervisor.service - Supervisor process control system for UNIX
     Loaded: loaded (/lib/systemd/system/supervisor.service; enabled; vendor preset: enabled)
     Active: active (running) since Sat 2020-05-30 05:49:08 UTC; 14s ago
       Docs: http://supervisord.org
   Main PID: 550606 (supervisord)
      Tasks: 5 (limit: 4691)
     Memory: 184.3M
     CGroup: /system.slice/supervisor.service
             ??550606 /usr/bin/python3 /usr/bin/supervisord -n -c /etc/supervisor/supervisord.conf
             ??550626 /usr/bin/python3 /usr/local/bin/gunicorn -c /opt/netbox/gunicorn_config.py netbox.wsgi
             ??550628 /usr/bin/python3 /usr/local/bin/gunicorn -c /opt/netbox/gunicorn_config.py netbox.wsgi
             ??550629 /usr/bin/python3 /usr/local/bin/gunicorn -c /opt/netbox/gunicorn_config.py netbox.wsgi
             ??550630 /usr/bin/python3 /usr/local/bin/gunicorn -c /opt/netbox/gunicorn_config.py netbox.wsgi

May 30 05:49:08 ubunt4 systemd[1]: Started Supervisor process control system for UNIX.
May 30 05:49:08 ubunt4 supervisord[550606]: 2020-05-30 05:49:08,664 CRIT Supervisor is running as root.  Privileges were not dropped becau>
May 30 05:49:08 ubunt4 supervisord[550606]: 2020-05-30 05:49:08,664 INFO Included extra file "/etc/supervisor/conf.d/netbox.conf" during p>
May 30 05:49:08 ubunt4 supervisord[550606]: 2020-05-30 05:49:08,671 INFO RPC interface 'supervisor' initialized
May 30 05:49:08 ubunt4 supervisord[550606]: 2020-05-30 05:49:08,671 CRIT Server 'unix_http_server' running without any HTTP authentication>
May 30 05:49:08 ubunt4 supervisord[550606]: 2020-05-30 05:49:08,672 INFO supervisord started with pid 550606
May 30 05:49:09 ubunt4 supervisord[550606]: 2020-05-30 05:49:09,676 INFO spawned: 'netbox' with pid 550626
May 30 05:49:11 ubunt4 supervisord[550606]: 2020-05-30 05:49:11,060 INFO success: netbox entered RUNNING state, process has stayed up for
为 NetBox 配置 Nginx
将 Nginx 配置为反向代理以在端口 80 访问 Netbox 是一个好主意。您可以使用以下命令创建新的 Nginx 虚拟主机配置:
nano /etc/nginx/sites-available/netbox.conf添加以下行:
server {
    listen 80;
    server_name your-server-ip;
    client_max_body_size 25m;

    location /static/ {
        alias /opt/netbox/netbox/static/;
    }

    location / {
        proxy_pass http://your-server-ip:8001;
    }
}
保存并关闭文件。然后,创建指向 /etc/nginx/sites-enabled/ 目录的符号链接:
ln -s /etc/nginx/sites-available/netbox.conf /etc/nginx/sites-enabled/接下来,使用以下命令验证 Nginx 是否存在任何语法错误:
nginx -t如果一切正常,您应该得到以下输出:
nginx: the configuration file /etc/nginx/nginx.conf syntax is ok
nginx: configuration file /etc/nginx/nginx.conf test is successful
最后,重启 Nginx 服务以实现更改。
systemctl restart nginx您还可以使用以下命令验证 Nginx:
systemctl status nginx您应该得到以下输出:
? nginx.service - The nginx HTTP and reverse proxy server
   Loaded: loaded (/usr/lib/systemd/system/nginx.service; disabled; vendor preset: disabled)
   Active: active (running) since Sat 2020-05-30 22:28:13 EST; 4min 14s ago
  Process: 984 ExecStart=/usr/sbin/nginx (code=exited, status=0/SUCCESS)
  Process: 982 ExecStartPre=/usr/sbin/nginx -t (code=exited, status=0/SUCCESS)
  Process: 980 ExecStartPre=/usr/bin/rm -f /run/nginx.pid (code=exited, status=0/SUCCESS)
 Main PID: 985 (nginx)
    Tasks: 3 (limit: 25028)
   Memory: 5.5M
   CGroup: /system.slice/nginx.service
           ??985 nginx: master process /usr/sbin/nginx
           ??986 nginx: worker process
           ??987 nginx: worker process

May 30 21:28:12 ubunt4 systemd[1]: Starting The nginx HTTP and reverse proxy server...
Mar 30 21:28:12 ubunt4 nginx[982]: nginx: the configuration file /etc/nginx/nginx.conf syntax is ok
Mar 30 21:28:12 ubunt4 nginx[982]: nginx: configuration file /etc/nginx/nginx.conf test is successful
Mar 30 21:28:13 ubunt4 systemd[1]: Started The nginx HTTP and reverse proxy server.
此时,Nginx Web 服务器已配置为在端口 80 上为 Netbox 提供服务。您现在可以继续访问 Netbox Web 界面。
访问 Netbox Web 界面
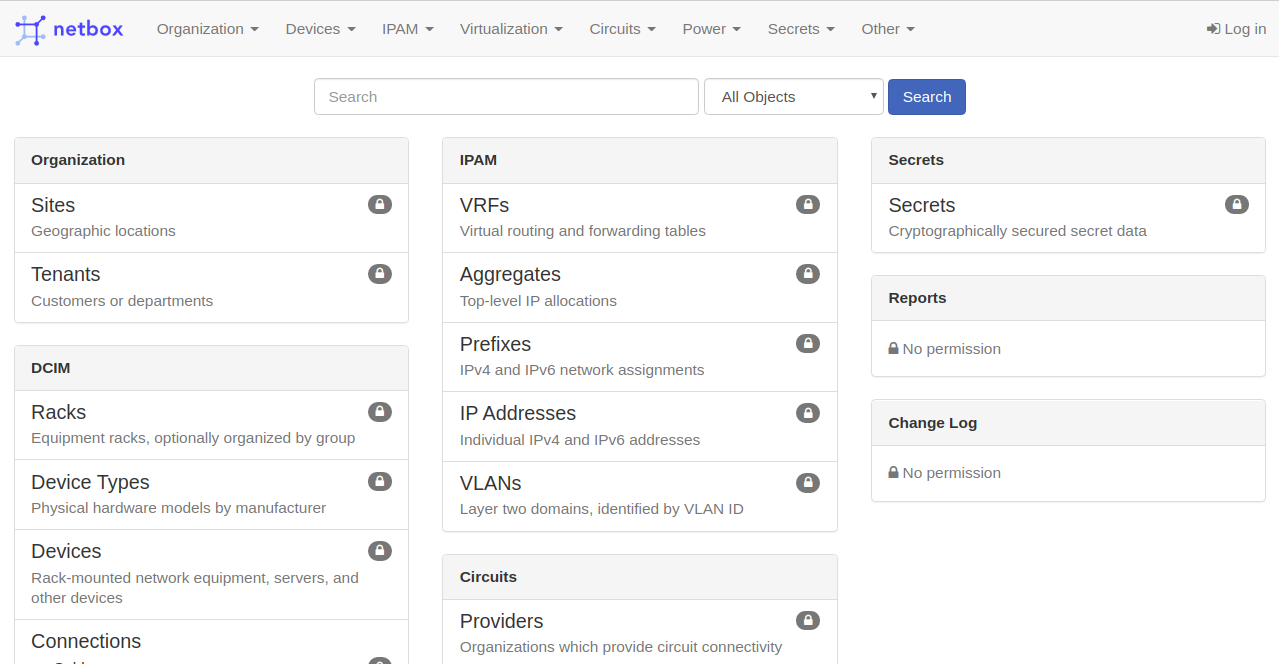
打开您的 Web 浏览器并访问 URL http://your-server-ip。您将被重定向到以下页面:
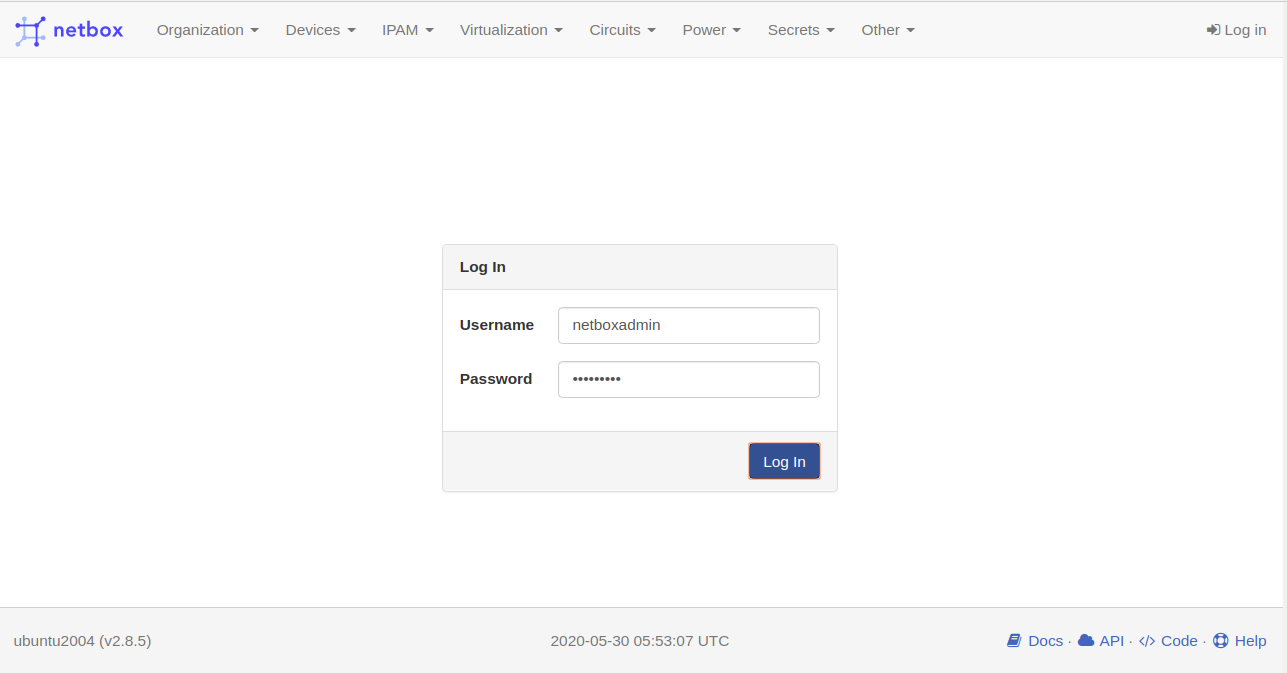
单击“登录”按钮。您应该在以下屏幕中看到 Netbox 登录页面:
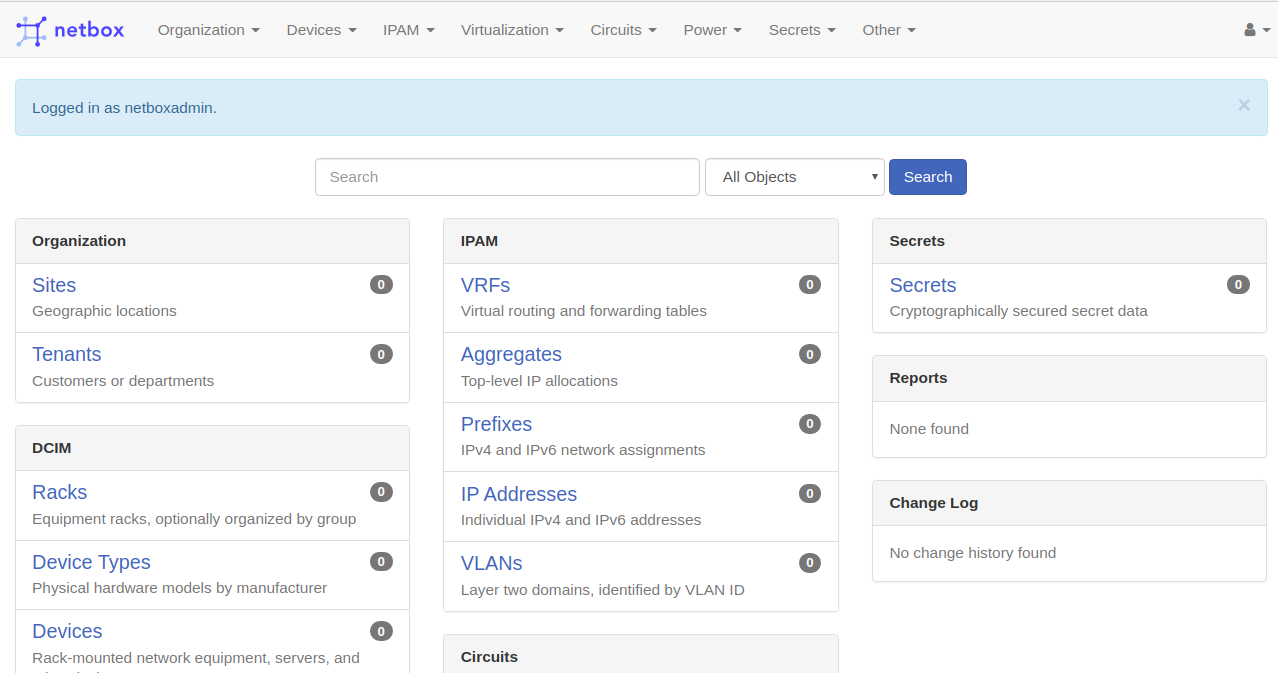
提供您的 Netbox 管理员用户名、密码,然后单击登录按钮。您应该在以下页面中看到 Netbox 默认仪表板:
结论
在本指南中,您学习了如何使用 Nginx 在 Ubuntu 20.04 上安装 Netbox。您现在可以开始记录您的网络基础设施。有关详细信息,请访问 Netbox 官方文档。如果您有任何问题,请随时问我。