使用 Apache 和 Let's Encrypt 在 Debian 11 上安装 WordPress
WordPress 是一种广泛使用的基于 PHP 的免费开源内容管理系统。它由 Matt Mullenweg 和 Mike Little 于 2003 开发。 WordPress 几乎可以在任何网络托管服务上安装和使用,使其成为最容易安装和使用的 CMS。此外,使用 WordPress,您无需任何编程知识即可创建网站。
与 WordPress CMS 相关的炫酷功能包括:
- 轻松添加其他网站编辑器:轻松添加/编辑/删除其他编辑器,使组织内的其他人能够管理您的网站内容。
- 灵活的帖子安排:帖子可以安排在稍后的特定日期/时间显示,以便您可以提前创建内容并安排时间。
- 恢复已删除的页面和回滚版本控制:在永久删除之前恢复已删除的页面内容,甚至使用内置版本控制功能将页面文本回滚到以前的版本。
- 自动备份 - 为了防止数据丢失,会进行每日自动站点级备份以及裸机备份。
- 集成新闻和博客发布:使用内置博客和博客类别管理可以根据需要轻松添加/编辑/删除内容。直接从浏览器持续添加新闻文章。
- 托管网站安全:作为 WordPress 托管网络托管服务的一部分,我们会为您照顾 WordPress 的安全性、备份、核心升级和更新。
- 易于管理:使用直观的 WordPress CMS,您可以从任何现代浏览器登录并更改您的网站,而无需编程知识。
- 无限的页面、帖子和产品:它允许人们在内容区域添加图像、文本、文件、链接和嵌入媒体,而不受页面、帖子或产品数量的限制可以添加。
- 稳定性和可靠性:第三方插件经过审核和测试,有助于预防安全风险并最大程度地减少对您网站的性能影响。
按照本指南进行到底,您应该能够使用 Apache 和 Let’s Encrypt 在 Debian 11 (Bullseye) 上安装 WordPress。
入门。
在我们继续之前,更新和升级系统和可用的软件包非常重要。用于更新系统及其软件包的命令是:
sudo apt update && sudo apt upgrade -y第 1 步 – 安装 PHP 扩展
由于 WordPress 是基于 PHP 的,因此我们需要在 Debian 11 (Bullseye) 上安装 PHP 及其扩展。
默认存储库提供 PHP 7.4,可以使用以下命令安装:
sudo apt install php php-common php-mysql php-gmp php-curl php-intl php-mbstring php-xmlrpc php-gd php-xml php-cli php-zip您可以通过以下方式确认 PHP 版本:
$ php -v
PHP 7.4.33 (cli) (built: Feb 22 2023 20:07:47) ( NTS )
Copyright (c) The PHP Group
Zend Engine v3.4.0, Copyright (c) Zend Technologies
with Zend OPcache v7.4.33, Copyright (c), by Zend Technologies对于PHP 8.2及其扩展,您需要添加第三方存储库,如下所示:
sudo apt install -y lsb-release ca-certificates apt-transport-https software-properties-common gnupg2
echo "deb https://packages.sury.org/php/ $(lsb_release -sc) main" | sudo tee /etc/apt/sources.list.d/sury-php.list
sudo wget -O /etc/apt/trusted.gpg.d/php.gpg https://packages.sury.org/php/apt.gpg
删除旧版本的 PHP:
sudo apt remove apache2 php php-common php-mysql php-gmp php-curl php-intl php-mbstring php-xmlrpc php-gd php-xml php-cli php-zip libapache2-mod-php添加后,使用以下命令安装 PHP 8.2:
sudo apt update
sudo apt install apache2 php8.2 libapache2-mod-php8.2 php8.2-{common,mysql,gmp,curl,intl,mbstring,xmlrpc,gd,xml,cli,zip}
确认PHP版本:
$ php -v
PHP 8.2.6 (cli) (built: May 12 2023 07:48:41) (NTS)
Copyright (c) The PHP Group
Zend Engine v4.2.6, Copyright (c) Zend Technologies
    with Zend OPcache v8.2.6, Copyright (c), by Zend Technologies
安装后,您需要为 WordPress 配置 PHP,如下所示:
##For PHP7.4
sudo vim /etc/php/7.4/apache2/php.ini

##For PHP8.2
sudo vim /etc/php/8.2/apache2/php.ini
编辑文件如下:
max_execution_time = 300
upload_max_filesize = 100M
post_max_size = 128M
第 2 步 – 安装和配置 MariaDB
WordPress 需要一个数据库作为存储。在本指南中,我们将在 Debian 11 上安装 MariaDB 数据库。
sudo apt install -y mariadb-server mariadb-client启动并启用 MariaDB。
sudo systemctl start mariadb
sudo systemctl enable mariadb
确保 MariaDB 安装安全。
$ sudo mysql_secure_installation
.....
Enter current password for root (enter for none): Just press Enter
Switch to unix_socket authentication [Y/n] y
Change the root password? [Y/n]
New password: xxx << Enter Password
Re-enter new password: xxx << Re-Enter Password
.....
Remove anonymous users? [Y/n] y
....
Disallow root login remotely? [Y/n] y
.....
Remove test database and access to it? [Y/n] y
.....
Reload privilege tables now? [Y/n] y
....
Thanks for using MariaDB!
现在登录到 shell 并为 WordPress 创建一个数据库。
sudo mysql -u root -p创建数据库并记住在需要时替换变量。
CREATE DATABASE wordpress;
CREATE USER 'wp_user'@'localhost' IDENTIFIED BY 'Passw0rd';
GRANT ALL ON wordpress.* TO 'wp_user'@'localhost' WITH GRANT OPTION;
FLUSH PRIVILEGES;
EXIT
第 3 步 – 在 Debian 上下载 WordPress
现在我们将使用下面的 wget 命令提取最新的 WordPress 存档文件:
cd /tmp
wget https://wordpress.org/latest.tar.gz
继续并提取存档。
tar -xvzf latest.tar.gz将文件移至 webroot 目录。
sudo mv wordpress /var/www/html/wordpress为路径设置正确的权限。
sudo chown -R www-data:www-data /var/www/html/wordpress/
sudo chmod -R 755 /var/www/html/wordpress/
步骤 4 – 为 WordPress 配置 Apache 虚拟主机
然后我们将为 WordPress 创建一个虚拟主机文件。使用您最喜欢的编辑器创建文件:
sudo vim /etc/apache2/sites-available/wordpress.conf该文件将包含以下行:
<VirtualHost *:80>
   ServerName wordpress.example.com
   ServerAlias www.wordpress.example.com
   ServerAdmin [email
   DocumentRoot /var/www/html/wordpress

   ErrorLog ${APACHE_LOG_DIR}/wordpress_error.log
   CustomLog ${APACHE_LOG_DIR}/wordpress_access.log combined


   <Directory /var/www/html/wordpress>
      Options FollowSymlinks
      AllowOverride All
      Require all granted
   </Directory>

</VirtualHost>
请记住将 wordpress.example.com 替换为您自己的域名。保存文件,启用站点并激活重写模块。
sudo  a2dissite 000-default.conf
sudo a2ensite wordpress
sudo a2enmod rewrite ssl headers
重新启动 Apache 以使更改生效。
sudo systemctl restart apache2第 5 步 – 访问 WordPress Web 安装程序
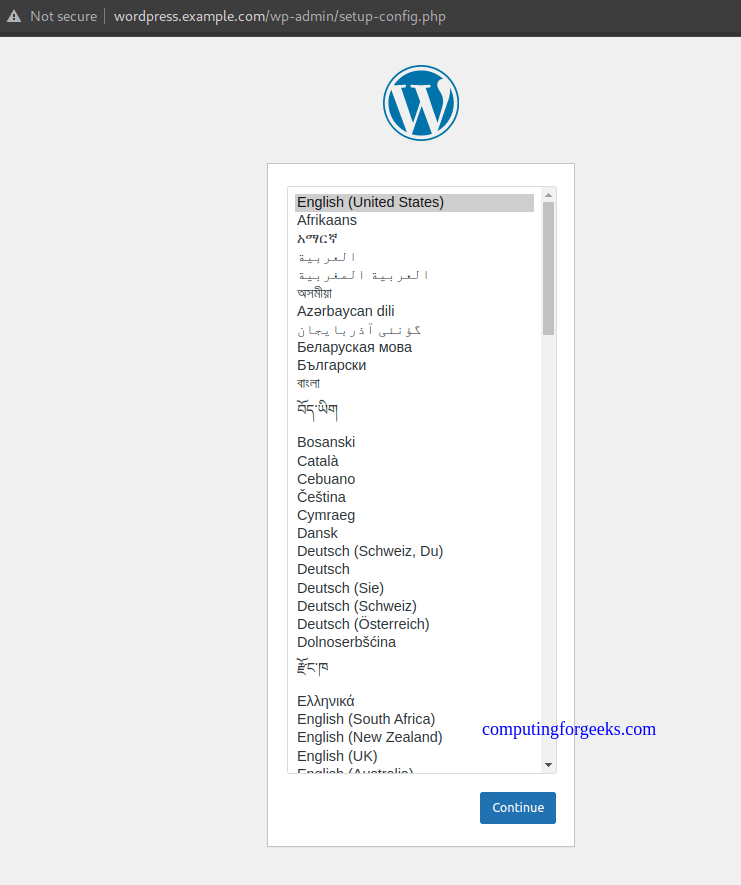
使用 URL http://domain_name 访问 WordPress Web 安装程序。选择首选语言并继续。
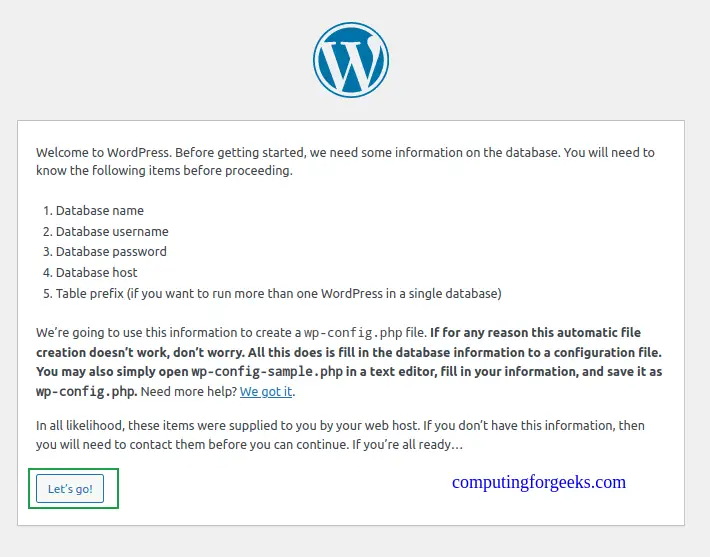
单击开始继续安装。
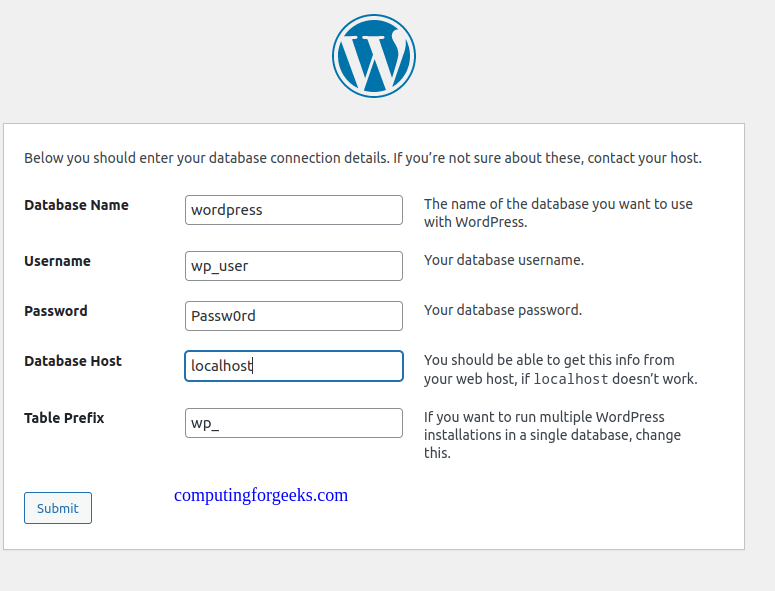
提供已创建的 WordPress 数据库的详细信息。
如果连接成功,您将看到此消息。
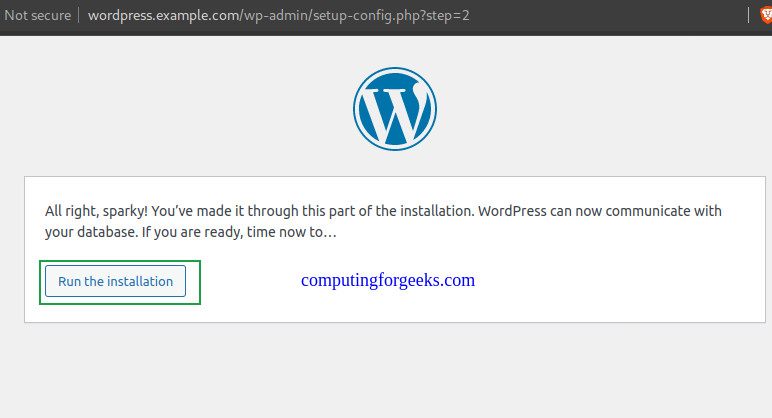
单击运行安装并继续创建您的 WordPress 网站和管理员帐户。
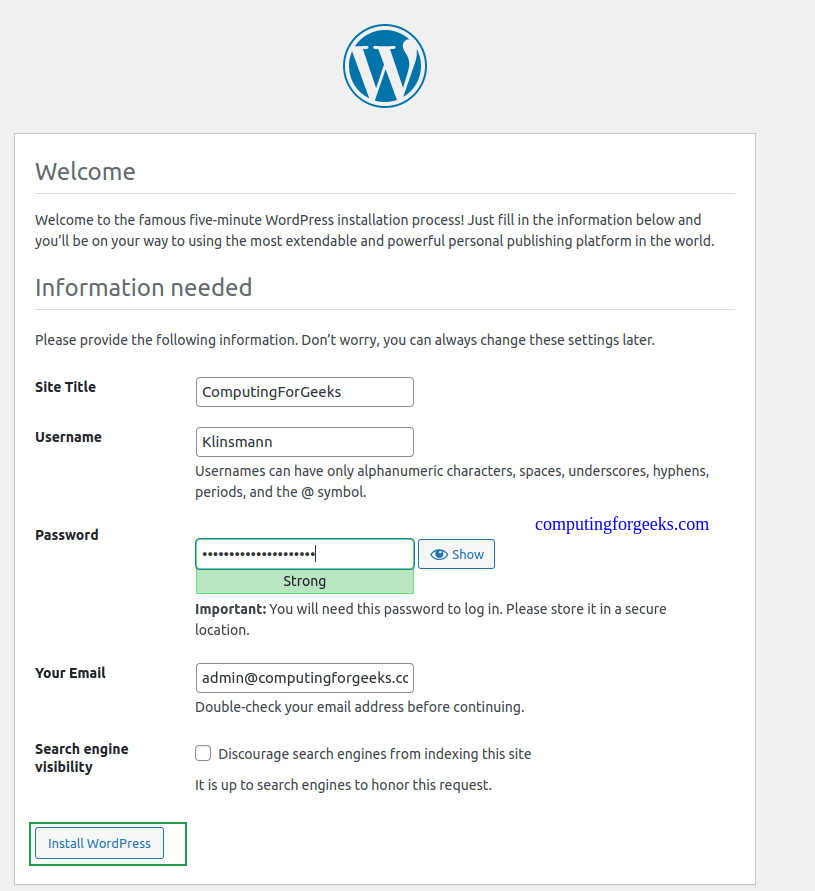
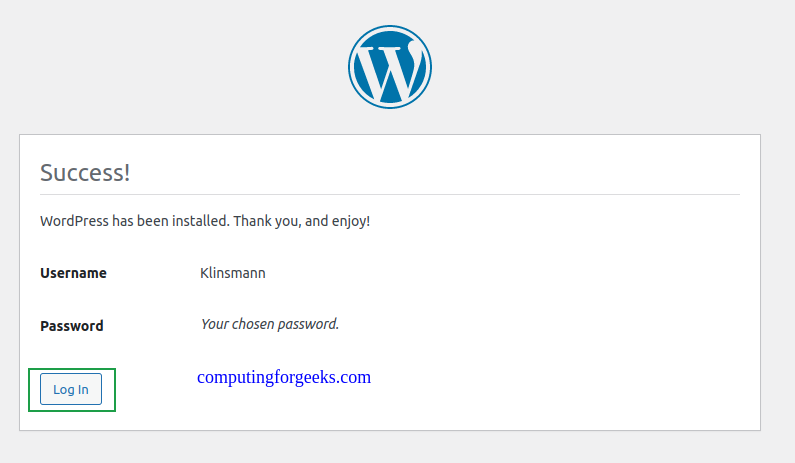
运行安装,完成后,继续登录 WordPress 管理员。
步骤 6 – 在 Debian 11(Bullseye) 上访问和使用 WordPress
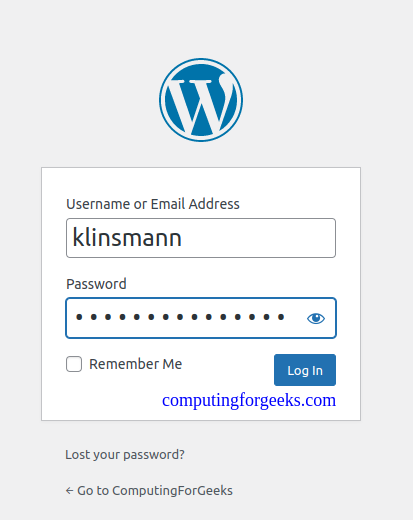
通过提供创建的用户凭据登录 WordPress 管理仪表板。
登录后,您将看到以下仪表板。
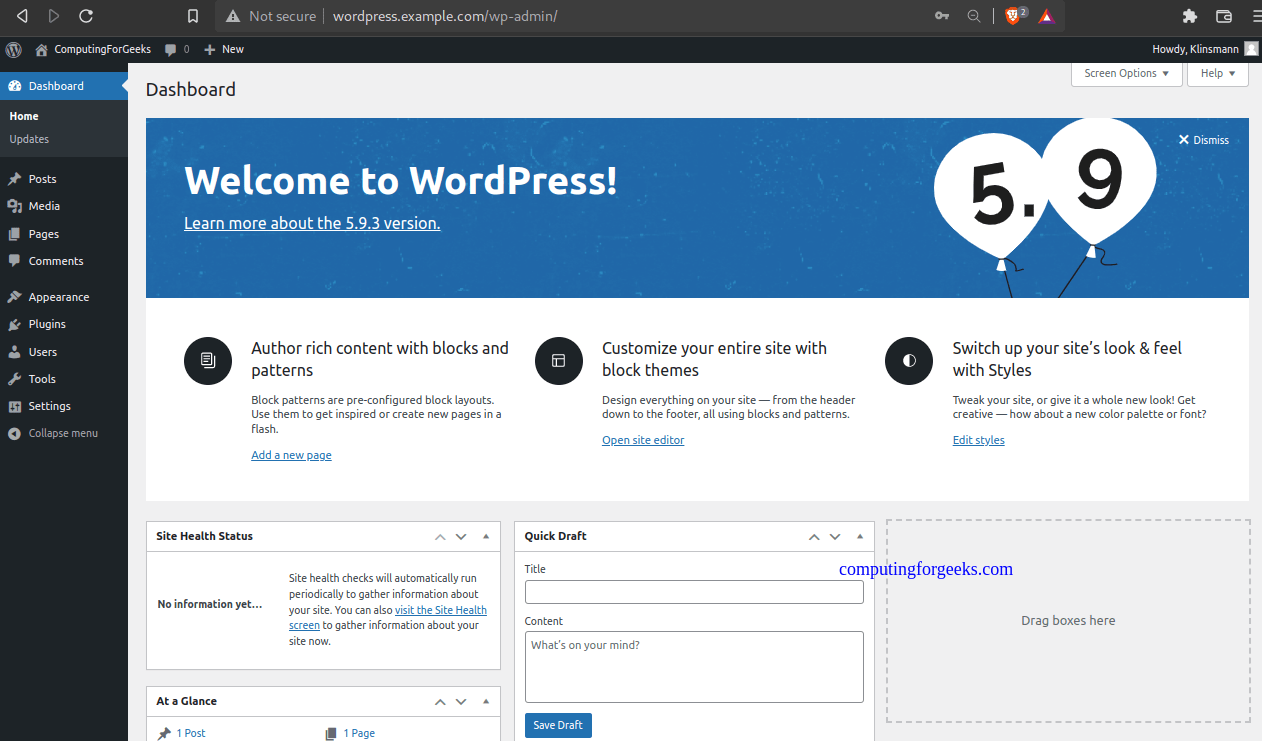
在此仪表板上,您可以对您的网站进行多项自定义/设置。
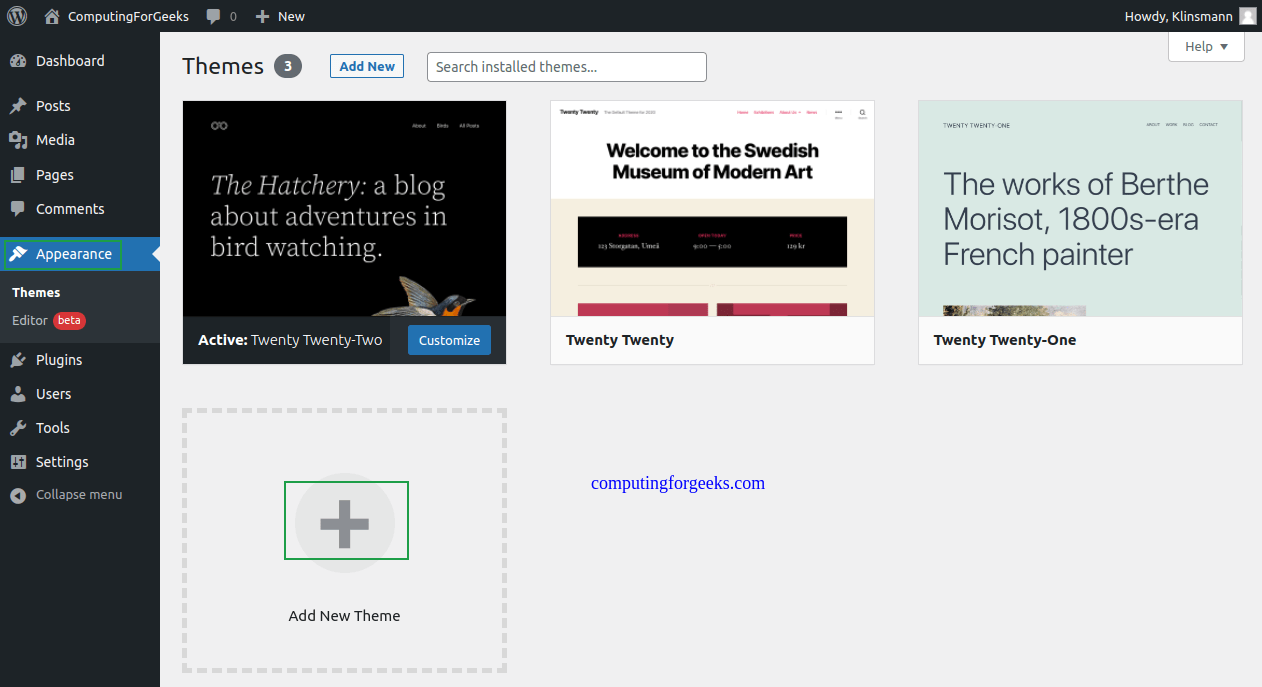
要设置主题、背景、小部件并自定义页面,请单击外观。
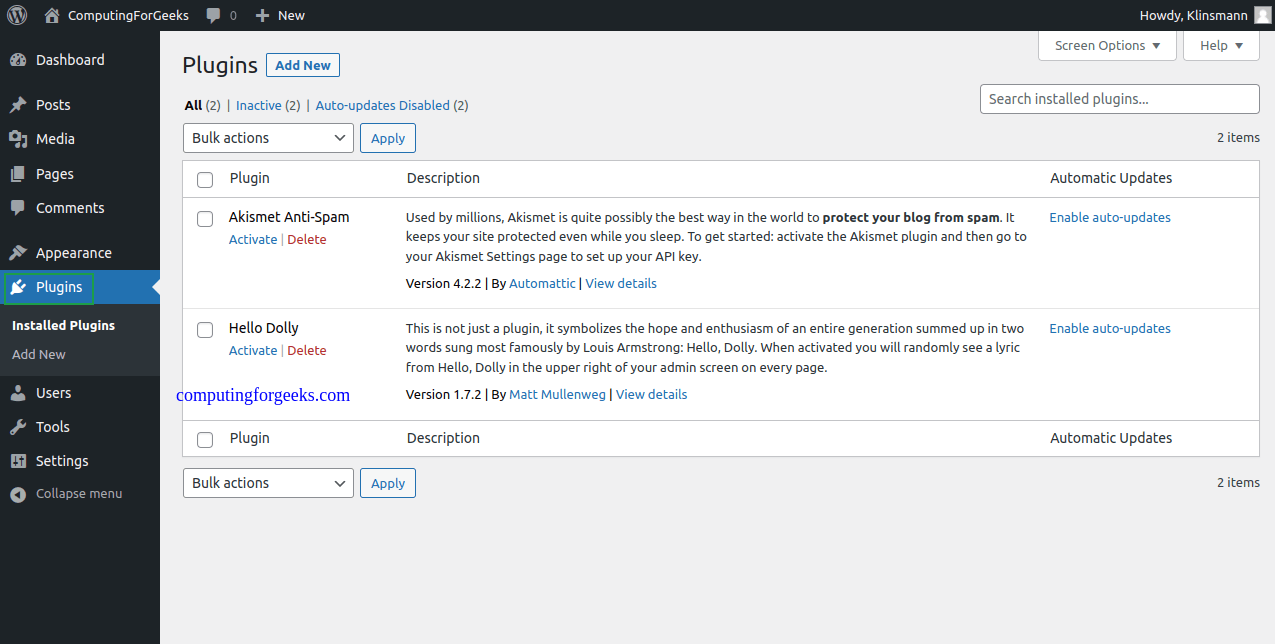
您还可以在插件选项卡中添加所需的插件。
在 WordPress 的用户选项卡中创建和管理用户。在这里,您可以创建用户并为其分配订阅者、作者、贡献者、编辑者或管理员等角色。

在设置选项卡中对 WordPress 网站进行设置。常规设置包括设置站点标题、站点 URL、站点标语等

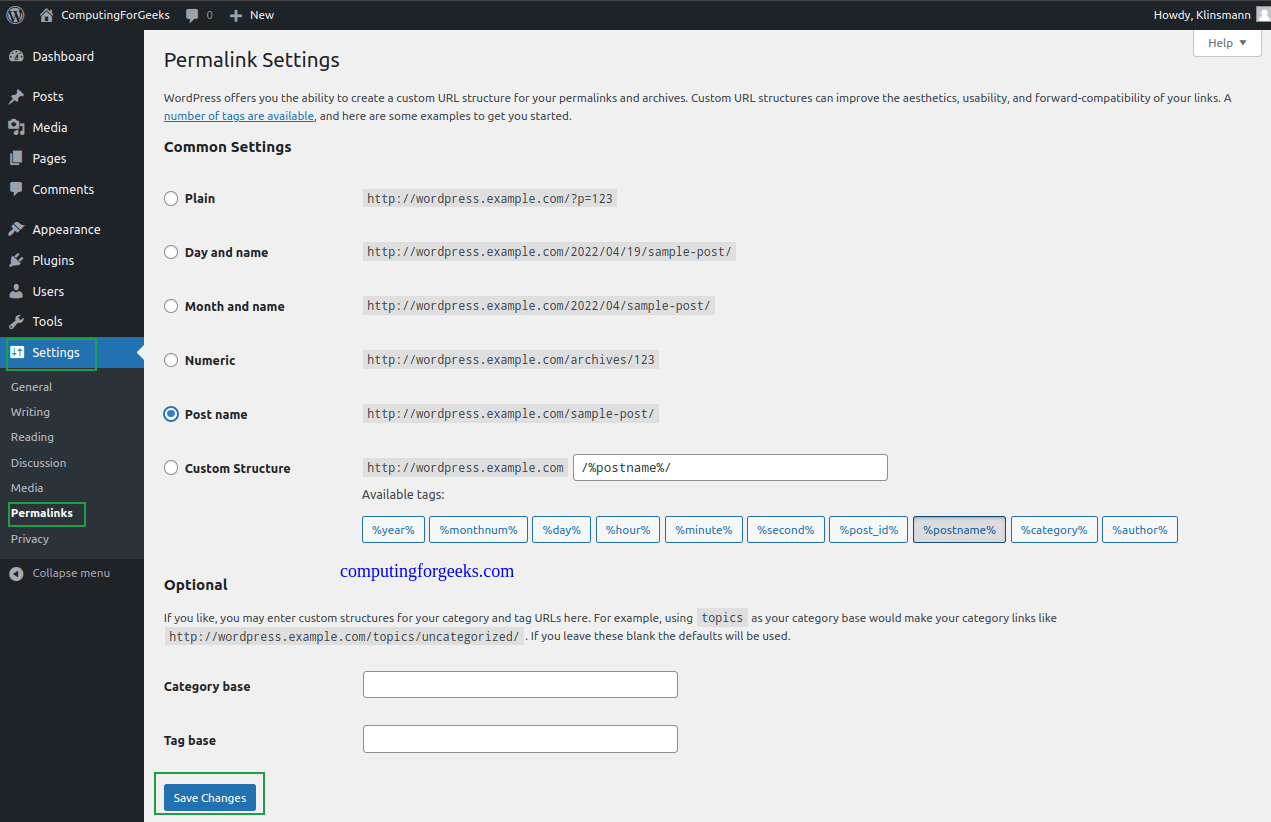
您还可以为您的网站配置永久链接(永久链接)。这非常重要,因为它可以避免暴露帖子 ID,从不同的系统访问时,该 ID 有时可能会发生变化。永久链接通常从帖子标题中获取。您可以配置固定链接的显示方式。
保存所做的设置后,继续创建示例帖子。在帖子标签中。我们已经创建了一个示例帖子。
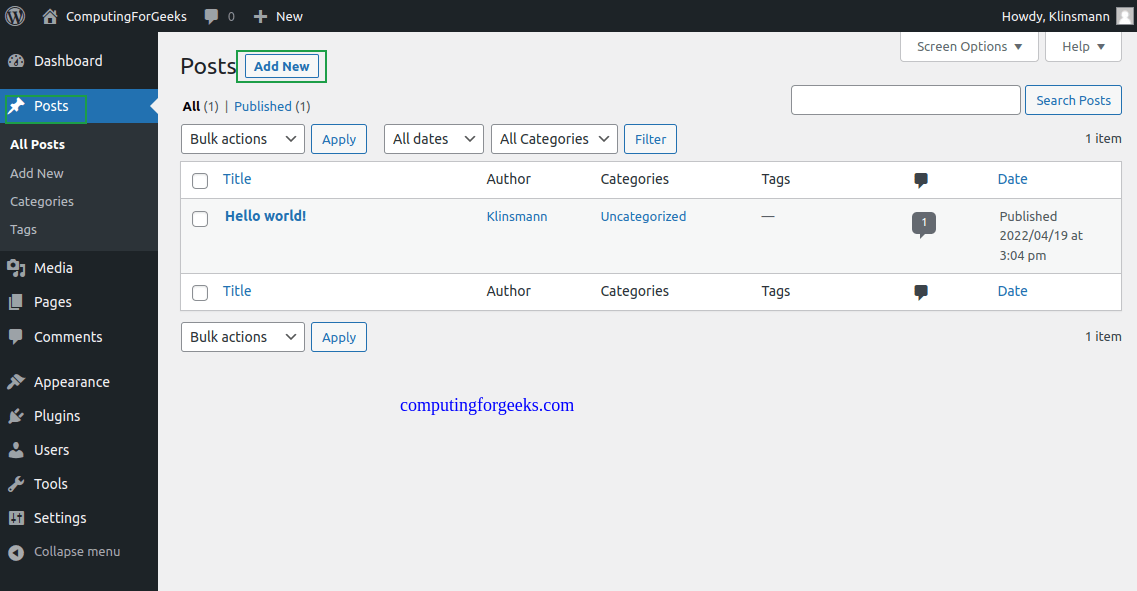
单击添加新内容并提供您需要发布的内容来创建新内容。
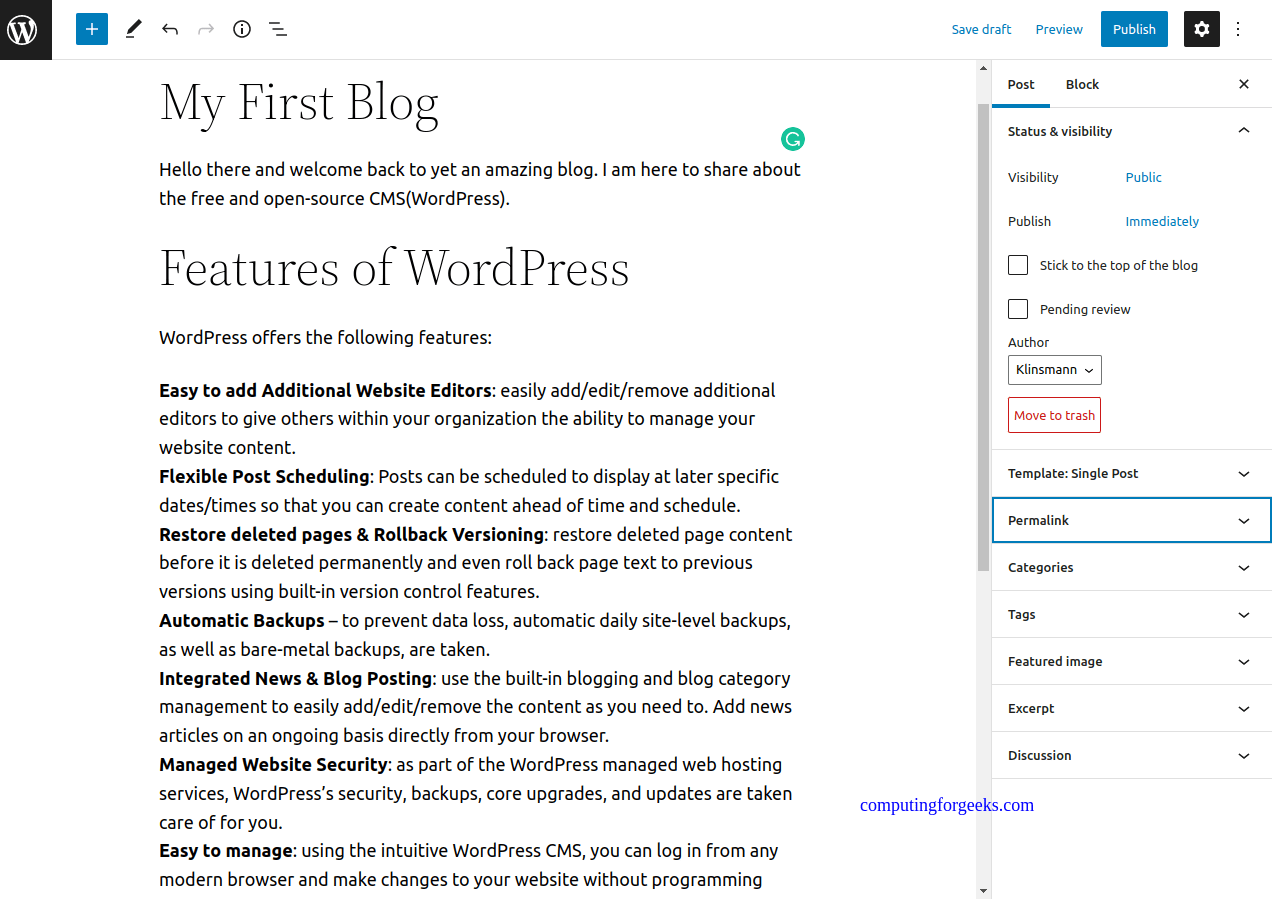
写作时,您可以保存和预览内容。完成任务并需要将其发布为在线内容后,请单击发布。
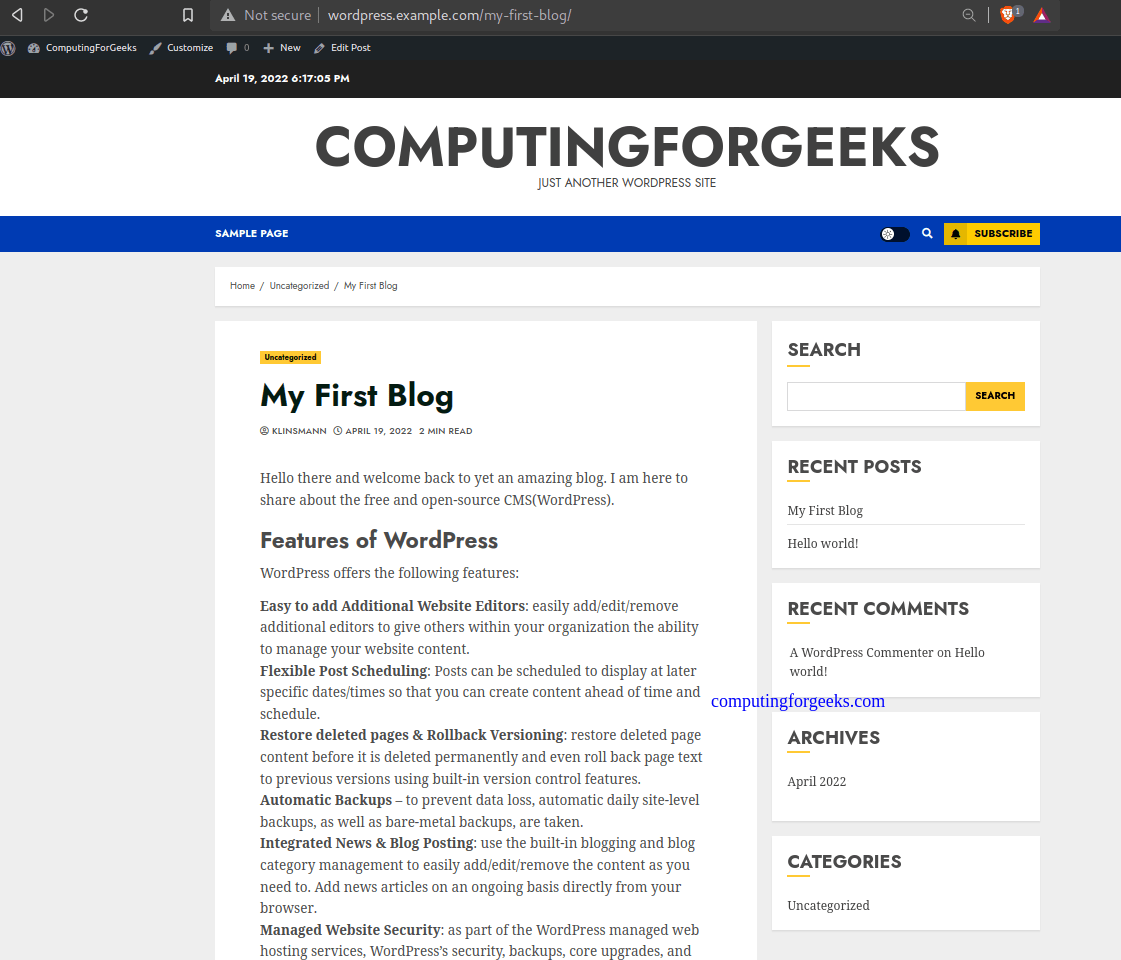
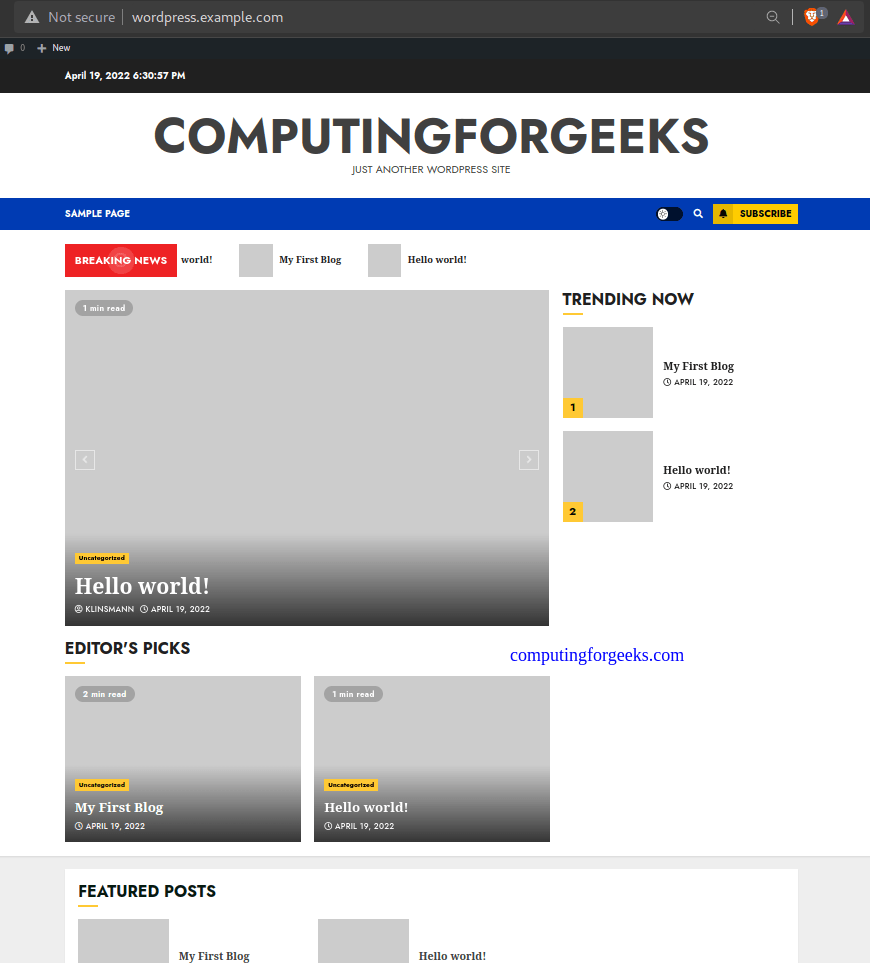
可以使用永久链接查看已发布的内容。或者,使用 URL http://domain_name 访问该站点。
请记住,安装完成后,管理控制台将移至 URL http://domain_name/wp-admin。
第 7 步 – 使用 Let’s Encrypt 保护 WordPress
Let’s Encrypt 用于为任何 FQDN 生成免费的可信证书。首先安装所需的工具:
sudo apt install certbot python3-certbot-apache安装 Certbot 软件包后,使用以下命令继续生成 SSL 证书:
sudo certbot --apache如图所示继续:
Saving debug log to /var/log/letsencrypt/letsencrypt.log
Enter email address (used for urgent renewal and security notices)
 (Enter 'c' to cancel): Enter a valid Email address here

- - - - - - - - - - - - - - - - - - - - - - - - - - - - - - - - - - - - - - - -
Please read the Terms of Service at
https://letsencrypt.org/documents/LE-SA-v1.2-November-15-2017.pdf. You must
agree in order to register with the ACME server. Do you agree?
- - - - - - - - - - - - - - - - - - - - - - - - - - - - - - - - - - - - - - - -
(Y)es/(N)o: y

- - - - - - - - - - - - - - - - - - - - - - - - - - - - - - - - - - - - - - - -
Would you be willing, once your first certificate is successfully issued, to
share your email address with the Electronic Frontier Foundation, a founding
partner of the Let's Encrypt project and the non-profit organization that
develops Certbot? We'd like to send you email about our work encrypting the web,
EFF news, campaigns, and ways to support digital freedom.
- - - - - - - - - - - - - - - - - - - - - - - - - - - - - - - - - - - - - - - -
(Y)es/(N)o: y
Account registered.

Which names would you like to activate HTTPS for?
- - - - - - - - - - - - - - - - - - - - - - - - - - - - - - - - - - - - - - - -
1: wordpress.example.com
2: www.wordpress.example.com
- - - - - - - - - - - - - - - - - - - - - - - - - - - - - - - - - - - - - - - -
Select the appropriate numbers separated by commas and/or spaces, or leave input
blank to select all options shown (Enter 'c' to cancel): 1
Requesting a certificate for wordpress.example.com
Created an SSL vhost at /etc/apache2/sites-available/wordpress-le-ssl.conf
Deploying Certificate to VirtualHost /etc/apache2/sites-available/wordpress-le-ssl.conf
Enabling available site: /etc/apache2/sites-available/wordpress-le-ssl.conf
Redirecting vhost in /etc/apache2/sites-enabled/wordpress.conf to ssl vhost in /etc/apache2/sites-available/wordpress-le-ssl.conf

- - - - - - - - - - - - - - - - - - - - - - - - - - - - - - - - - - - - - - - -
Congratulations! You have successfully enabled https://wordpress.example.com
- - - - - - - - - - - - - - - - - - - - - - - - - - - - - - - - - - - - - - - -
Subscribe to the EFF mailing list (email: [email ).

IMPORTANT NOTES:
 - Congratulations! Your certificate and chain have been saved at:
   /etc/letsencrypt/live/wordpress.example.com/fullchain.pem
   Your key file has been saved at:
   /etc/letsencrypt/live/wordpress.example.com/privkey.pem
   Your certificate will expire on 2022-07-18. To obtain a new or
   tweaked version of this certificate in the future, simply run
   certbot again with the "certonly" option. To non-interactively
   renew *all* of your certificates, run "certbot renew"
 - If you like Certbot, please consider supporting our work by:

   Donating to ISRG / Let's Encrypt:   https://letsencrypt.org/donate
   Donating to EFF:                    https://eff.org/donate-le
这就对了!您现在可以通过 HTTPS 访问您的 WordPress 网站。
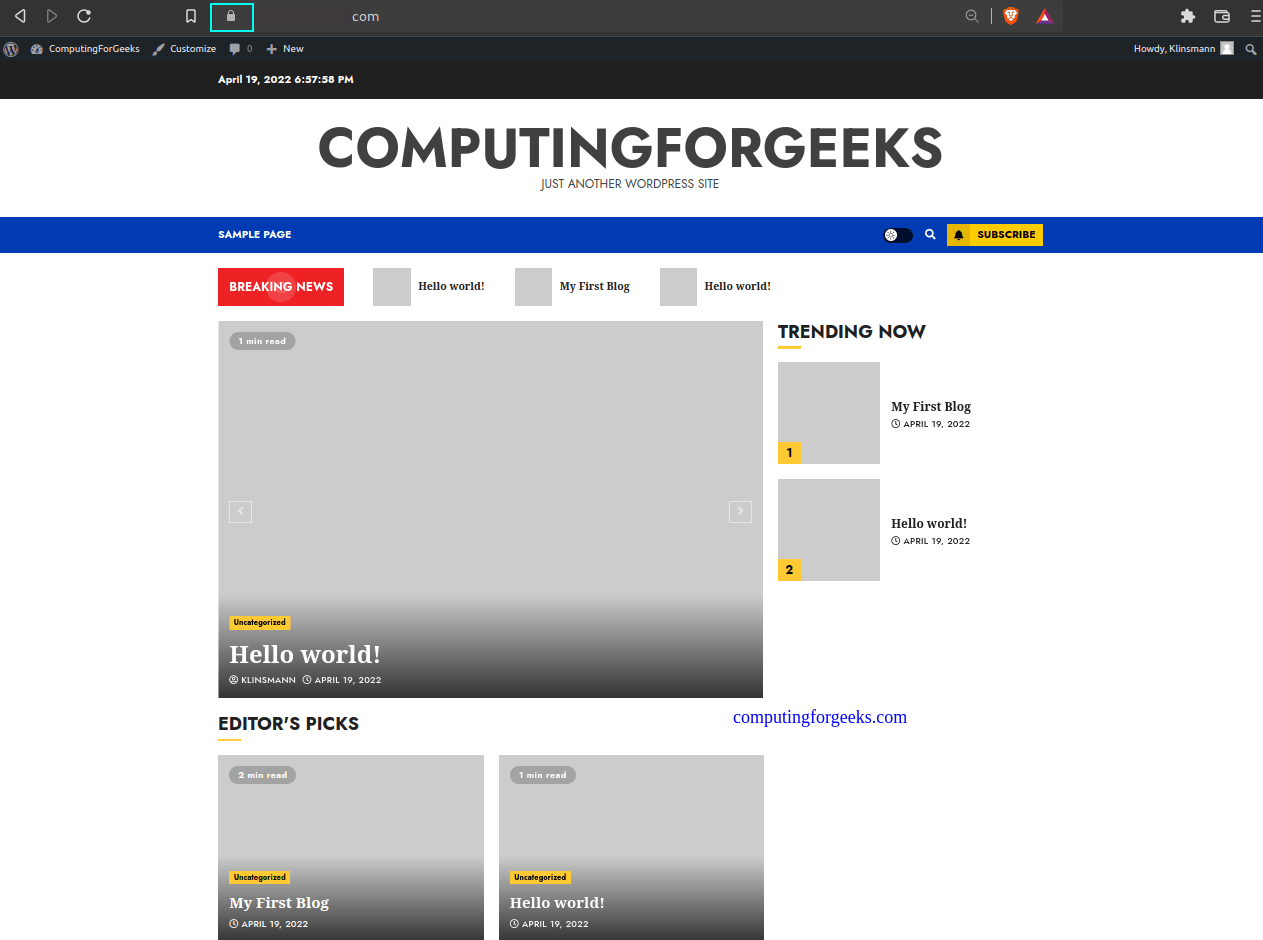
瞧!
学习就足够了。我们已经使用 Apache 和 Let’s Encrypt 在 Debian 11 (Bullseye) 上成功安装了 WordPress。我希望你觉得这很重要。
- 配置 WordPress 以通过 WP Mail SMTP 使用 Gmail
查看更多: