安装和配置 Graylog 监控服务器 Ubuntu 20.04
本教程适用于这些操作系统版本
- Ubuntu 22.04(Jammy Jellyfish)
- Ubuntu 20.04(Focal Fossa)
在此页
- 先决条件
- 开始
- 安装Java
- 安装和配置 Elasticsearch
- 安装 MongoDB 服务器
- 安装和配置 Graylog
- 将 Nginx 配置为 Graylog 的反向代理
- 访问 Graylog 网络界面
- 结论
Graylog 是一款免费开源的日志管理软件工具,可用于从中央服务器监控网络系统的日志。它使用 Elasticsearch 存储日志数据并提供搜索功能,使用 MongoDB 存储元信息。它可以帮助您监控、搜索和分析大量数据,并将其转化为一种简单可读的格式。
在本教程中,我们将向您展示如何在 Ubuntu 20.04 服务器上安装 Graylog。
先决条件
- 运行 Ubuntu 20.04 的服务器。至少 4GB 内存
- 已配置根密码。
入门
首先,您需要将系统包更新到最新版本。您可以使用以下命令更新它们:
apt-get update -y更新所有包后,您还需要在服务器中安装一些依赖项。您可以使用以下命令安装所有这些:
apt-get install apt-transport-https gnupg2 uuid-runtime pwgen curl dirmngr -y安装所有必需的依赖项后,您可以继续下一步。
安装Java
Graylog 需要在您的服务器中安装 Java。如果没有安装,可以使用以下命令安装:
apt-get install openjdk-11-jre-headless -y安装 Java 后,您可以通过运行以下命令来验证已安装的 Java 版本:
java -version您应该得到以下输出:
openjdk version "11.0.8" 2020-07-14
OpenJDK Runtime Environment (build 11.0.8+10-post-Ubuntu-0ubuntu120.04)
OpenJDK 64-Bit Server VM (build 11.0.8+10-post-Ubuntu-0ubuntu120.04, mixed mode, sharing)
完成后,您可以继续下一步。
安装和配置 Elasticsearch
Graylog 使用 Elasticsearch 来存储来自外部资源的日志。所以你需要在你的系统中安装 Elasticsearch。
默认情况下,最新版本的 Elasticsearch 在 Ubuntu 默认存储库中不可用。所以你需要在你的系统中添加 Elasticsearch 存储库。
首先,使用以下命令下载并添加 Elasticsearch GPG 密钥:
wget -qO - https://artifacts.elastic.co/GPG-KEY-elasticsearch | apt-key add -接下来,使用以下命令添加 Elasticsearch 存储库:
echo "deb https://artifacts.elastic.co/packages/oss-6.x/apt stable main" | sudo tee -a /etc/apt/sources.list.d/elastic-6.x.list接下来,更新存储库并使用以下命令安装 Elasticsearch:
apt-get update -y
apt-get install elasticsearch-oss -y
安装 Elasticsearch 后,您需要编辑 Elasticsearch 配置文件并定义集群名称。您可以使用以下命令执行此操作:
nano /etc/elasticsearch/elasticsearch.yml将集群名称定义为 graylog 并添加另一行,如下所示:
cluster.name: graylog
action.auto_create_index: false
完成后保存并关闭文件。然后,启动 Elasticsearch 服务并使用以下命令使其在开机时启动:
systemctl daemon-reload
systemctl start elasticsearch
systemctl enable elasticsearch
您还可以使用以下命令验证 Elasticsearch 服务的状态:
systemctl status elasticsearch您应该得到以下输出:
? elasticsearch.service - Elasticsearch
     Loaded: loaded (/lib/systemd/system/elasticsearch.service; disabled; vendor preset: enabled)
     Active: active (running) since Sat 2020-09-05 08:41:18 UTC; 9s ago
       Docs: http://www.elastic.co
   Main PID: 7085 (java)
      Tasks: 17 (limit: 2353)
     Memory: 1.1G
     CGroup: /system.slice/elasticsearch.service
             ??7085 /bin/java -Xms1g -Xmx1g -XX:+UseConcMarkSweepGC -XX:CMSInitiatingOccupancyFraction=75 -XX:+UseCMSInitiatingOccupancyOnly ->

Sep 05 08:41:18 ubunt4 systemd[1]: Started Elasticsearch.
现在,使用以下命令验证 Elasticcsearch 响应:
curl -X GET http://localhost:9200您应该得到以下输出:
{
  "name" : "vzg8H4j",
  "cluster_name" : "graylog",
  "cluster_uuid" : "6R9SlXxNSUGe6aclcJa9VQ",
  "version" : {
    "number" : "6.8.12",
    "build_flavor" : "oss",
    "build_type" : "deb",
    "build_hash" : "7a15d2a",
    "build_date" : "2020-08-12T07:27:20.804867Z",
    "build_snapshot" : false,
    "lucene_version" : "7.7.3",
    "minimum_wire_compatibility_version" : "5.6.0",
    "minimum_index_compatibility_version" : "5.0.0"
  },
  "tagline" : "You Know, for Search"
}
安装 MongoDB 服务器
Graylog 使用 MongoDB 作为数据库。所以你需要在你的服务器上安装 MongoDB 数据库。您可以使用以下命令安装它:
apt-get install mongodb-server -y安装 MongoDB 后,启动 MongoDB 服务并使用以下命令使其在系统重启时启动:
systemctl start mongodb
systemctl enable mongodb
完成后,您可以继续下一步。
安装和配置 Graylog
默认情况下,Graylog 包在 Ubuntu 默认存储库中不可用。因此,您需要将 graylog 存储库安装到您的服务器。
您可以使用以下命令下载 Graylog 存储库包:
wget https://packages.graylog2.org/repo/packages/graylog-3.3-repository_latest.deb下载完成后,使用以下命令安装下载的包:
dpkg -i graylog-3.3-repository_latest.deb接下来,更新存储库并使用以下命令安装 Graylog 服务器:
apt-get update -y
apt-get install graylog-server -y
安装 Graylog 服务器后,您需要生成一个密码来保护用户密码。您可以使用以下命令生成它:
pwgen -N 1 -s 96您应该看到以下输出:
Wv4VQWCAA9sRbL7pxPeY7tb9lSo50esEWgNXxXHypx0Og3CezMmQLdF2QzQdRSIXmNXKINjRvZpPTrvZv4k4NlJrFYTfOc3c
接下来,您还需要为 Graylog 管理员用户生成一个安全密码。您将需要此密码才能登录 Graylog Web 界面。您可以使用以下命令生成它:
echo -n password | sha256sum您应该看到以下输出:
5e884898da28047151d0e56f8dc6292773603d0d6aabbdd62a11ef721d1542d8 -
现在,编辑 Graylog 主配置文件并定义两个密码:
nano /etc/graylog/server/server.conf粘贴您在上面生成的两个密码,如下所示:
password_secret = Wv4VQWCAA9sRbL7pxPeY7tb9lSo50esEWgNXxXHypx0Og3CezMmQLdF2QzQdRSIXmNXKINjRvZpPTrvZv4k4NlJrFYTfOc3c
root_password_sha2 = 5e884898da28047151d0e56f8dc6292773603d0d6aabbdd62a11ef721d1542d8
接下来,您还需要为您的服务器定义一个绑定地址,如下所示:
http_bind_address = 127.0.0.1:9000
完成后保存并关闭文件,然后启动 Graylog 服务并使用以下命令使其在系统重启时启动:
systemctl daemon-reload
systemctl start graylog-server
systemctl enable graylog-server
接下来,您可以使用以下命令验证 Graylog 服务器的状态:
systemctl status graylog-server您应该看到以下输出:
? graylog-server.service - Graylog server
     Loaded: loaded (/lib/systemd/system/graylog-server.service; disabled; vendor preset: enabled)
     Active: active (running) since Sat 2020-09-05 08:50:16 UTC; 15min ago
       Docs: http://docs.graylog.org/
   Main PID: 8693 (graylog-server)
      Tasks: 156 (limit: 2353)
     Memory: 865.0M
     CGroup: /system.slice/graylog-server.service
             ??8693 /bin/sh /usr/share/graylog-server/bin/graylog-server
             ??8726 /usr/bin/java -Xms1g -Xmx1g -XX:NewRatio=1 -server -XX:+ResizeTLAB -XX:+UseConcMarkSweepGC -XX:+CMSConcurrentMTEnabled -XX>

Sep 05 08:50:16 ubunt4 systemd[1]: Started Graylog server.
您还可以使用以下命令验证 Graylog 服务器日志:
tail -f /var/log/graylog-server/server.log成功启动 Graylog 服务器后,您应该获得以下输出:
2020-09-05T08:51:36.473Z INFO  [ServerBootstrap] Services started, startup times in ms: {InputSetupService [RUNNING]=59, JobSchedulerService [RUNNING]=105, GracefulShutdownService [RUNNING]=106, OutputSetupService [RUNNING]=110, BufferSynchronizerService [RUNNING]=111, UrlWhitelistService [RUNNING]=153, JournalReader [RUNNING]=166, KafkaJournal [RUNNING]=222, MongoDBProcessingStatusRecorderService [RUNNING]=240, ConfigurationEtagService [RUNNING]=259, EtagService [RUNNING]=302, StreamCacheService [RUNNING]=306, LookupTableService [RUNNING]=376, PeriodicalsService [RUNNING]=655, JerseyService [RUNNING]=58701}
2020-09-05T08:51:36.477Z INFO  [ServerBootstrap] Graylog server up and running.
此时,Graylog 服务器启动并监听 9000 端口。
配置 Nginx 作为 Graylog 的反向代理
接下来,您需要安装并配置 Nginx 作为反向代理来访问 Graylog 服务器。
首先,使用以下命令安装 Nginx 服务器:
apt-get install nginx -y安装好Nginx服务器后,使用以下命令创建一个新的Nginx虚拟主机配置文件:
nano /etc/nginx/sites-available/graylog.conf添加以下行:
server {
    listen 80;
    server_name graylog.example.org;

    location / {
      proxy_set_header Host $http_host;
      proxy_set_header X-Forwarded-Host $host;
      proxy_set_header X-Forwarded-Server $host;
      proxy_set_header X-Forwarded-For $proxy_add_x_forwarded_for;
      proxy_set_header X-Graylog-Server-URL http://$server_name/;
      proxy_pass       http://127.0.0.1:9000;
    }
}
完成后保存并关闭文件。然后,使用以下命令验证 Nginx 是否存在任何语法错误:
nginx -t您应该得到以下输出:
nginx: the configuration file /etc/nginx/nginx.conf syntax is ok
nginx: configuration file /etc/nginx/nginx.conf test is successful
接下来,使用以下命令启用 Nginx 虚拟主机配置文件:
ln -s /etc/nginx/sites-available/graylog.conf /etc/nginx/sites-enabled/最后,重新启动 Nginx 服务以应用更改:
systemctl restart nginx接下来,使用以下命令验证 Graylog 的状态:
systemctl status nginx您应该得到以下输出:
? nginx.service - A high performance web server and a reverse proxy server
     Loaded: loaded (/lib/systemd/system/nginx.service; enabled; vendor preset: enabled)
     Active: active (running) since Sat 2020-09-05 09:07:50 UTC; 20s ago
       Docs: man:nginx(8)
    Process: 9408 ExecStartPre=/usr/sbin/nginx -t -q -g daemon on; master_process on; (code=exited, status=0/SUCCESS)
    Process: 9419 ExecStart=/usr/sbin/nginx -g daemon on; master_process on; (code=exited, status=0/SUCCESS)
   Main PID: 9423 (nginx)
      Tasks: 3 (limit: 2353)
     Memory: 10.2M
     CGroup: /system.slice/nginx.service
             ??9423 nginx: master process /usr/sbin/nginx -g daemon on; master_process on;
             ??9424 nginx: worker process
             ??9425 nginx: worker process

Sep 05 09:07:50 ubunt4 systemd[1]: Starting A high performance web server and a reverse proxy server...
Sep 05 09:07:50 ubunt4 systemd[1]: Started A high performance web server and a reverse proxy server.
访问 Graylog Web 界面
现在,打开您的 Web 浏览器并输入 URL http://graylog.example.com。您将被重定向到 Graylog 登录页面,如下所示:

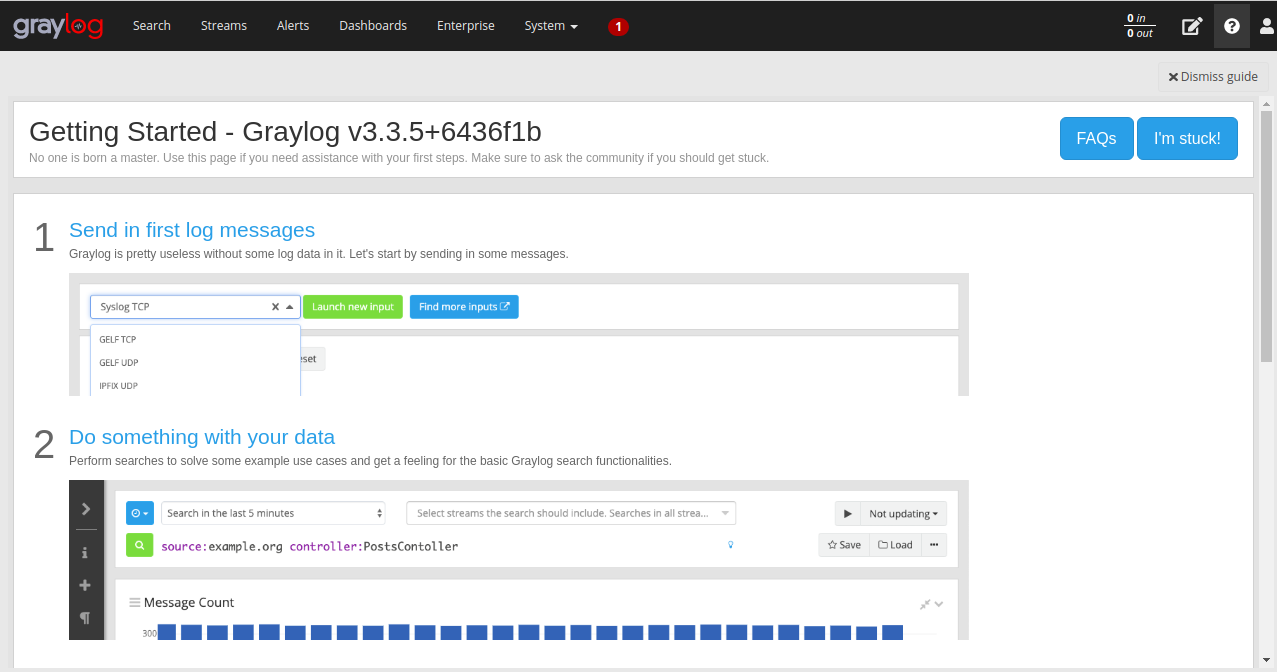
提供您的管理员用户名和密码,然后单击“登录”按钮。您应该在以下页面中看到 Graylog 仪表板:
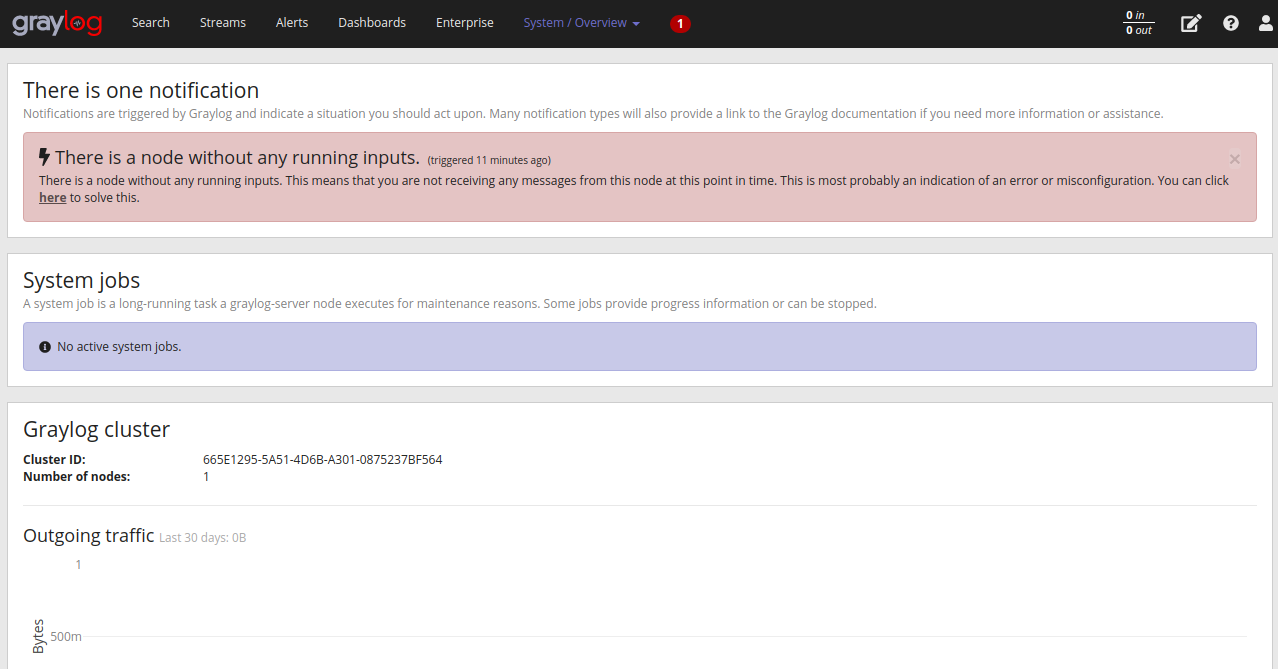
现在,单击系统 >> 概述。您应该在以下页面中看到 Graylog 服务器的状态:
结论
恭喜!您已经在 Ubuntu 20.04 上成功安装并配置了 Graylog 服务器,并将 Nginx 作为反向代理。您现在可以浏览 Graylog 并创建输入以从外部源接收 Rsyslog 日志。如果您有任何问题,请随时问我。