如何在 Debian 12 上安装 Nagios 监控工具
Nagios 是一个开源监控系统,用于跟踪 IT 基础设施的运行状况和性能。它为服务器、网络和应用程序提供实时警报和状态概览,从而能够主动解决问题。
在本指南中,您将学习如何在 Debian 12 服务器上安装 Nagios。您将通过包管理器在 Debian 上安装 Nagios,而不是手动编译它。
先决条件
在开始之前,请确保您具备以下条件:
- Debian 12 服务器。
- 具有 sudo 权限的非 root 用户。
在 Debian 上安装 Nagios
安装Nagios可以通过自己编译的方式手动安装。或者,您也可以通过 APT 等包管理器安装 Nagios。在此示例中,您将通过 APT 存储库在 Debian 12 上安装 Nagios,这更快、更容易。
首先,运行以下命令来刷新和更新您的 Debian 软件包索引。
sudo apt update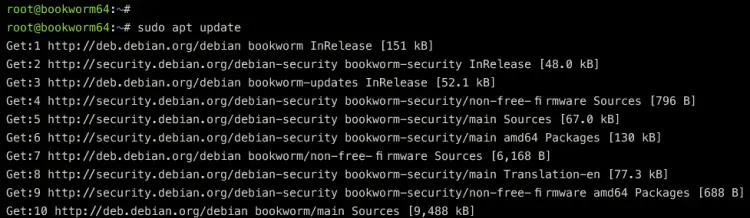
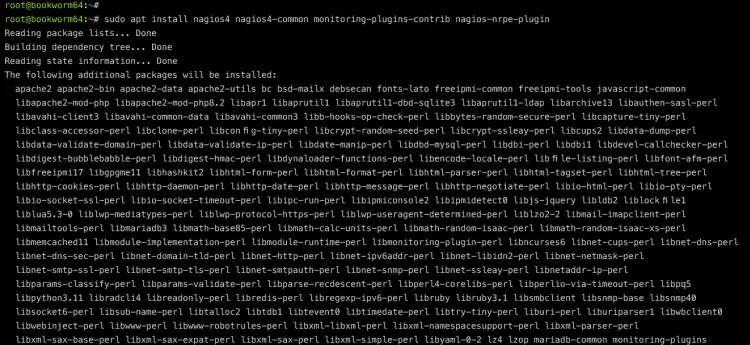
更新软件包索引后,执行以下命令通过 Debian 存储库安装 Nagios、monitoring-plugin 和 Nagios NRPE 插件。
sudo apt install nagios4 nagios4-common monitoring-plugins-contrib nagios-nrpe-plugin键入 Y 继续安装。这样,您将安装 Nagios 的依赖项,其中包括 Apache Web 服务器和 PHP 8.2 软件包。
安装 Nagios 后,运行以下 systemctl 命令以启用 nagios4 服务。
sudo systemctl enable nagios4然后,通过以下命令验证 nagios4 服务以确保该服务正在运行。您应该看到 nagios4 服务的状态为活动(正在运行)并已启用。
sudo systemctl is-enabled nagios4
sudo systemctl status nagios4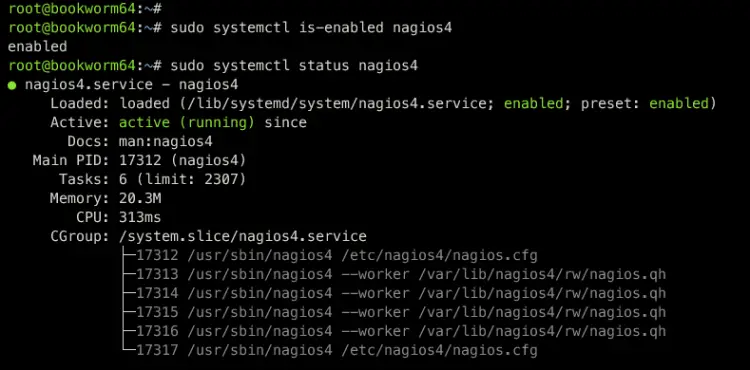
现在,您还可以使用以下命令验证 Apache Web 服务器状态,以确保其已安装并正在运行。
sudo systemctl is-enabled apache2
sudo systemctl status apache2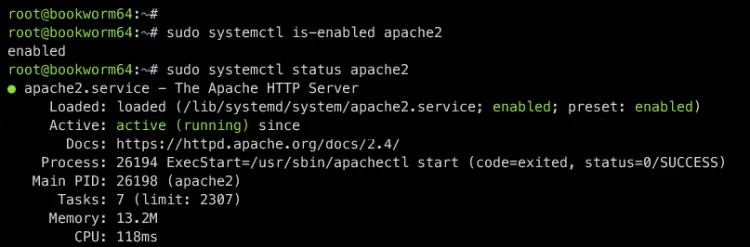
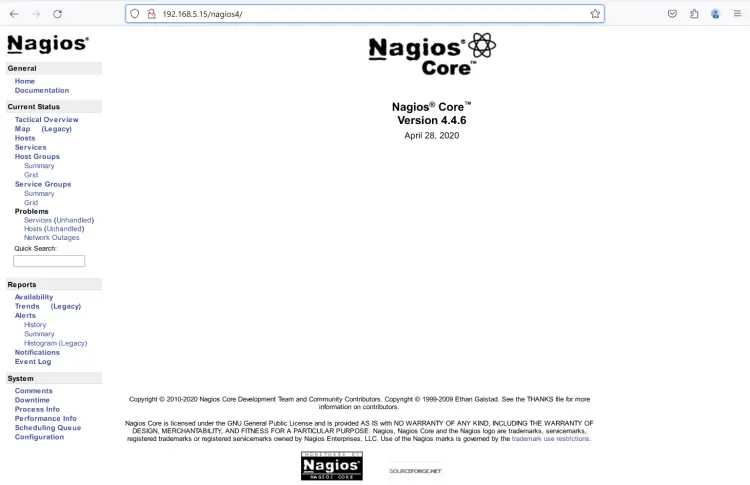
最后,打开 Web 浏览器并访问 Nagios 安装 http://192.168.5.15/nagios4。您应该看到如下所示的 Nagios 仪表板:
Nagios 配置文件和目录
由于您已通过 APT debian 存储库安装了 Nagios,因此建议您了解 Nagios 安装的目录结构和配置。
以下是您必须了解的 Nagios 配置文件和目录:
- /etc/nagios4:Nagios 安装的默认配置。
- /etc/apache2/conf-available/nagios4-cgi.conf:与 Apache Web 服务器集成相关的 Nagios 配置。
- /etc/nagios-plugins:Nagios监控插件的目录。
- /usr/lib/nagios/plugins:Nagios 监控插件检查命令的位置。
启用 Nagios 身份验证
默认情况下,Nagios 禁用身份验证,但仅允许本地网络访问您的安装。在此示例中,您将为 Nagios 启用身份验证。这样,只有具有正确用户名和密码的用户才被允许访问 Nagios 仪表板。
使用以下 nano 编辑器命令打开文件 /etc/nagios4/cgi.conf。
sudo nano /etc/nagios4/cgi.conf找到use_authentication行并将值更改为1以启用Nagios身份验证。
# AUTHENTICATION USAGE
# This option controls whether or not the CGIs will use any
# Authentication when displaying host and service information, as
# well as committing commands to Nagios for processing.
#
# Read the HTML documentation to learn how the authorization works!
#
# NOTE: It is a really *bad* idea to disable authorization, unless
# you plan on removing the command CGI (cmd.cgi)! Failure to do
# so will leave you wide open to kiddies messing with Nagios and
# possibly hitting you with a denial of service attack by filling up
# your drive by continuously writing to your command file!
#
# Setting this value to 0 will cause the CGIs to *not* use
# authentication (bad idea), while any other value will make them
# use the authentication functions (the default).
use_authentication=1
完成后保存并关闭文件。
接下来,使用以下命令重新启动nagios4服务即可生效。
sudo systemctl restart nagios4这样,只有用户“nagiosadmin”将被允许访问您的 Nagios 安装。您仍然可以访问 Nagios 仪表板,但报告和监控页面因此被拒绝。
为 Nagios 设置 Apache 基本身份验证
现在您已经在 Nagios 部分启用了 Nagios 身份验证,下一步是通过 basic_auth 在 Apache Web 服务器上设置身份验证。
首先,运行以下命令启用所需的模块:cgi、cgid 和rewrite。
sudo a2enmod cgi cgid rewrite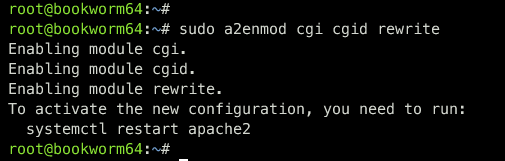
使用以下 nano 编辑器命令打开 Nagios 安装的 Apache 配置文件 /etc/apache2/conf-available/nagios4-cgi.conf。
sudo nano /etc/apache2/conf-available/nagios4-cgi.conf找到“
<DirectoryMatch (/usr/share/nagios4/htdocs|/usr/lib/cgi-bin/nagios4|/etc/nagios4/stylesheets)>
 Options FollowSymLinks
 DirectoryIndex index.php index.html
 AllowOverride AuthConfig
 Options None
 AllowOverride None
 Order allow,deny
 Allow from all
 AuthName "Nagios Core"
 AuthType Basic
 AuthUserFile /etc/nagios4/htdigest.users
 Require valid-user
 Require all denied
</DirectoryMatch>
完成后保存文件并退出编辑器。
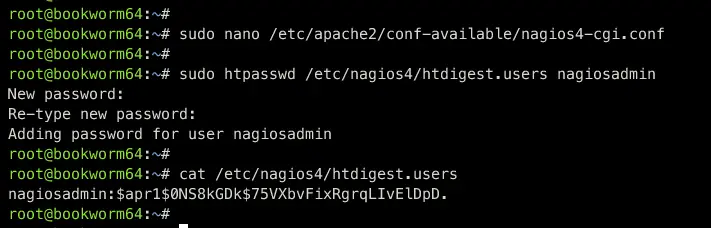
接下来,运行以下命令为 Apache 基本身份验证创建新用户 nagiosadmin。默认情况下,Nagios 只允许用户 nagiosadmin 显示和管理 Nagios。
sudo htpasswd /etc/nagios4/htdigest.users nagiosadmin输入您的密码并重复。
最后,运行以下命令重新启动 apache2 服务并应用更改。然后,验证 Apache 以确保其正在运行。
sudo systemctl restart apache2
sudo systemctl status apache2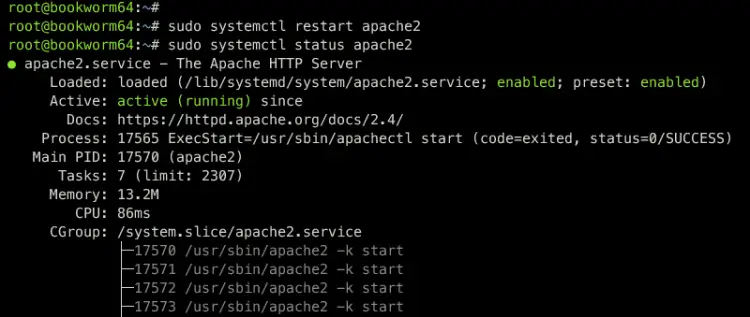
完成此步骤后,在访问 Nagios 安装时将会出现提示。
在启用身份验证的情况下访问 Nagios 安装
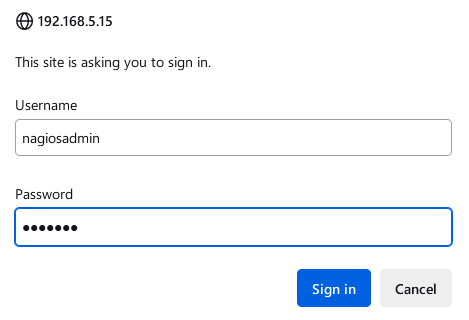
返回 Web 浏览器并重新加载 Nagios 选项卡。如果配置成功,系统将提示您输入 Apache basic_auth 模块。
输入用户 nagiosadmin 和您的密码,然后单击登录继续。
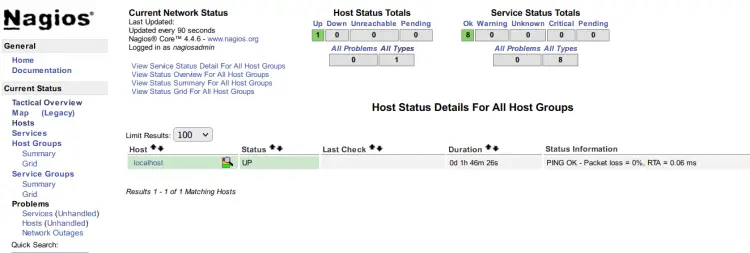
如果您的密码正确,您将看到 Nagios 仪表板。
单击“主机”菜单,您将看到状态为 UP 的本地主机。
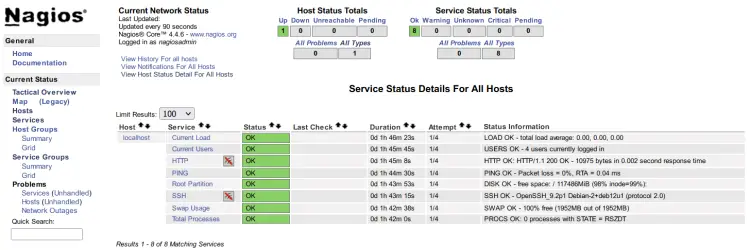
现在单击“服务”菜单,您将看到 Nagios 上默认的系统监控,其中包括系统负载、登录用户、HTTP 状态、ping、根/分区的磁盘使用情况、SSH 状态、SWAP 状态以及总进程在系统上。
结论
恭喜你,干得好!您已完成 Debian 12 服务器上 Nagios 监控工具的安装。您已通过 Debian APT 存储库安装了 Nagios,它提供了部署 Nagios 的最简单方法。除此之外,您还启用了 Nagios 上的身份验证并实施了 Apache basic_auth 模块来保护 Nagios 安装的安全。
从现在开始,您可以通过 Nagios 添加和监控主机,也可以探索 NRPE 插件以通过 Nagios 监控远程主机。