如何在 Ubuntu 22.04 上安装 ISPConfig 控制面板 |
Linux 系统管理员的主要任务是监控 Linux 系统硬件和软件、执行安装和升级,同时维护所有基本服务和应用程序。在许多场景中,这些活动是通过命令行执行的。这主要是因为命令行(服务器版本)是轻量级的,因此与 GUI 版本相比速度更快。然而,这是一个限制,因为在命令行上运行命令需要记住任务的所有命令。因此,世界各地的许多组织都更喜欢 Windows 系统,通过点击式 GUI 进行管理。
为了消除这种麻烦并让 Linux 被多个组织采用,开发人员开发了独立的基于 GUI 的工具,能够管理某些特定的系统区域并执行相关的管理任务。这些工具包括 Apache Directory、phpMyAdmin、MySQL Workbench、Webmin、Ajenti、Shorewall、cPanel、Cockpit、CUPS、YaST 等
什么是ISP配置?
ISPConfig 是一个适用于 Linux 系统的开源网络托管控制面板。它允许系统管理员通过基于 Web 的 UI 管理站点、电子邮件地址、FTP 帐户、MySQL 和 MariaDB 数据库、Shell 帐户、DNS 记录和 Cron 作业。它支持多种 Linux 发行版,例如 CentOS、Debian、Ubuntu、Fedora 和 OpenSUSE。
ISPConfig 提供的炫酷功能包括:
- Apache 和 Nginx 服务器的完整 Web 服务器管理。
- BIND服务器和DNS服务器管理。
- 使用 Postfix (MTA) 和 Dovecot (IMAP) 进行垃圾邮件和防病毒过滤器的邮件服务器管理。
- 使用 Webalizer 和 AWStats 进行网站统计。
- 管理员、经销商、客户和邮件用户登录帐户。
- 能够从一个控制面板管理一台或多台服务器。使用主/从设置
在 Ubuntu 22.04 上安装 ISPConfig 控制面板
本教程介绍如何在 Ubuntu 22.04 上安装和配置 ISPConfig 控制面板
入门
对于本指南,您需要具有以下配置的 Ubuntu 22.04 系统:
- CPU:2 个 vCore
- 内存:2 GB 及以上
- 空间:20GB
您还需要配置主机名:
sudo hostnamectl set-hostname ispconfig.computingforgeeks.com将主机名添加到/etc/hosts
$ sudo vim /etc/hosts
#127.0.0.1 localhost.localdomain   localhost
# This line should be changed to the correct servername:
127.0.0.1 ispconfig.computingforgeeks.com
保存文件并验证更改
$ hostname -f
ispconfig.computingforgeeks.com
更新系统。
sudo apt update && sudo apt upgrade -y运行 ISPConfig 安装程序
ISPConfig 提供了一个安装程序,可以轻松执行安装和其他底层配置。要查看安装的所有可用配置选项,请执行以下命令:
$ wget -O - https://get.ispconfig.org | sudo sh -s -- --help
********************************************************************************ISPConfig 3 Autoinstaller
********************************************************************************

Usage: ispc3-ai.sh [<argument>] [...]

This script automatically installs all needed packages for an ISPConfig 3 setup using the guidelines from the "Perfect Server Setup" howtos on linux教程.


Possible arguments are:
    --help          Show this help page
    --debug         Enable verbose logging (logs each command with the exit
                    code)
    --channel       Choose the channel to use for ISPConfig.
                    --channel=<stable|dev>
                    "stable" is the latest ISPConfig release available on
                    www.ispconfig.org
                    "dev" is the latest dev-branch from the ISPConfig git
                    repository:
                    https://git.ispconfig.org/ispconfig/ispconfig3/tree/develop
                    -> The dev channel might contain bugs and less-tested
                    features and should only be used in production by very
                    experienced users.
    --lang          Use language for ISPConfig installation. Specify with
                    --lang=en|de (only en (English) and de (German) supported
                    currently).
    --interactive   Don't install ISPConfig in non-interactive mode. This is
                    needed if you want to use expert mode, e. g. to install a
                    slave server that shall be integrated into an existing
                    multiserver setup.
    --use-nginx     Use nginx webserver instead of apache2
    --use-amavis    Use amavis instead of rspamd for mail filtering
    --use-unbound   Use unbound instead of bind9 for local resolving. Only
                    allowed if --no-dns is set.
    --use-php       Use specific PHP versions, comma separated, instead of
                    installing multiple PHP, e.g. --use-php=7.4,8.0 (5.6, 7.0,
                    7.1, 7.2, 7.3, 7.4, 8.0 and 8.1 available).
                    --use-php=system disables the sury repository and just
                    installs the system's default PHP version.
                    ommiting the argument (use all versions)
    --use-ftp-ports This option sets the passive port range for pure-ftpd. You
                    have to specify the port range separated by hyphen, e. g.
                    --use-ftp-ports=40110-40210.
                    If not provided the passive port range will not be
                    configured.
    --use-certbot   Use Certbot instead of acme.sh for issuing Let's Encrypt
                    certificates. Not adviced unless you are migrating from a
                    old server that uses Certbot.
    --no-web        Do not use ISPConfig on this server to manage webserver
                    setting and don't install nginx/apache or pureftpd. This
                    will also prevent installing an ISPConfig UI and implies
                    --no-roundcube as well as --no-pma
    --no-mail       Do not use ISPConfig on this server to manage mailserver
                    settings. This will install postfix for sending system
                    mails, but not dovecot and not configure any settings for
                    ISPConfig mail. It implies --no-mailman.
    --no-dns        Do not use ISPConfig on this server to manage DNS entries.
                    Bind will be installed for local DNS caching / resolving
                    only.
    --no-local-dns  Do not install local DNS caching / resolving via bind.
    --no-firewall   Do not install ufw and tell ISPConfig to not manage firewall
                    settings on this server.
    --no-roundcube  Do not install roundcube webmail.
    --roundcube     Install Roundcube even when --no-mail is used. Manual
                    configuration of Roundcube config is needed.
    --no-pma        Do not install PHPMyAdmin on this server.
    --no-mailman    Do not install Mailman mailing list manager.
    --no-quota      Disable file system quota
    --no-ntp        Disable NTP setup
    --monit         Install Monit and set it up to monitor installed services.
                    Supported services: Apache2, NGINX, MariaDB,
                    pure-ftpd-mysql, php-fpm, ssh, named, Postfix, Dovecot,
                    rspamd.
    --monit-alert-email
                    Set up alerts for Monit to be send to given e-mail address.
                    e.g. [email
    --unattended-upgrades
                    Install UnattendedUpgrades. You can add extra arguments for
                    automatic cleanup and automatic reboots when necessary with
                    --unattended-upgrades=autoclean,reboot (or only one of
                    them).
    --i-know-what-i-am-doing
                    Prevent the autoinstaller to ask for confirmation before
                    continuing to reconfigure the server.
在本指南中,我们将使用 Nginx、PHP 8.0、MariaDB、Postfix、Dovecot、Rspamd、BIND、Jailkit、Roundcube、PHPMyAdmin、Mailman、Webalizer、AWStats、GoAcces 运行 ISPConfig。
wget -O - https://get.ispconfig.org | sudo sh -s -- --use-nginx --use-php=8.0 --use-ftp-ports=21-22 --lang=en --no-quota --unattended-upgrades您还可以在设置中使用Apache
wget -O - https://get.ispconfig.org | sudo sh -s -- --use-php=8.0 --use-ftp-ports=21-22 --lang=en --no-quota --unattended-upgrades确认安装继续。
WARNING! This script will reconfigure your complete server!
It should be run on a freshly installed server and all current configuration that you have done will most likely be lost!
Type 'yes' if you really want to continue: yes
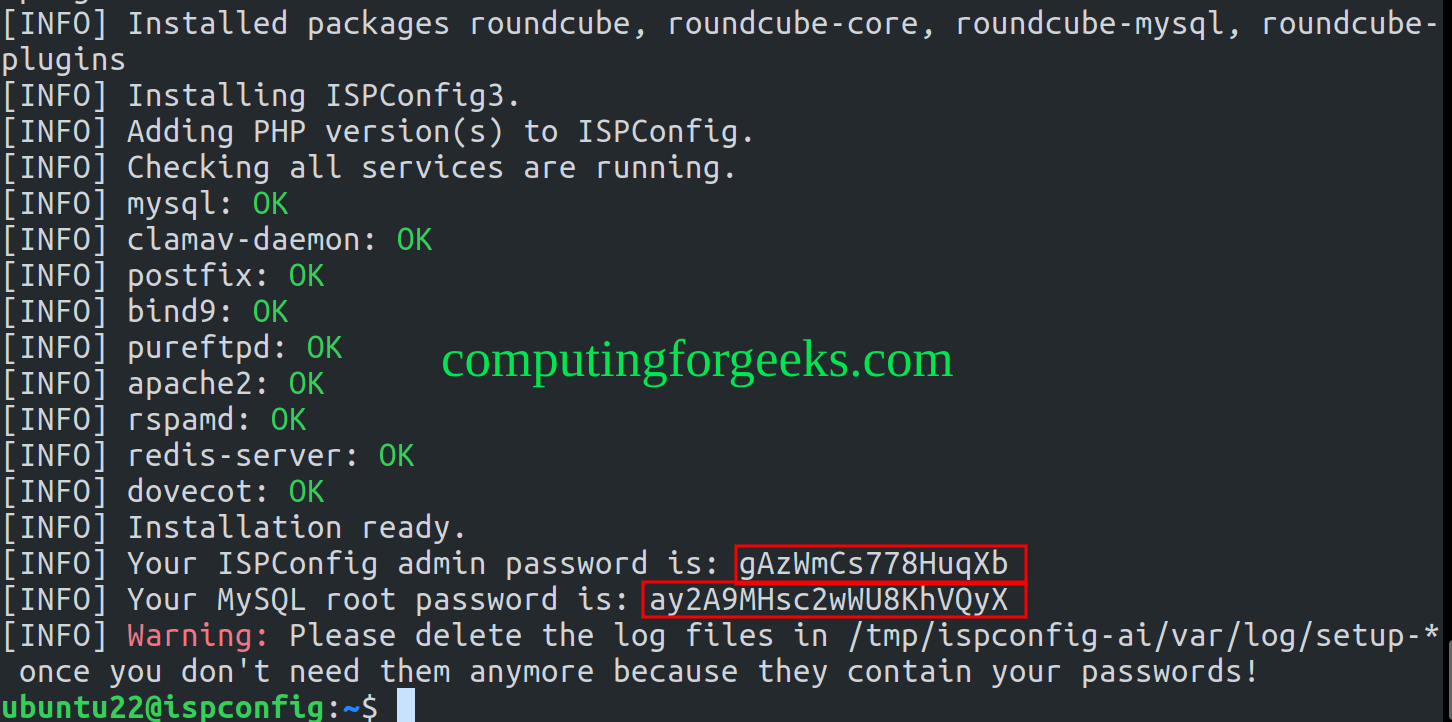
您将获得管理员密码和 MySQL 密码。保存这些密码,因为您稍后可能需要它们。
登录 ISPConfig Web UI
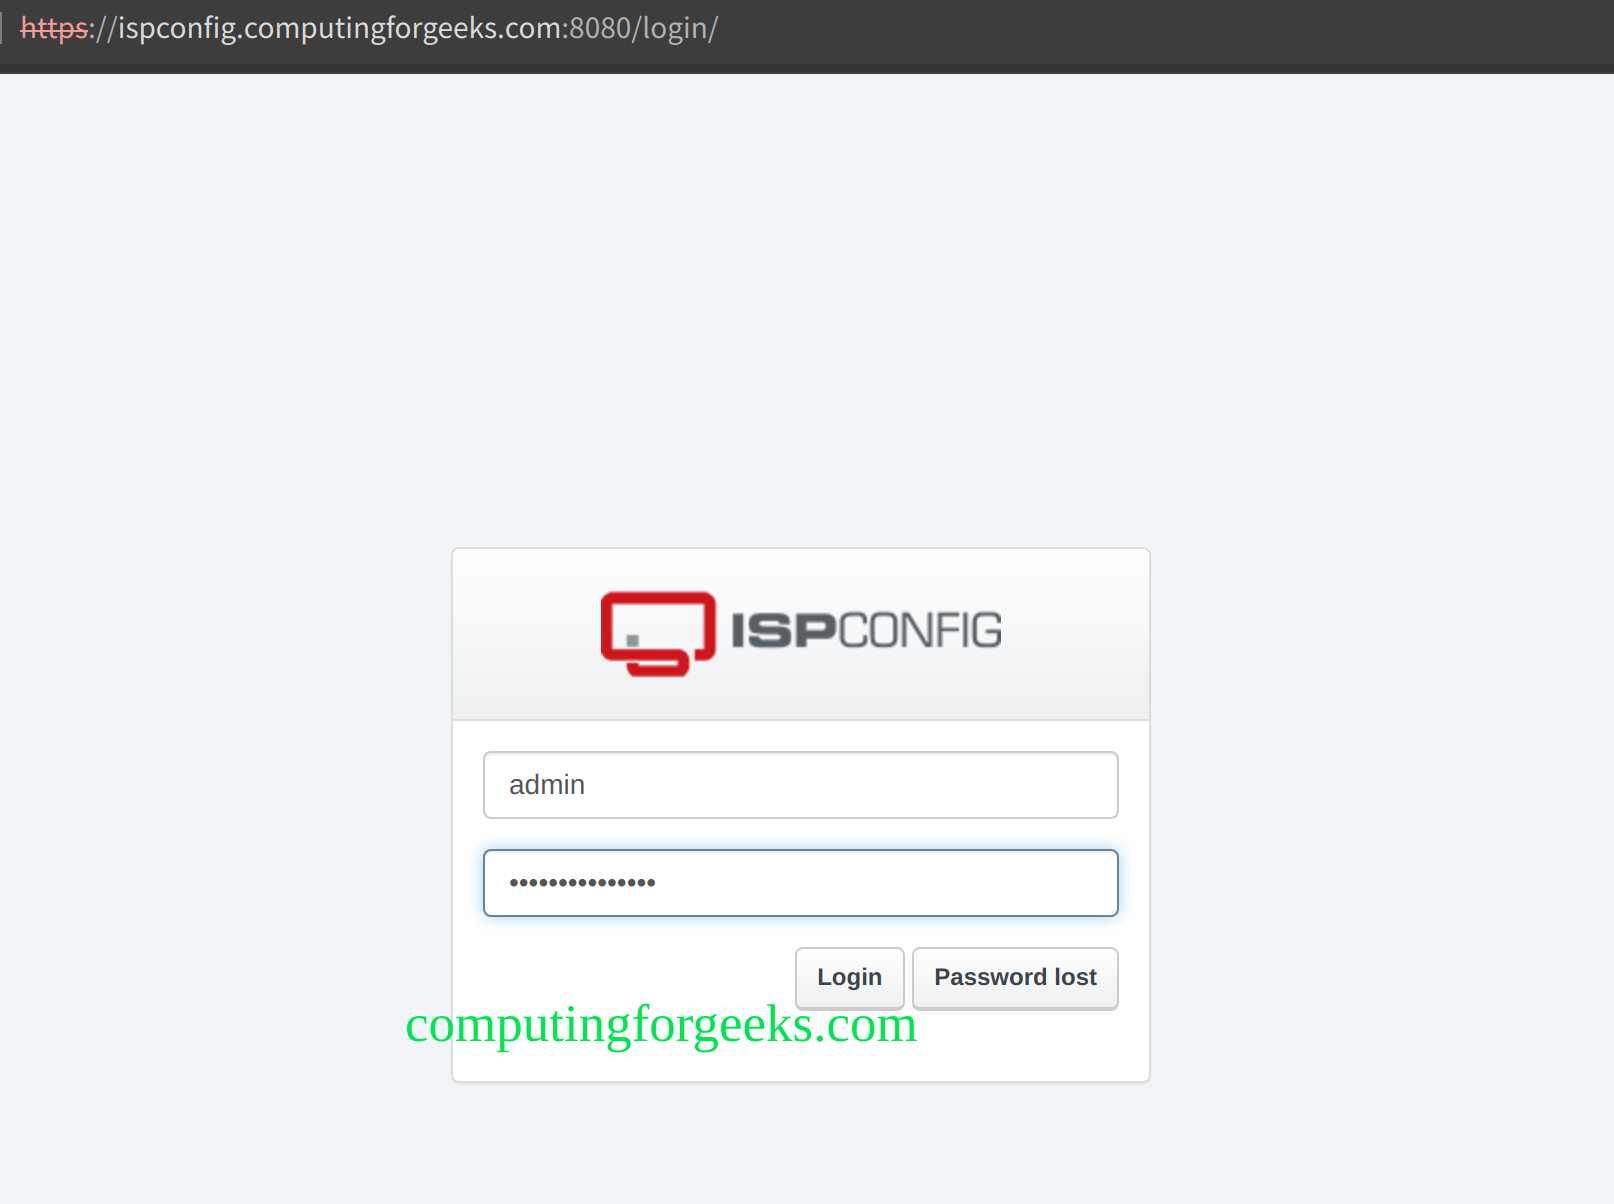
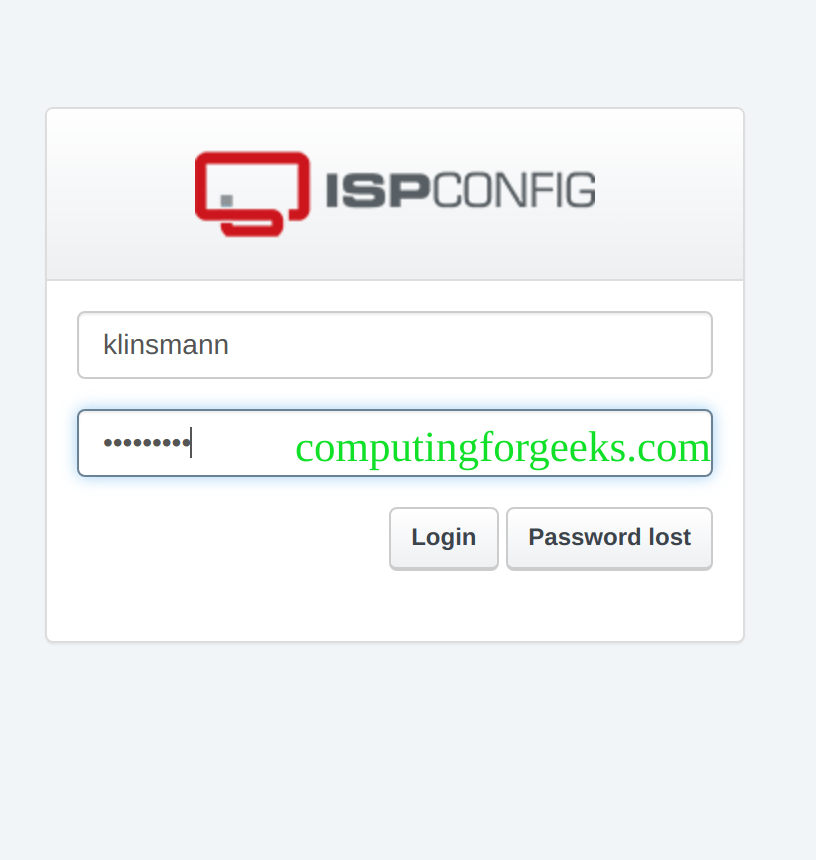
安装完成后,使用 URL https://domain_name:8080 登录 ISPConfig Web UI
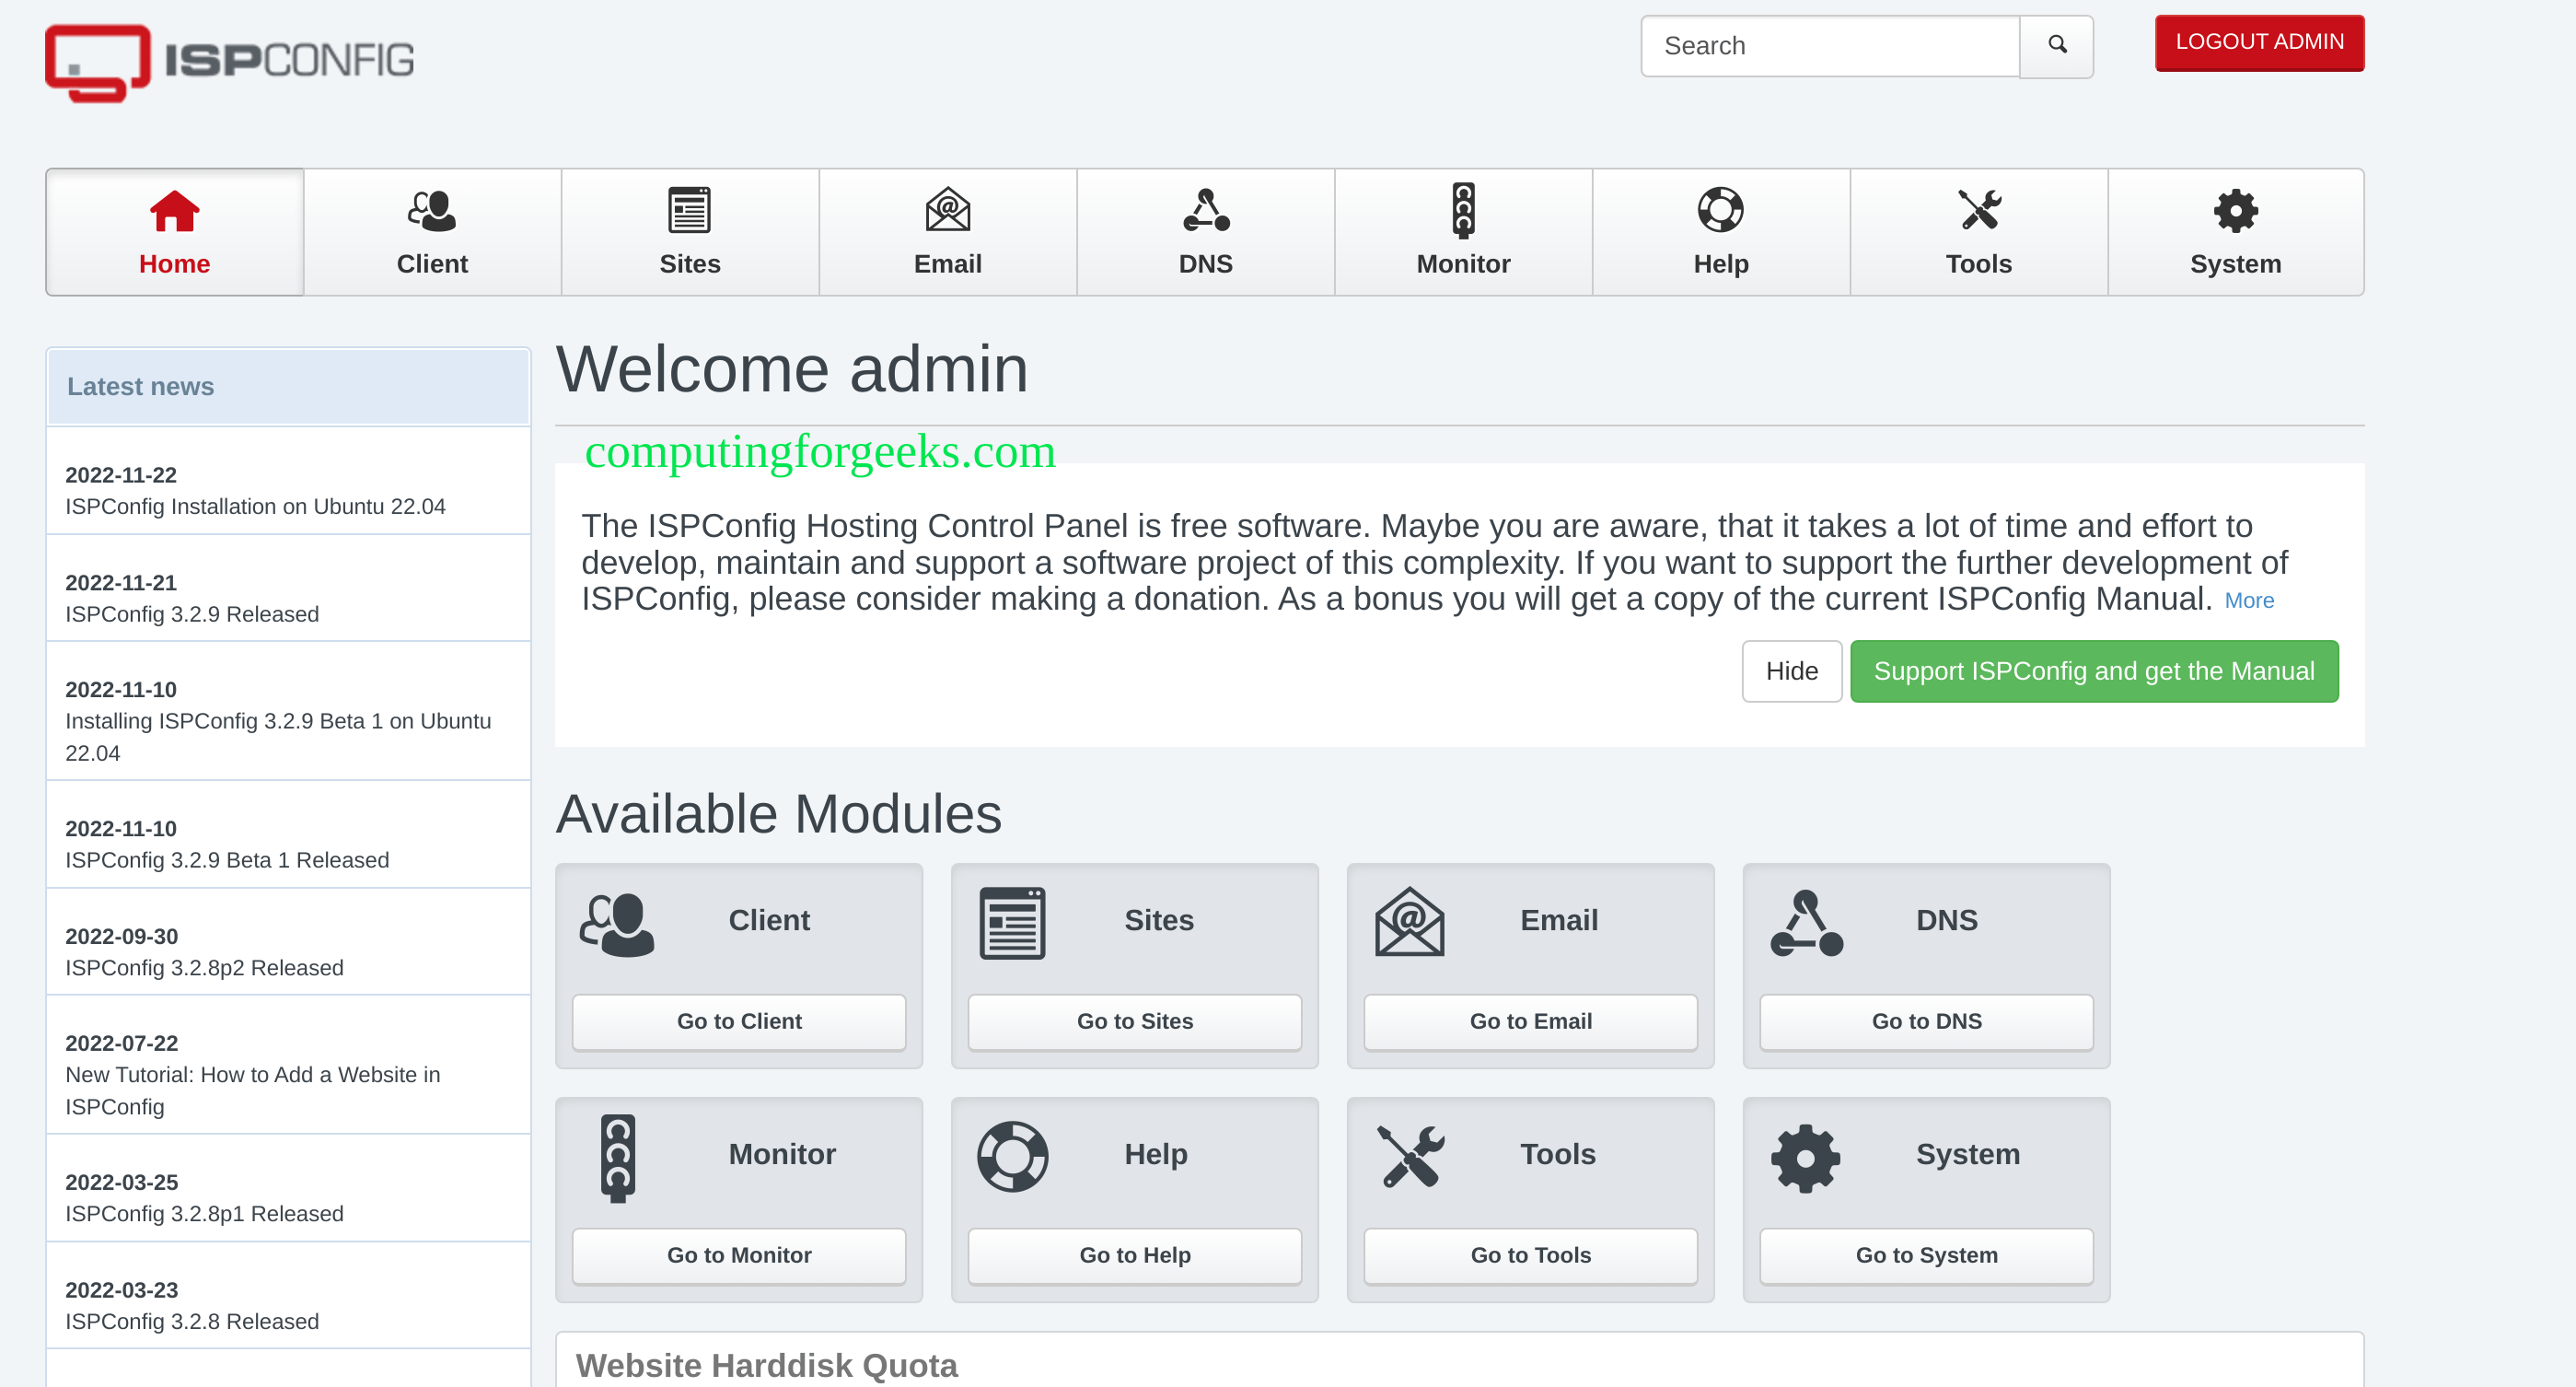
提供管理员用户的凭据。使用安装过程中显示的密码。通过身份验证后,您将看到以下仪表板。
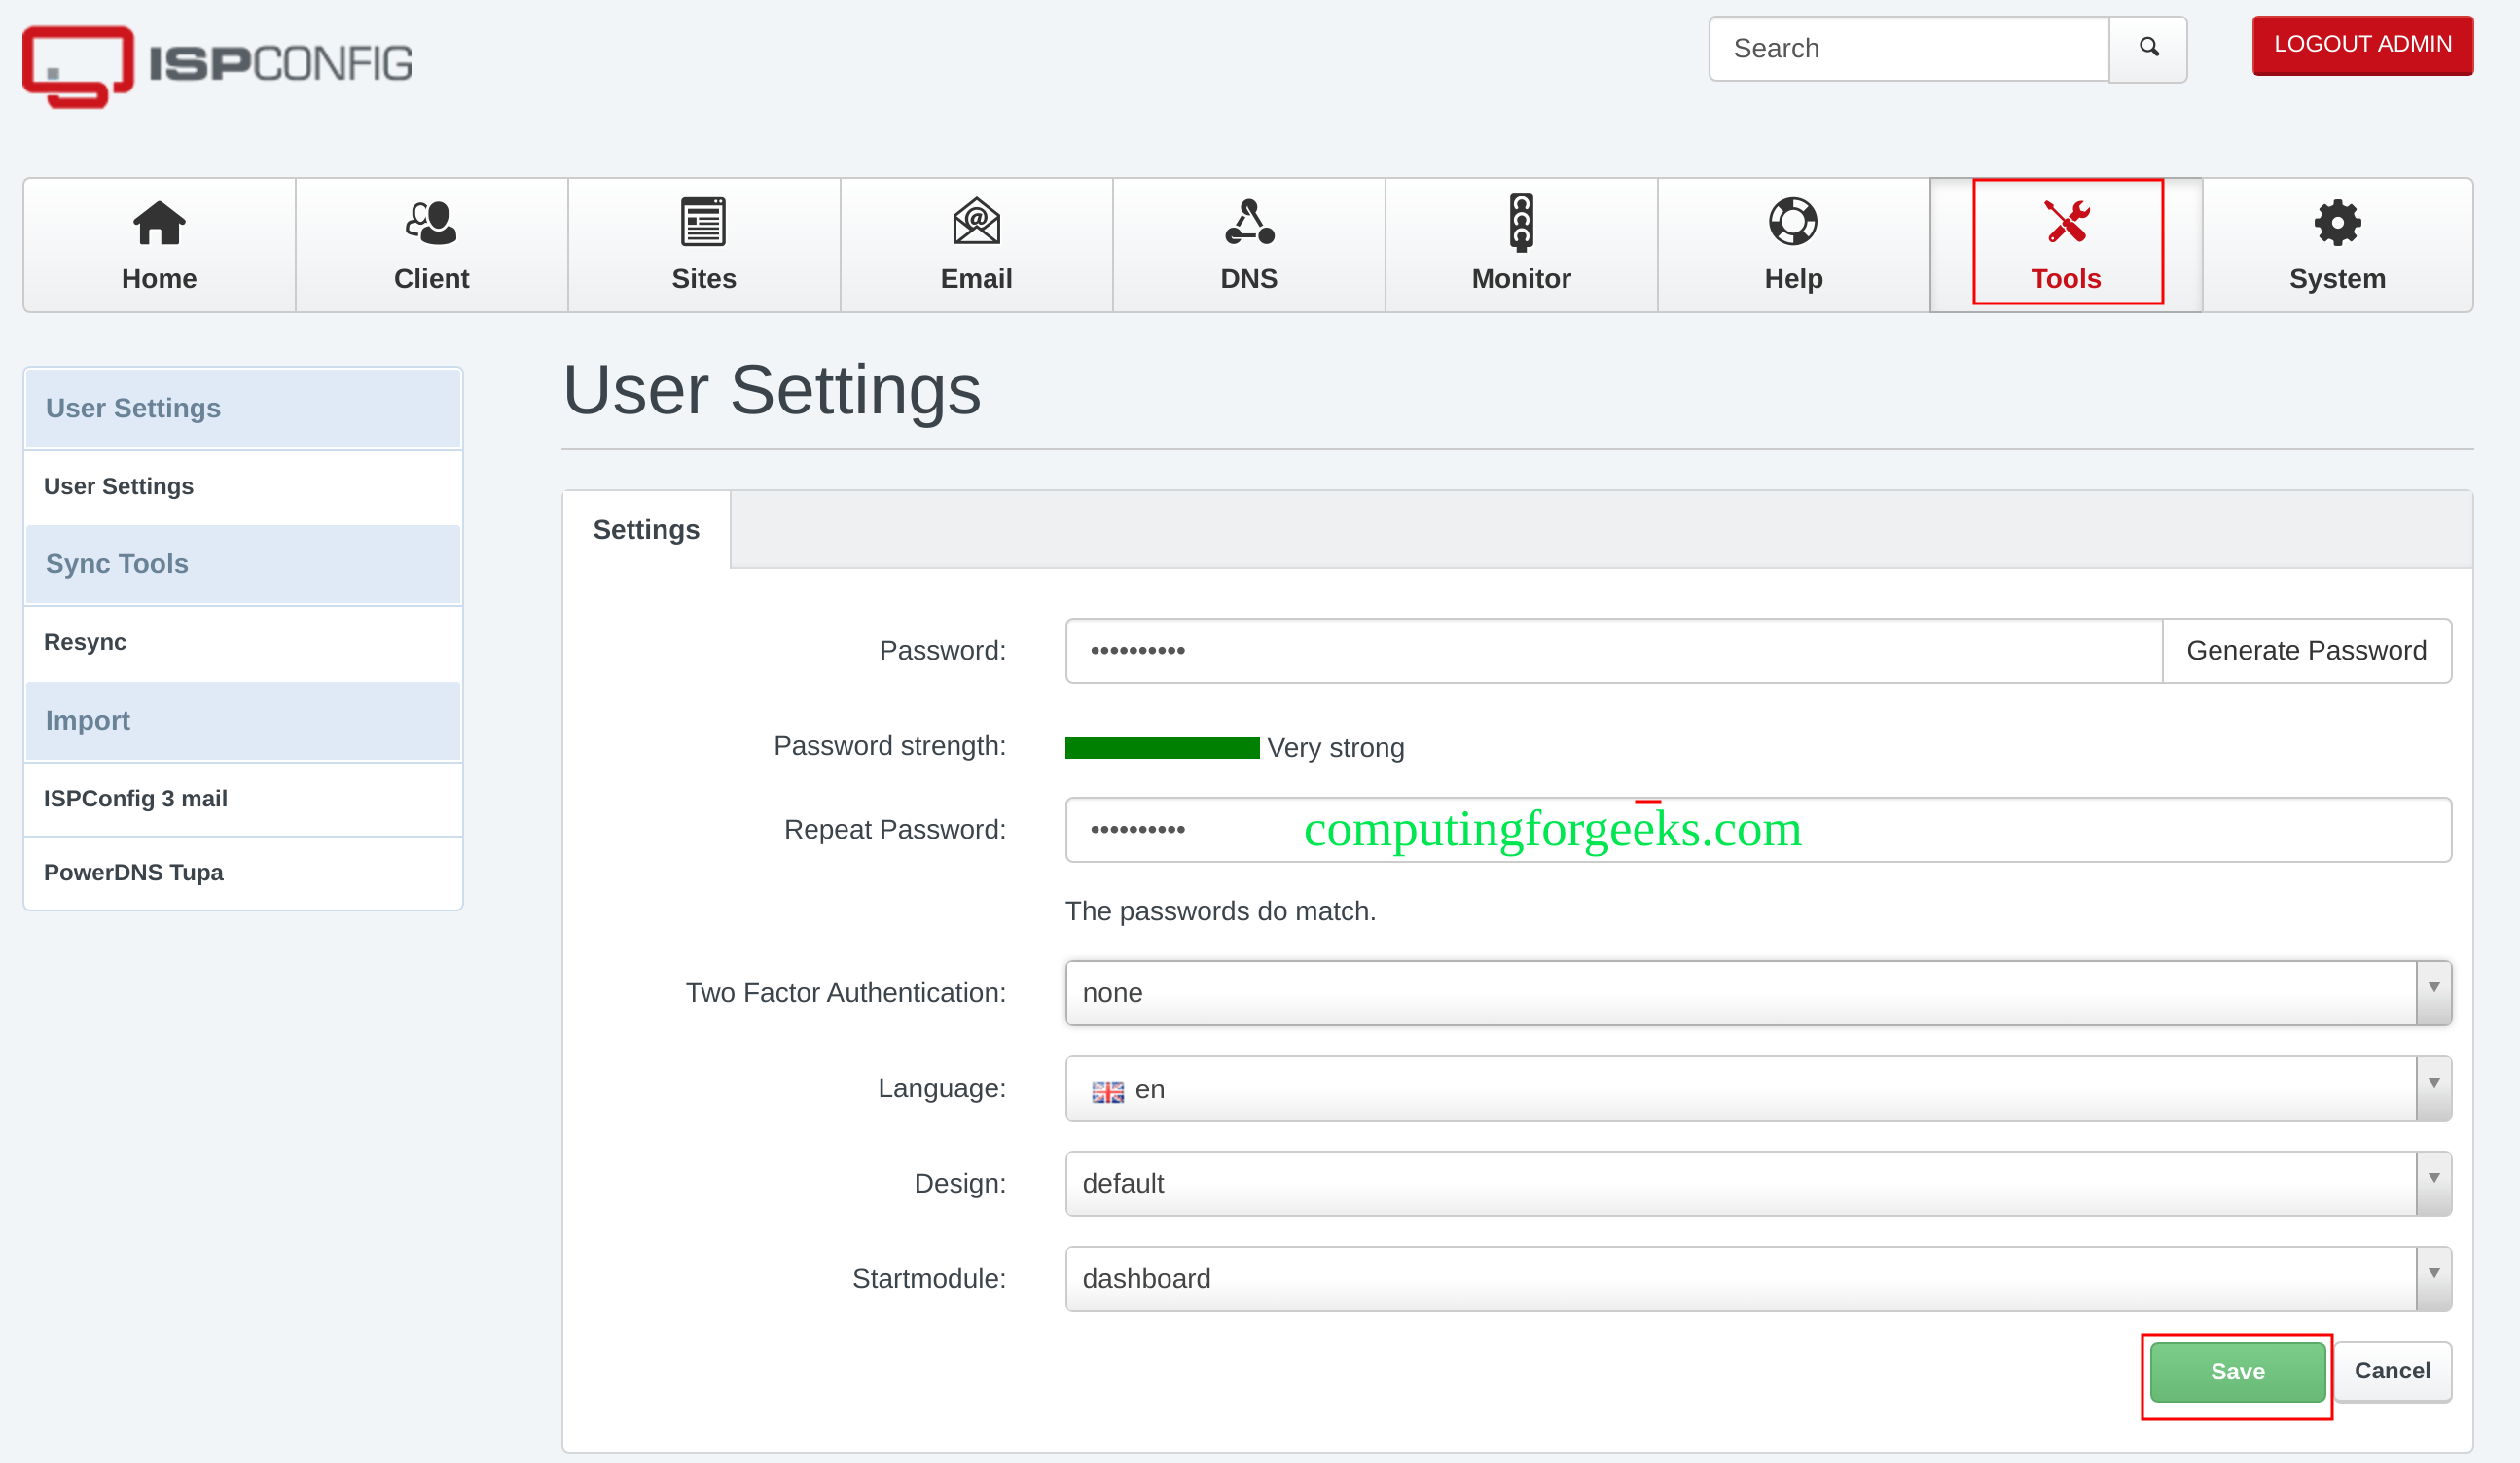
导航至工具更改管理员密码
配置和使用 ISPConfig
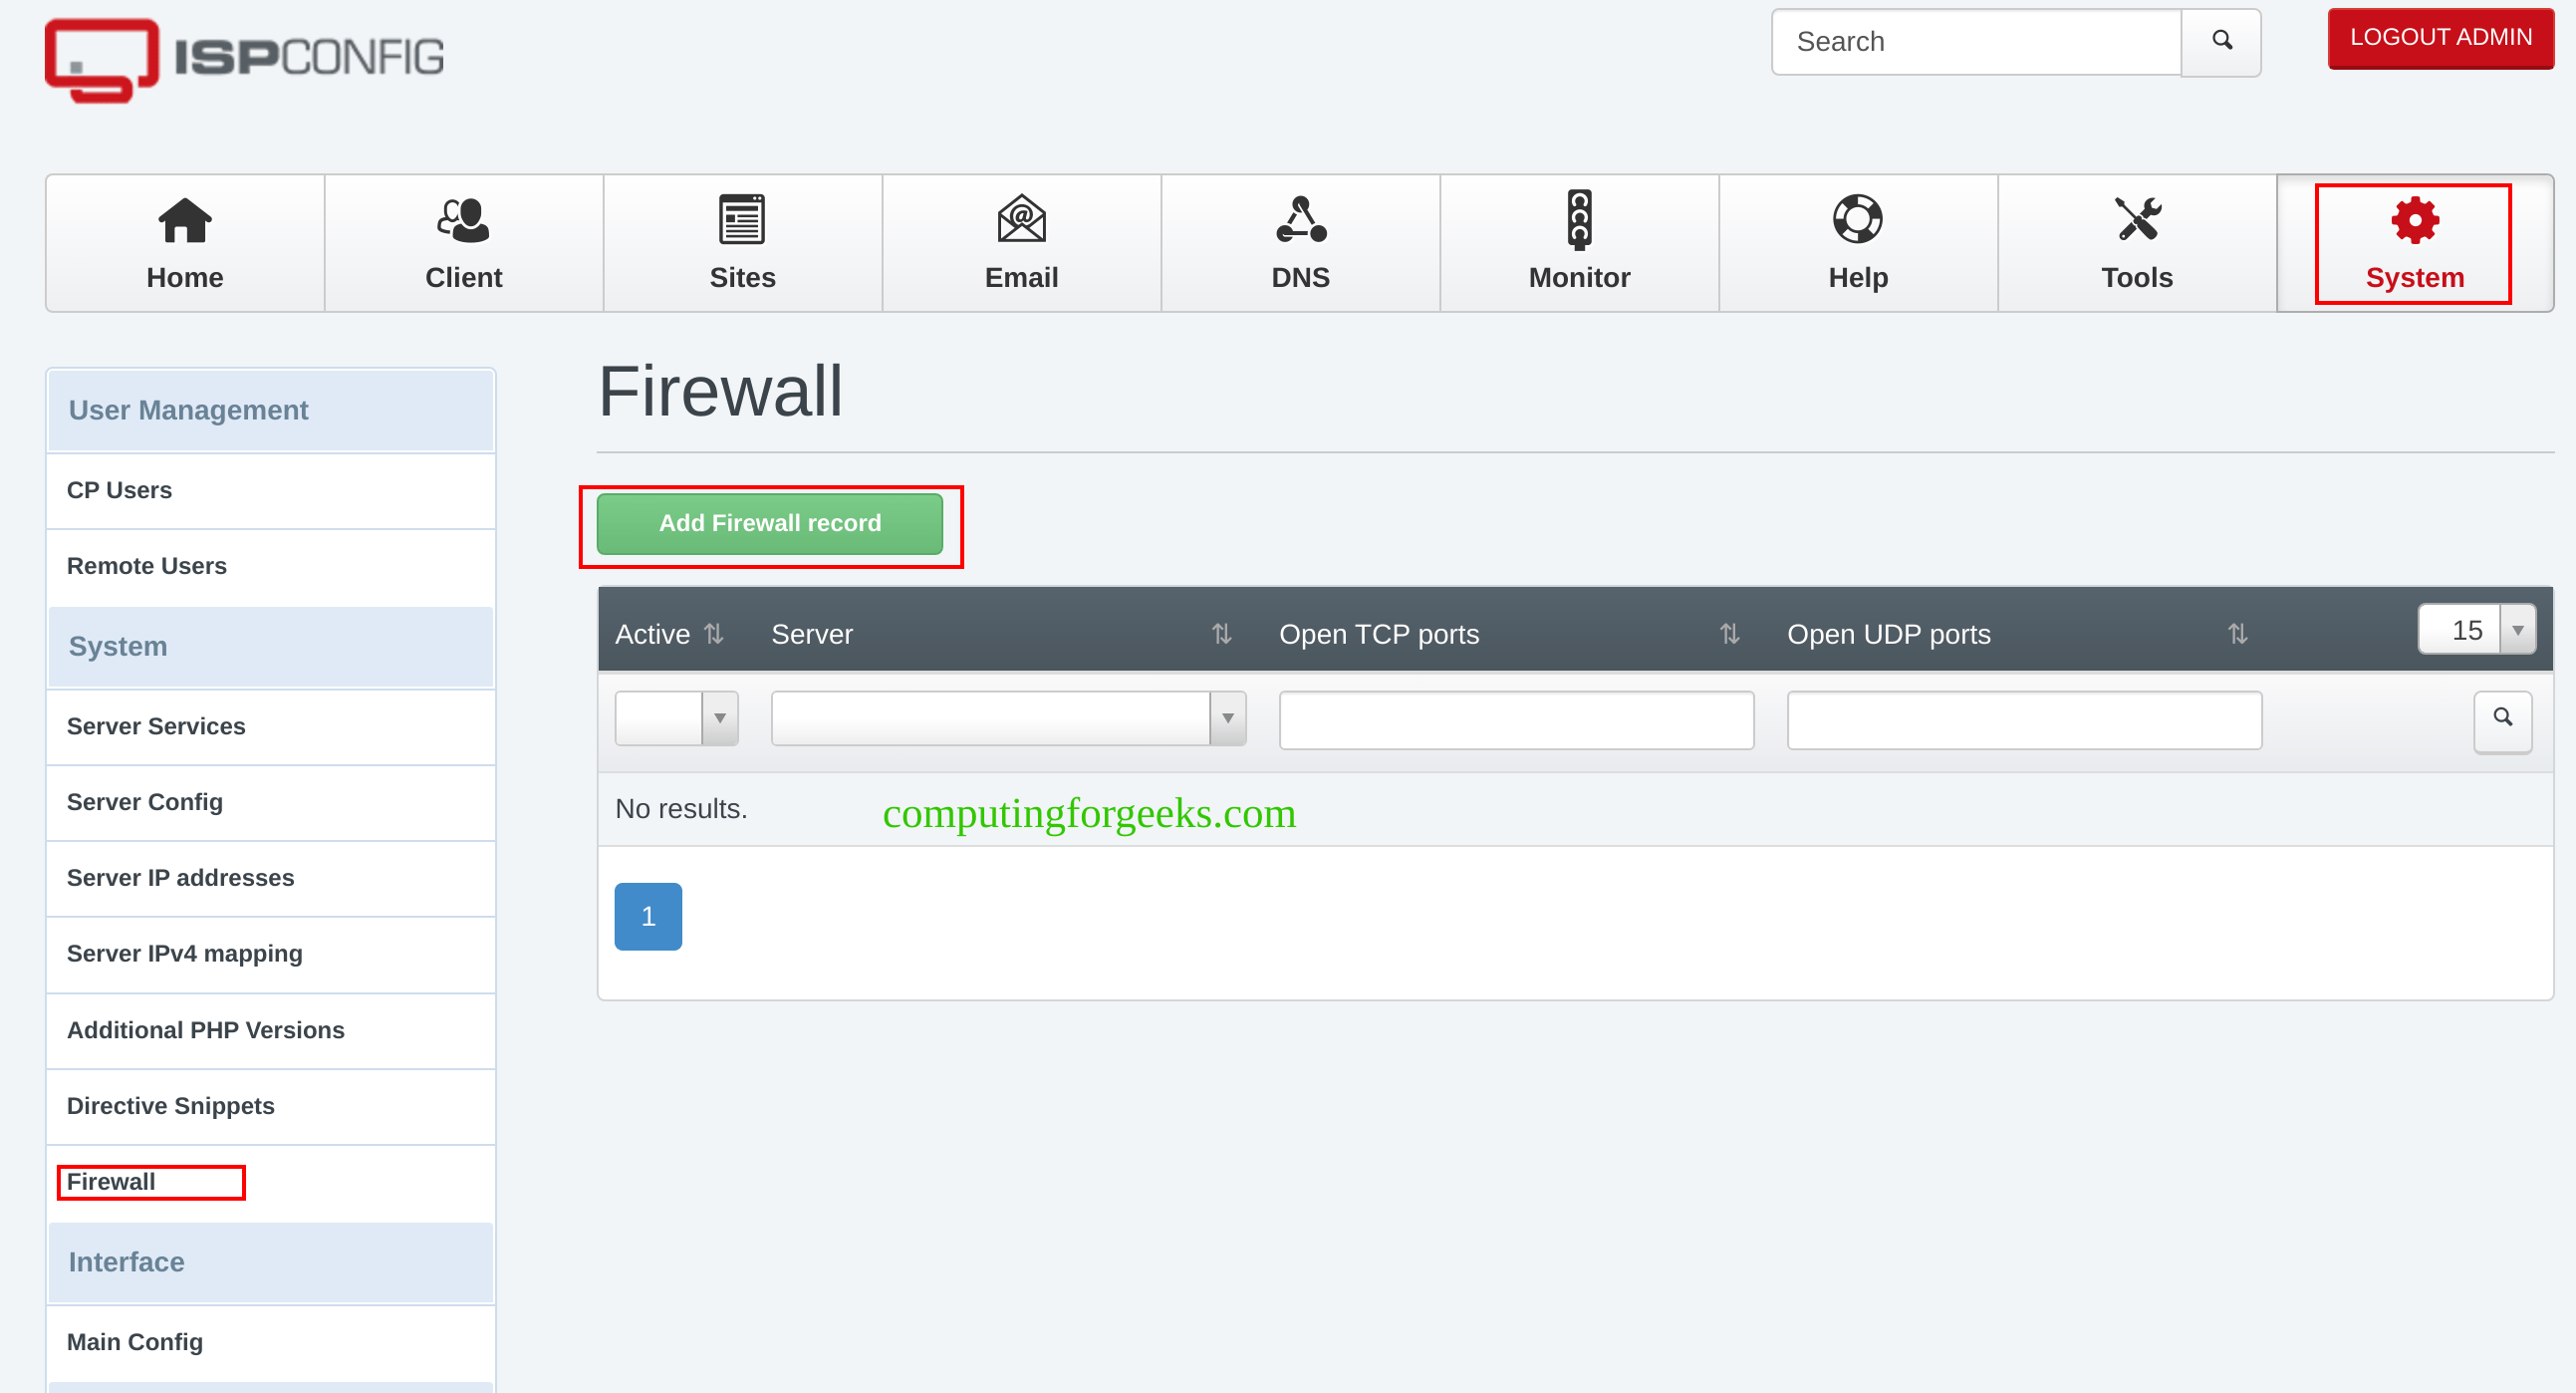
要配置防火墙,请点击系统 ->防火墙 ->添加防火墙记录
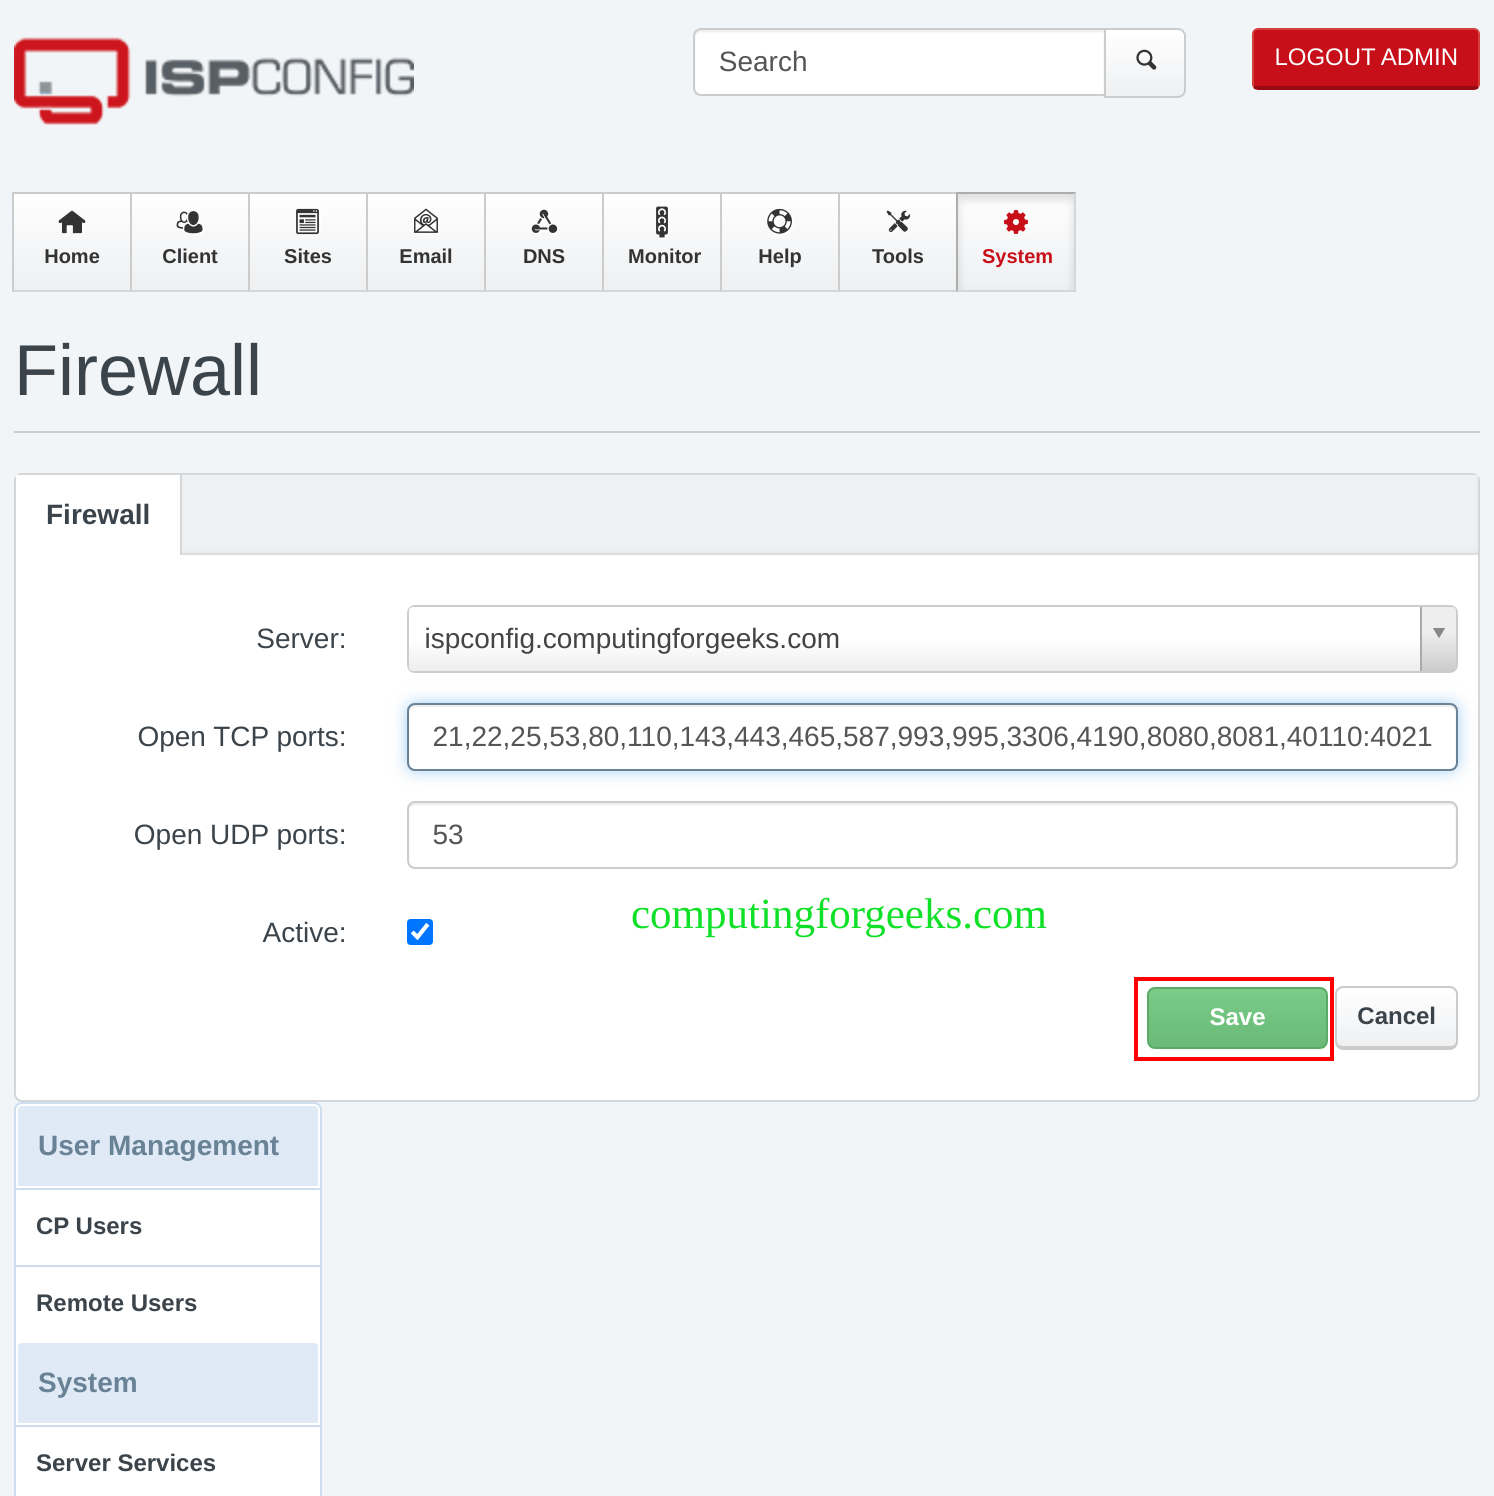
在这里,您可以通过添加或删除列表中的端口进行更新,然后保存更改
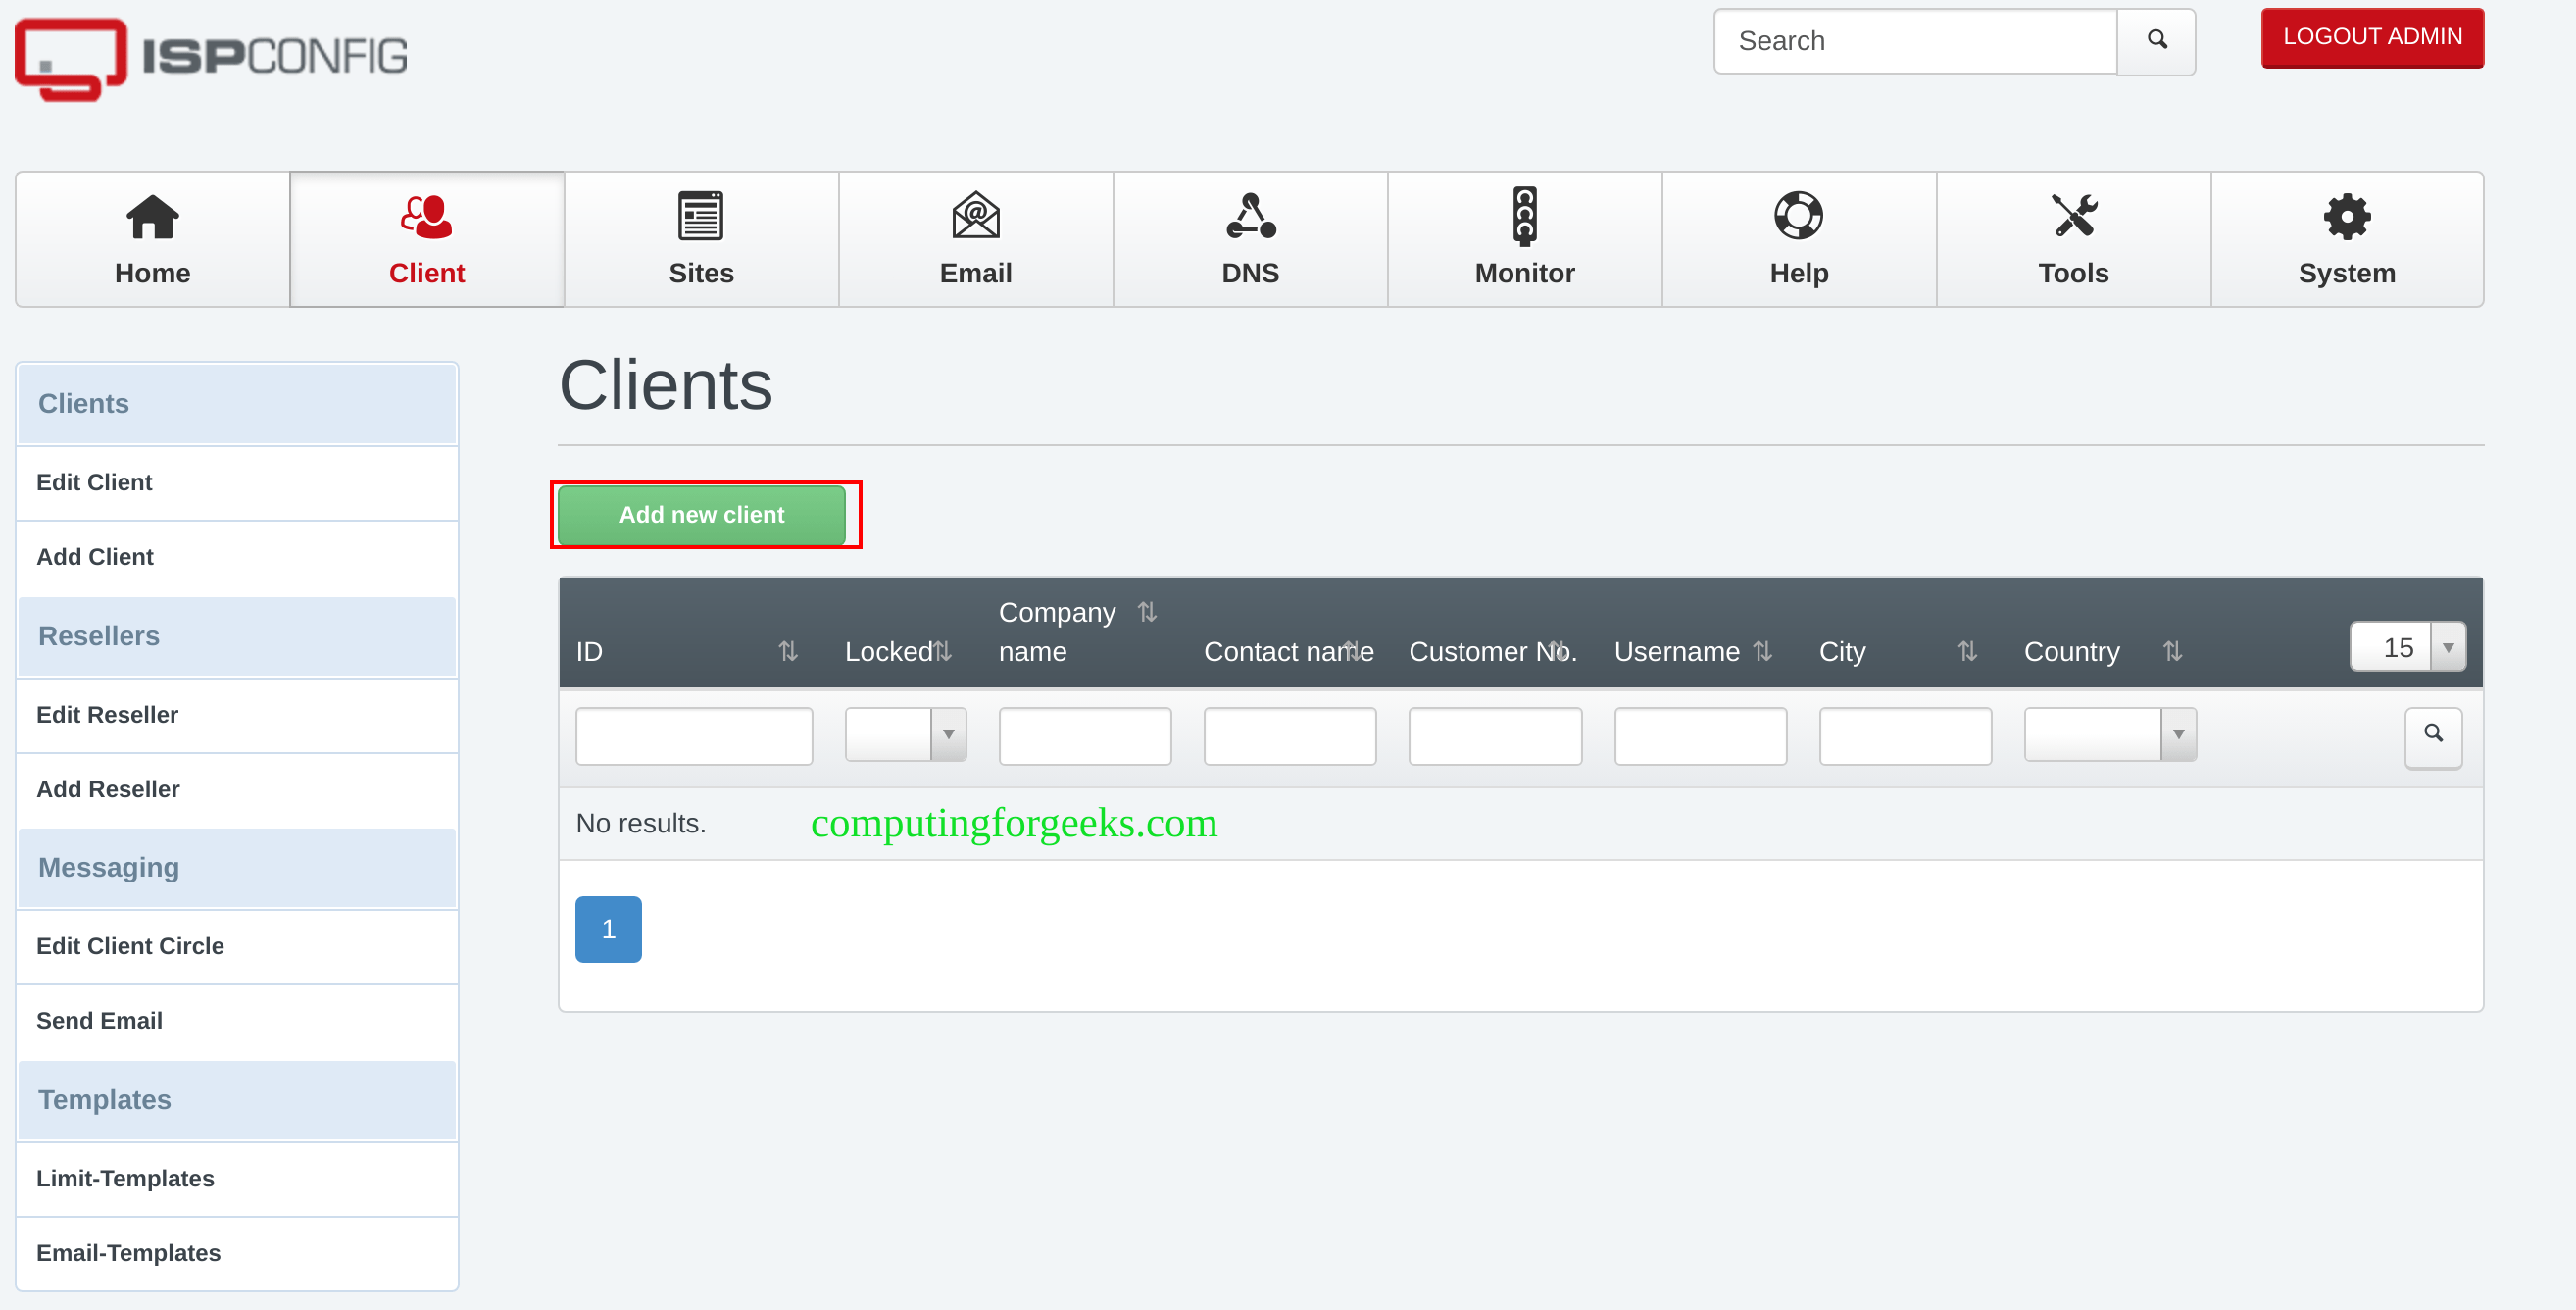
要添加客户,请导航至客户选项卡,然后单击添加新客户
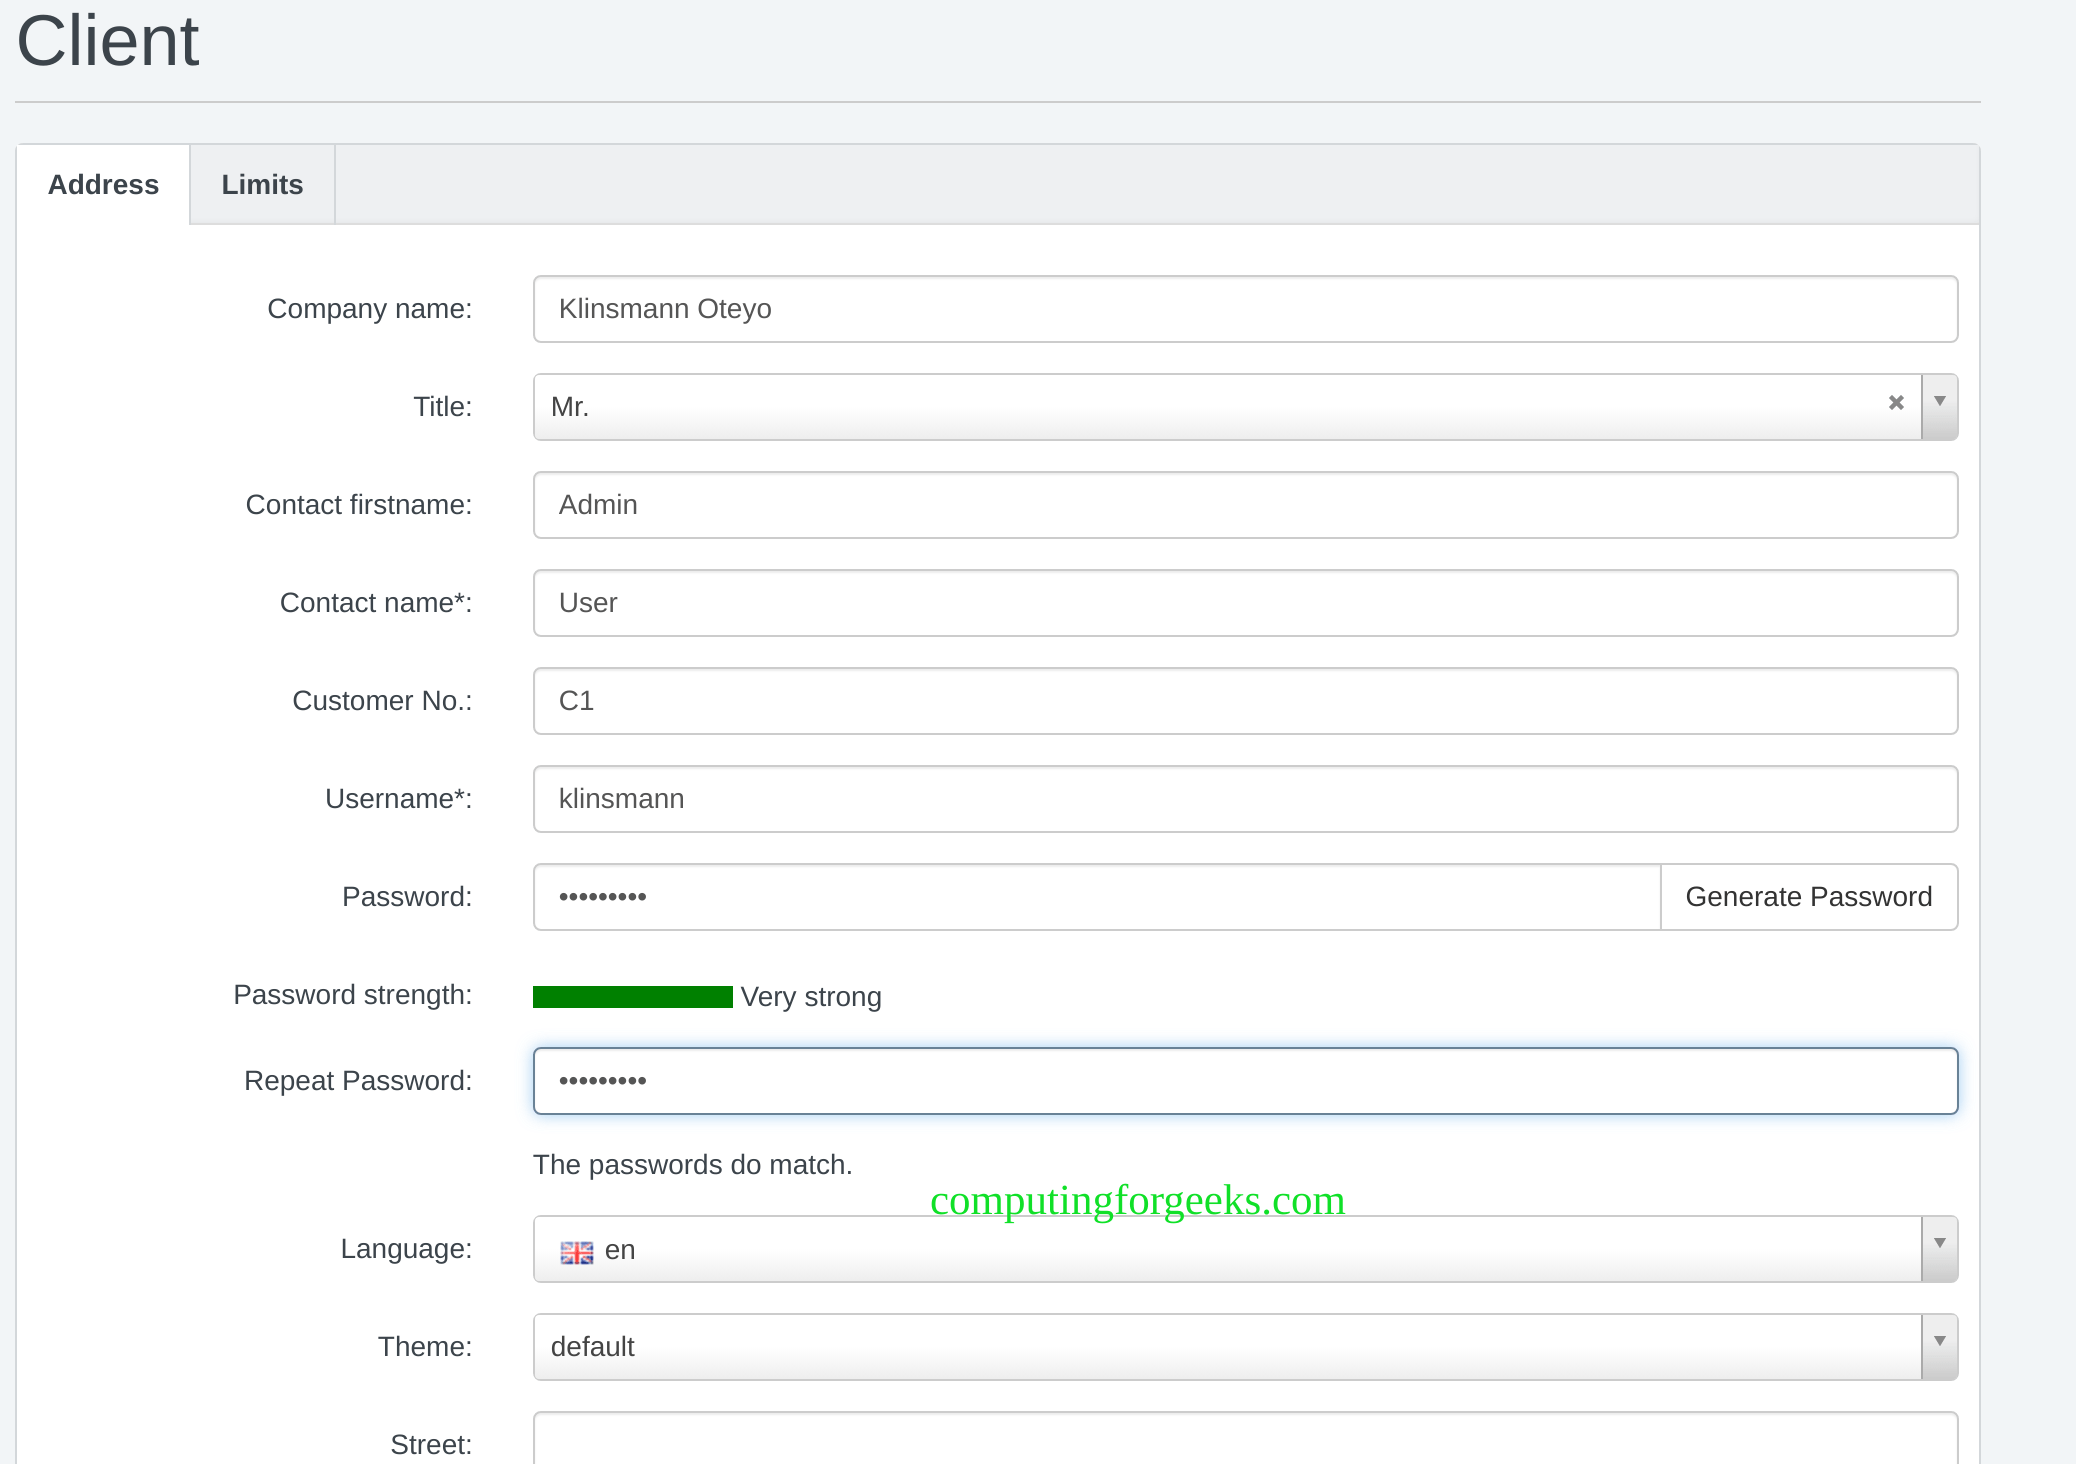
您将需要提供有关客户的用户名、密码、电子邮件和基本信息等详细信息
创建完成后,就可以使用该用户登录
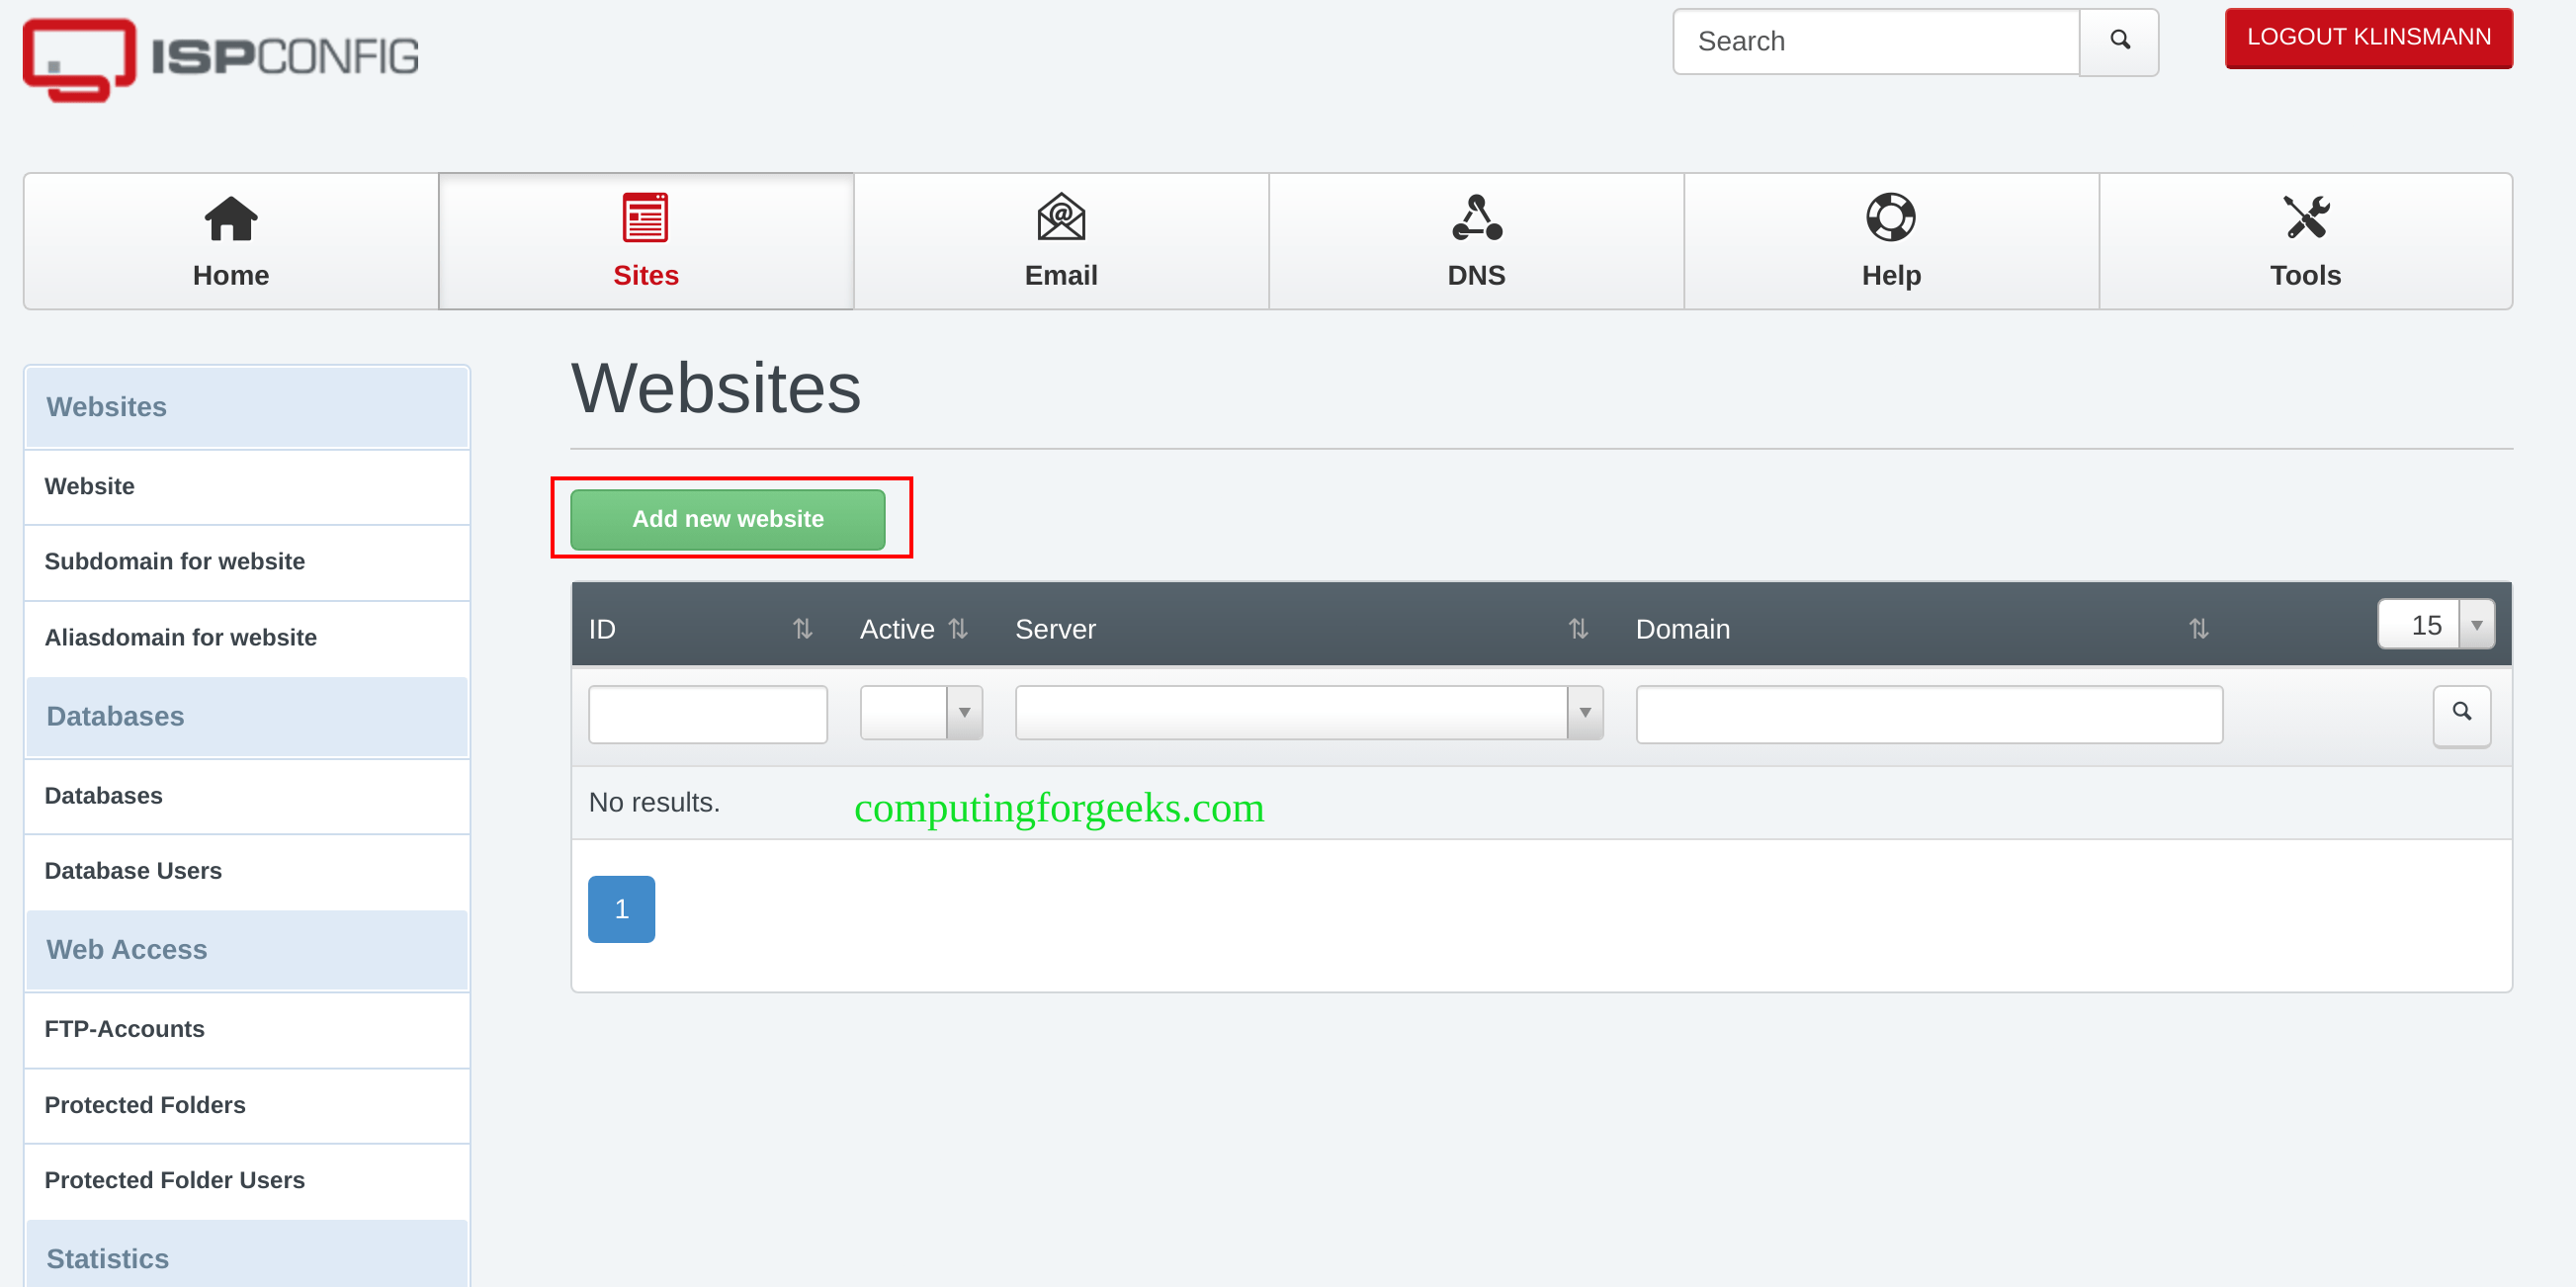
现在,通过导航到网站 -> 添加新网站来添加网站
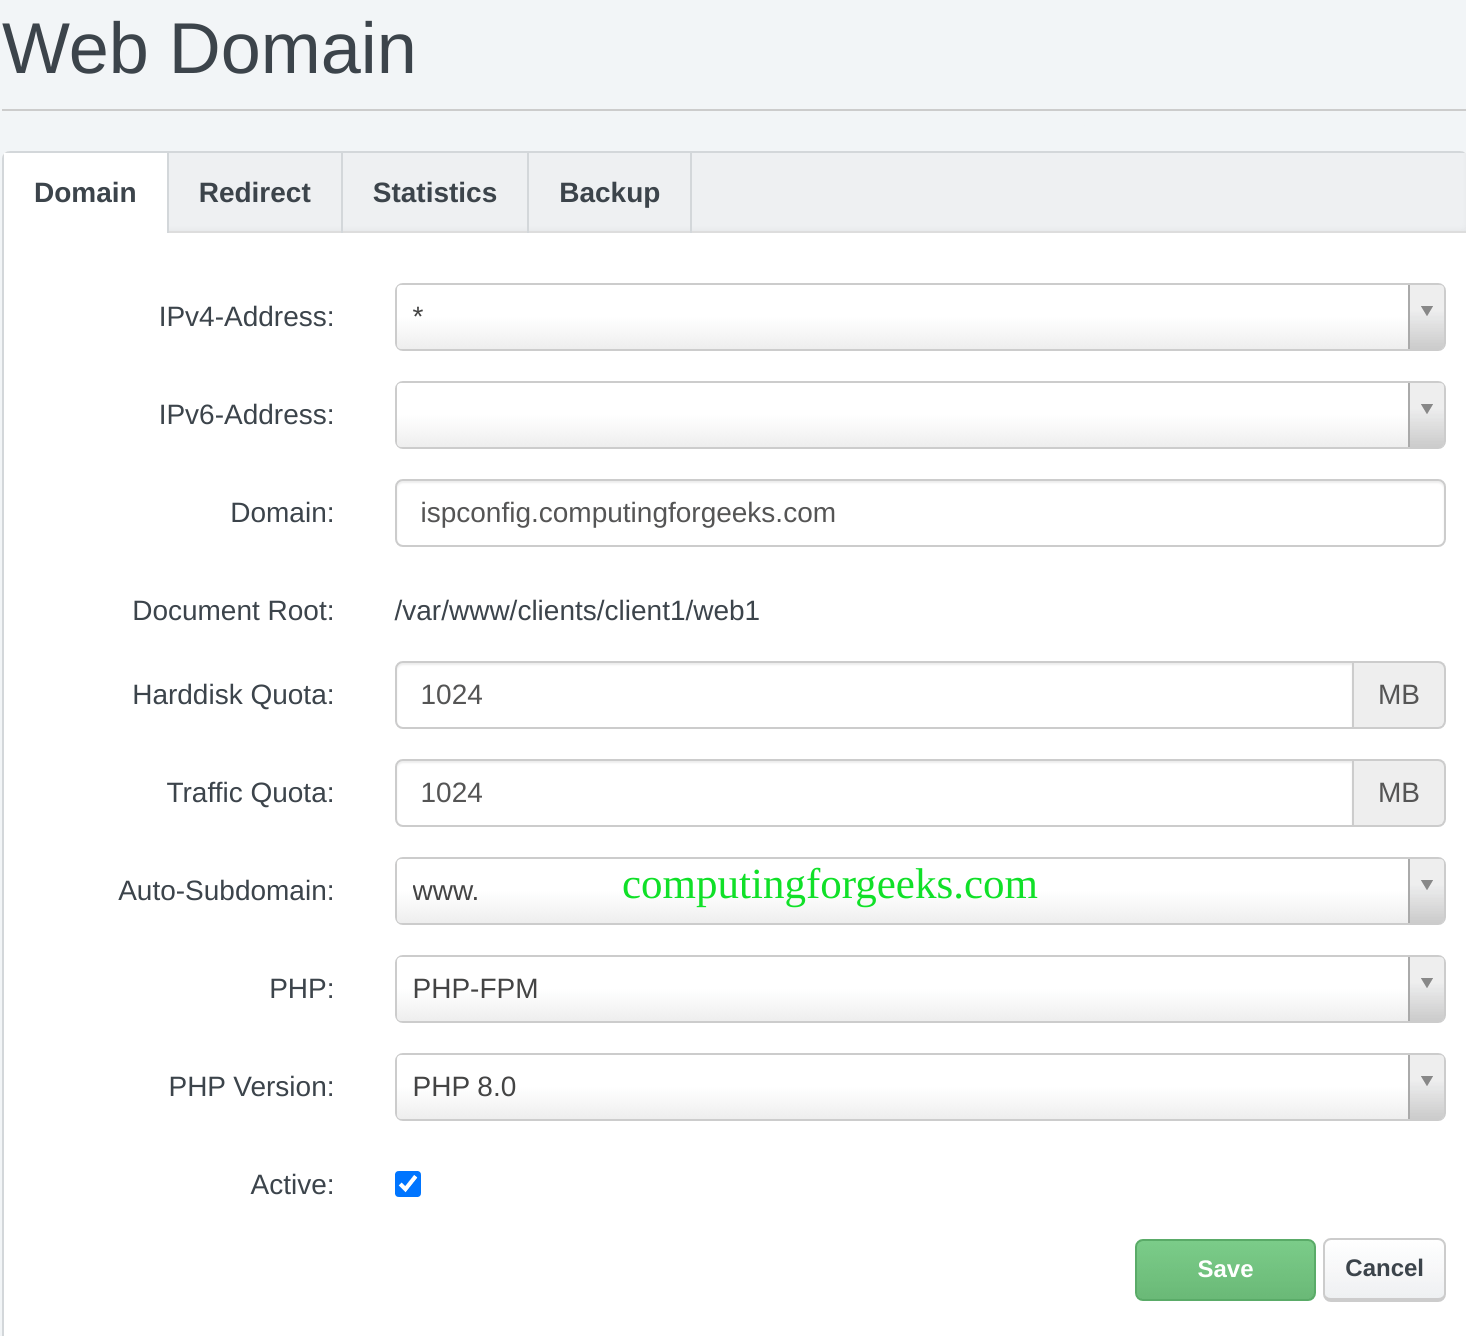
现在提供域名、空间、流量配额和 PHP 版本等详细信息,完成后保存。
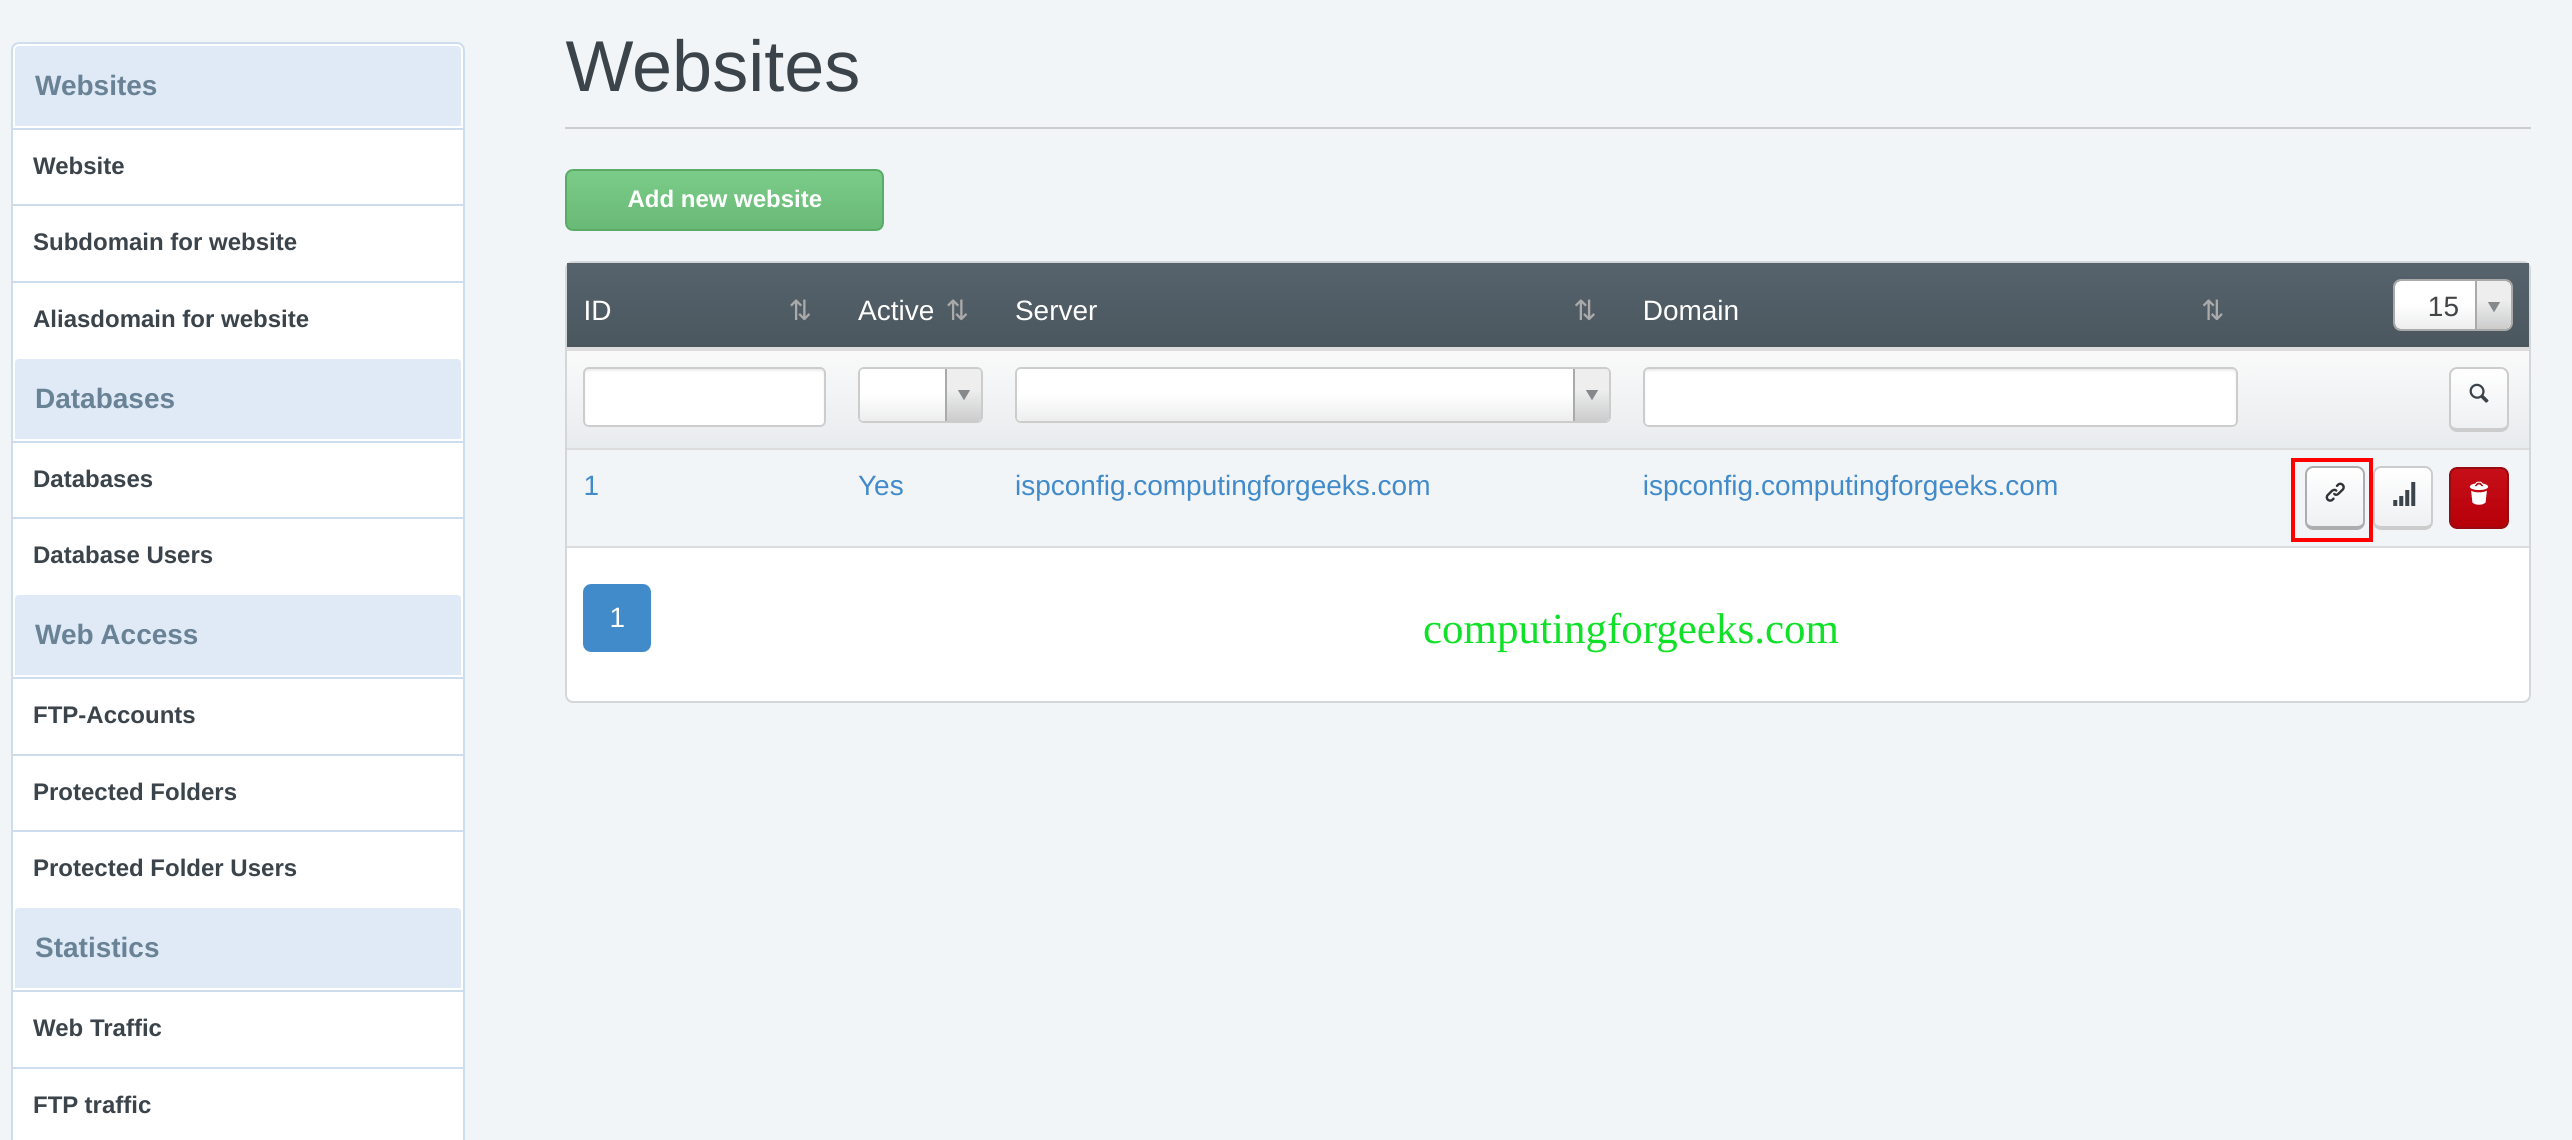
创建的站点将可用,如图所示。
要访问该站点,请单击上面突出显示的图标。对于 Apache,您需要禁用默认页面
sudo a2dissite 000-default.conf
sudo systemctl restart apache2
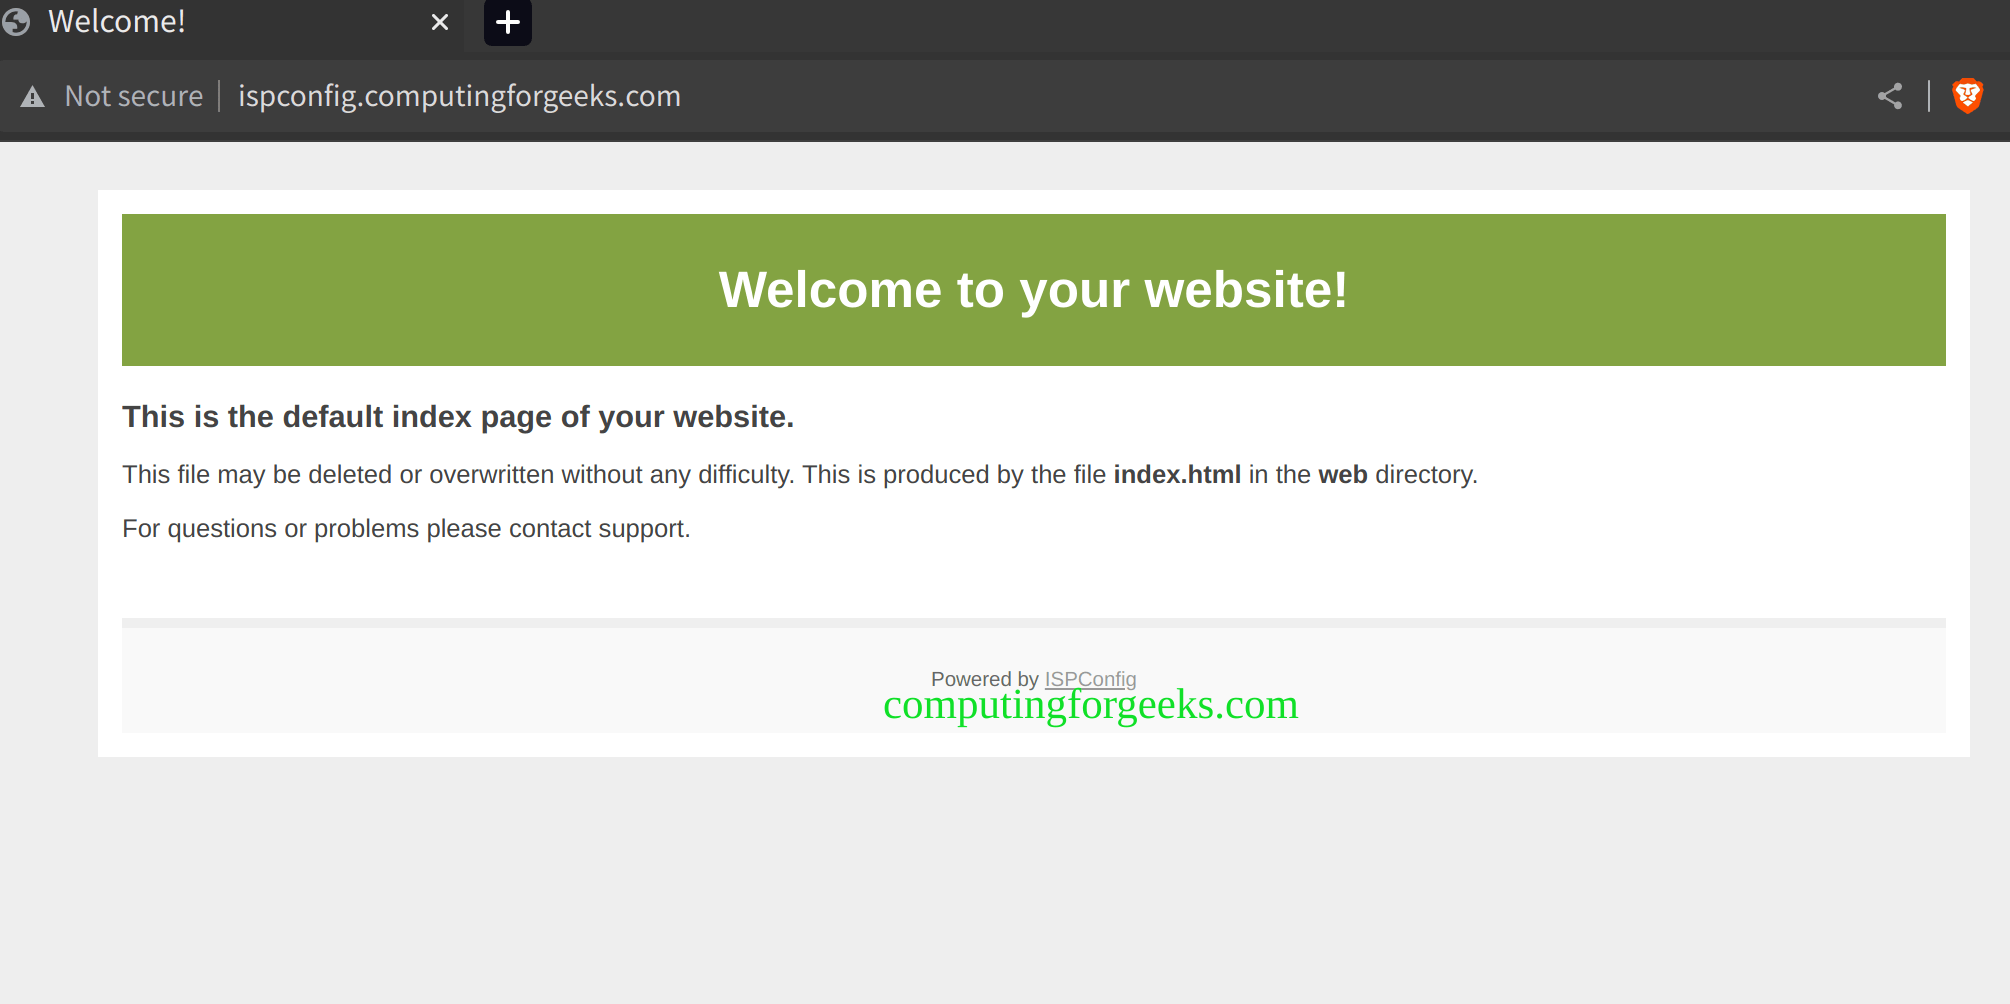
如果一切正常,您应该会看到如下所示的网站:
判决
这标志着本关于如何在 Ubuntu 22.04 上安装和配置 ISPConfig 控制面板的指南的结束。我希望您能从本指南中受益。
相关文章:
- 如何在 CentOS 7 上仅设置 ISPConfig DNS
- 在 Ubuntu 上安装 Cockpit Web 控制台
- 最佳免费开源虚拟主机控制面板

