如何使用 Nginx 在 Ubuntu 20.04 上安装 Kanboard |
Kanboard 是一款专注于看板方法的开源项目管理软件。看板是一种项目管理方法,最初由丰田开发,但已被大多数组织广泛采用,以提高效率。看板方法可帮助您可视化工作流程并以最少的工作量交付更多成果。在本文中,我们将了解在 Ubuntu 20.04 上使用 Nginx Web 服务器安装 Kanboard 的步骤。
以下是 Kanboard 项目管理平台的主要功能。
- 它是一个免费且开源的
- 它使您能够根据您的业务活动定制您的董事会
- 具有对报告和分析的本机支持
- 您可以拥有多个具有拖放任务能力的项目
- 提供易于使用的网络仪表板,可以通过现代浏览器从任何地方访问
- 能够通过插件扩展功能并集成到其他外部服务
Kanboard 依赖项
- 数据存储 – 默认情况下,Kanboard 使用 SQLite,但您可以将其替换为 MySQL/MariaDB 或 PostgreSQL 等关系数据库。 MySQL >= 5.6 或 MariaDB >= 10。对于需要高可用性配置的大型团队,建议使用 Mysql/Postgres
- 网络服务器:您可以使用 Nginx、Apache 或 Caddy 服务器
- PHP >= 5.6.0
- 所需的 PHP 扩展:
可选的 PHP 扩展
在 Ubuntu 20.04 LTS 上安装 Kanboard
按照下一节中的步骤在 Ubuntu 20.04 LTS 上安装 Kanboard。在继续之前,您可以考虑执行完整的系统更新。
sudo apt update
sudo apt -y upgrade
sudo reboot
第1步:安装MariaDB数据库服务器
让我们开始在 Ubuntu 上安装 MariaDB 数据库服务器:
sudo apt install mariadb-server mariadb-client -y通过设置 root 密码来保护应用程序:
$ sudo mysql_secure_installation

NOTE: RUNNING ALL PARTS OF THIS SCRIPT IS RECOMMENDED FOR ALL MariaDB
      SERVERS IN PRODUCTION USE!  PLEASE READ EACH STEP CAREFULLY!

In order to log into MariaDB to secure it, we'll need the current
password for the root user.  If you've just installed MariaDB, and
you haven't set the root password yet, the password will be blank,
so you should just press enter here.

Enter current password for root (enter for none):
OK, successfully used password, moving on...

Setting the root password ensures that nobody can log into the MariaDB
root user without the proper authorisation.

Set root password? [Y/n] y
New password:
Re-enter new password:
Password updated successfully!
Reloading privilege tables..
 ... Success!


By default, a MariaDB installation has an anonymous user, allowing anyone
to log into MariaDB without having to have a user account created for
them.  This is intended only for testing, and to make the installation
go a bit smoother.  You should remove them before moving into a
production environment.

Remove anonymous users? [Y/n] y
 ... Success!

Normally, root should only be allowed to connect from 'localhost'.  This
ensures that someone cannot guess at the root password from the network.

Disallow root login remotely? [Y/n] y
 ... Success!

By default, MariaDB comes with a database named 'test' that anyone can
access.  This is also intended only for testing, and should be removed
before moving into a production environment.

Remove test database and access to it? [Y/n] y
 - Dropping test database...
 ... Success!
 - Removing privileges on test database...
 ... Success!

Reloading the privilege tables will ensure that all changes made so far
will take effect immediately.

Reload privilege tables now? [Y/n] y
 ... Success!

Cleaning up...

All done!  If you've completed all of the above steps, your MariaDB
installation should now be secure.

Thanks for using MariaDB!
更新身份验证插件:
$ sudo mysql -u root
UPDATE mysql.user SET plugin = 'mysql_native_password' WHERE User = 'root';
FLUSH PRIVILEGES;
\q
安装完成后,使用用户创建数据库。首先,以root用户登录数据库CLI。
$ mysql -u root -p
Enter password:
Welcome to the MariaDB monitor.  Commands end with ; or \g.
Your MariaDB connection id is 62
Server version: 10.3.25-MariaDB-0ubuntu0.20.04.1 Ubuntu 20.04

Copyright (c) 2000, 2018, Oracle, MariaDB Corporation Ab and others.

Type 'help;' or '\h' for help. Type '\c' to clear the current input statement.

MariaDB [(none)]>
然后运行命令来创建数据库和具有所需权限的用户
CREATE DATABASE kanboard CHARACTER SET utf8mb4 COLLATE utf8mb4_unicode_ci;;
GRANT ALL PRIVILEGES ON kanboard.* TO 'kanboard'@'localhost' IDENTIFIED BY 'StrongPassword';
FLUSH PRIVILEGES;
\q
第 2 步:安装 PHP 扩展和 Nginx Web 服务器
接下来是安装 PHP、所需的扩展和 Nginx Web 服务器。
sudo apt update
sudo apt install php php-{fpm,mbstring,cli,json,opcache,zip,xml,gd,ldap,mysql,json,sqlite3}
接受安装提示:
...
Suggested packages:
  apache2-doc apache2-suexec-pristine | apache2-suexec-custom www-browser php-pear libgd-tools openssl-blacklist
The following NEW packages will be installed:
  apache2 apache2-bin apache2-data apache2-utils fontconfig-config fonts-dejavu-core libapache2-mod-php7.4 libapr1 libaprutil1 libaprutil1-dbd-sqlite3
  libaprutil1-ldap libfontconfig1 libgd3 libjansson4 libjbig0 libjpeg-turbo8 libjpeg8 liblua5.2-0 libonig5 libtiff5 libwebp6 libxpm4 libzip5 php php-cli
  php-common php-fpm php-gd php-json php-ldap php-mbstring php-mysql php-sqlite3 php-xml php-zip php7.4 php7.4-cli php7.4-common php7.4-fpm php7.4-gd
  php7.4-json php7.4-ldap php7.4-mbstring php7.4-mysql php7.4-opcache php7.4-readline php7.4-sqlite3 php7.4-xml php7.4-zip ssl-cert
0 upgraded, 50 newly installed, 0 to remove and 0 not upgraded.
Need to get 10.1 MB of archives.
After this operation, 40.1 MB of additional disk space will be used.
Do you want to continue? [Y/n] y
安装 Nginx Web 服务器包。
sudo apt install nginx -y第 3 步:下载并安装 Kanboard
Kanboard 有两种标准安装选项:
- 从稳定版本开始
- 来自 Github 开发分支
要下载 Kanboard 的特定稳定版本,请查看 Kanboard 版本页面。截至撰写本文时,最新版本为1.2.18
让我们下载最新的稳定版本:
export VER=1.2.18
wget https://github.com/kanboard/kanboard/archive/v$VER.tar.gz
tar xvf v$VER.tar.gz
rm -f v$VER.tar.gz
sudo mv kanboard-$VER/ /var/www/kanboard
要下载开发版本,请使用:
sudo git clone https://github.com/kanboard/kanboard.git创建Kanboard配置文件
复制 Kanboard 配置模板。
sudo cp /var/www/kanboard/config.default.php /var/www/kanboard/config.php
sudo vim /var/www/kanboard/config.php
文件 config.php 应包含数据库访问值。
// Database driver: sqlite, mysql or postgres (sqlite by default)
define('DB_DRIVER', 'mysql');

// Mysql/Postgres username
define('DB_USERNAME', 'kanboard');

// Mysql/Postgres password
define('DB_PASSWORD', 'StrongPassword');

// Mysql/Postgres hostname
define('DB_HOSTNAME', 'localhost');

// Mysql/Postgres database name
define('DB_NAME', 'kanboard');
此 Kanboard 的广泛配置参考有助于正确配置其他功能,例如 LDAP 身份验证、SMTP 设置、暴力保护、日志记录、安全 HTTP 标头设置等。
将 www-data 设置为用户并将目录所有者分组:
sudo chown -R www-data:www-data /var/www/kanboard第 4 步:配置 Nginx Web 服务器
创建 Nginx 配置文件 /etc/nginx/conf.d/kanboard.conf
sudo vim /etc/nginx/conf.d/kanboard.conf粘贴以下内容并修改以适合您的使用。
server {
        listen       80;
        #listen       443 ssl;
	#ssl_certificate /etc/nginx/ssl/kanboard.crt;
	#ssl_certificate_key /etc/nginx/ssl/kanboard.key;
        server_name  kanboard.example.com; # Set domain name
        index        index.php;
        root         /var/www/kanboard;
        client_max_body_size 32M;

        location / {
            try_files $uri $uri/ /index.php$is_args$args;
        }

        location ~ \.php$ {
            try_files $uri =404;
            fastcgi_split_path_info ^(.+\.php)(/.+)$;
            fastcgi_pass unix:/var/run/php/php-fpm.sock;
            fastcgi_param SCRIPT_FILENAME $document_root$fastcgi_script_name;
            fastcgi_index index.php;
            include fastcgi_params;
        }

        location ~* ^.+\.(log|sqlite)$ {
            return 404;
        }

        location ~ /\.ht {
            return 404;
        }

        location ~* ^.+\.(ico|jpg|gif|png|css|js|svg|eot|ttf|woff|woff2|otf)$ {
            log_not_found off;
            expires 7d;
            etag on;
        }

        gzip on;
        gzip_comp_level 3;
        gzip_disable "msie6";
        gzip_vary on;
        gzip_types
            text/javascript
            application/javascript
            application/json
            text/xml
            application/xml
            application/rss+xml
            text/css
            text/plain;
 }
如果您想使用 https,请取消注释 SSL 配置行
使用 Let’s Encrypt SSL
此示例适用于 http 到 https 重定向和 Let’s Encrypt SSL 证书
# HTTP
server {
	listen 80;
        server_name  kanboard.example.com;
        root         /var/www/kanboard;
	location / {
        	rewrite     ^ https://kanboard.example.com$request_uri? permanent;
    }
}

# HTTPS
server {
        listen       443 ssl;
	ssl_certificate /etc/letsencrypt/live/kanboard.example.com/fullchain.pem;
	ssl_certificate_key /etc/letsencrypt/live/kanboard.example.com/privkey.pem;
        server_name  kanboard.example.com;
        index        index.php;
        root         /var/www/kanboard;
        client_max_body_size 32M;

        location / {
            try_files $uri $uri/ /index.php$is_args$args;
        }

        location ~ \.php$ {
            try_files $uri =404;
            fastcgi_split_path_info ^(.+\.php)(/.+)$;
            fastcgi_pass unix:/var/run/php/php-fpm.sock;
            fastcgi_param SCRIPT_FILENAME $document_root$fastcgi_script_name;
            fastcgi_index index.php;
            include fastcgi_params;
        }

        location ~* ^.+\.(log|sqlite)$ {
            return 404;
        }

        location ~ /\.ht {
            return 404;
        }

        location ~* ^.+\.(ico|jpg|gif|png|css|js|svg|eot|ttf|woff|woff2|otf)$ {
            log_not_found off;
            expires 7d;
            etag on;
        }

        gzip on;
        gzip_comp_level 3;
        gzip_disable "msie6";
        gzip_vary on;
        gzip_types
            text/javascript
            application/javascript
            application/json
            text/xml
            application/xml
            application/rss+xml
            text/css
            text/plain;
    }
检查配置语法
$ sudo nginx -t
nginx: the configuration file /etc/nginx/nginx.conf syntax is ok
nginx: configuration file /etc/nginx/nginx.conf test is successful如果返回OK,那么您可以启动 nginx 服务
sudo systemctl disable --now apache2
sudo systemctl restart nginx
sudo systemctl enable nginx
检查nginx服务状态:
$ systemctl status nginx
● nginx.service - A high performance web server and a reverse proxy server
     Loaded: loaded (/lib/systemd/system/nginx.service; enabled; vendor preset: enabled)
     Active: active (running) since Tue 2021-01-26 08:49:19 UTC; 10s ago
       Docs: man:nginx(8)
   Main PID: 18730 (nginx)
      Tasks: 2 (limit: 1137)
     Memory: 2.6M
     CGroup: /system.slice/nginx.service
             ├─18730 nginx: master process /usr/sbin/nginx -g daemon on; master_process on;
             └─18731 nginx: worker process

Jan 26 08:49:19 ubuntu systemd[1]: Starting A high performance web server and a reverse proxy server...
Jan 26 08:49:19 ubuntu systemd[1]: Started A high performance web server and a reverse proxy server.
第 5 步:访问 Kanboard Web UI
使用您喜爱的网络浏览器打开链接 http://kanboard.example.com 来访问 Kanboard Web UI。将 kanboard.example.com 替换为您的正确域名。
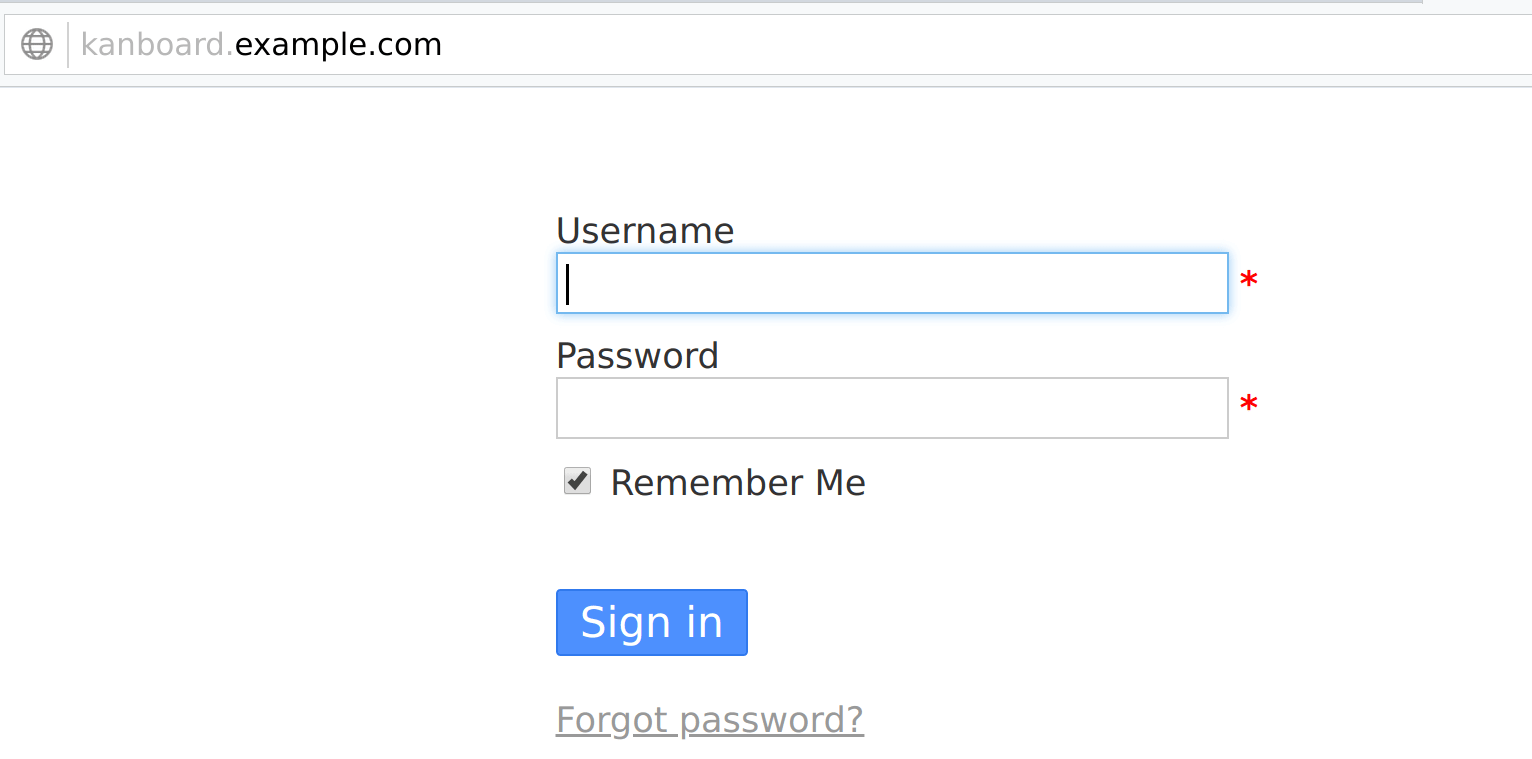
要登录,请使用:
用户名:admin
密码:admin
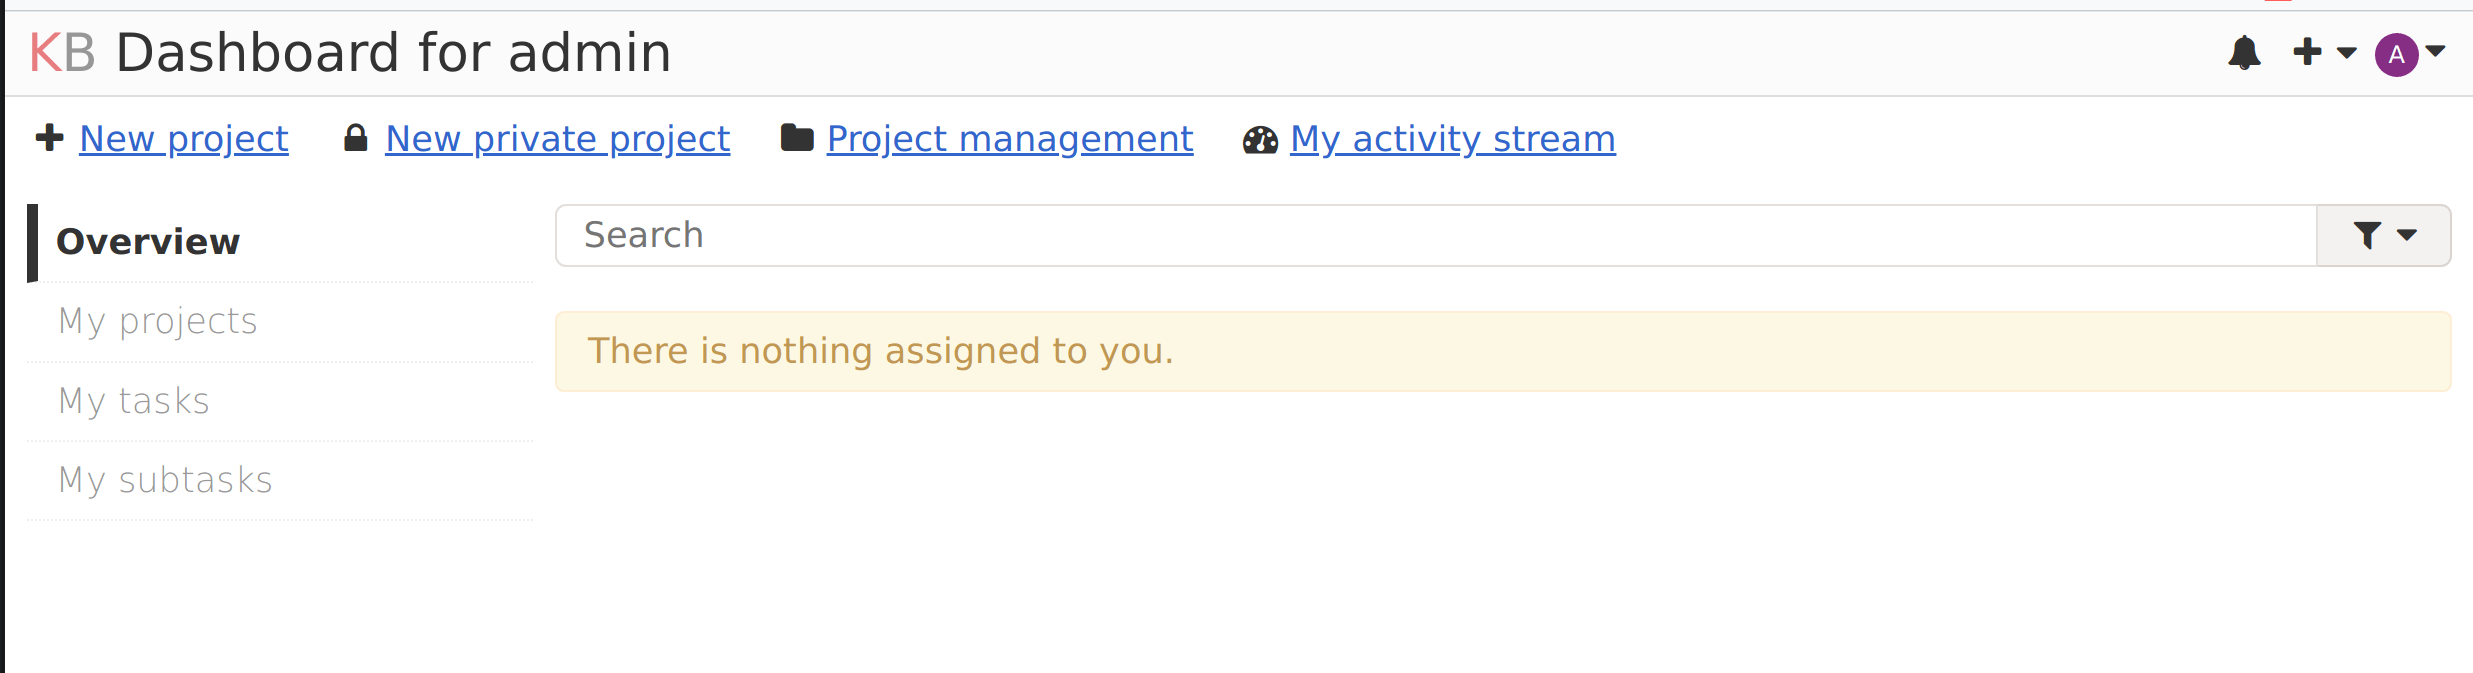
您应该进入如下所示的仪表板
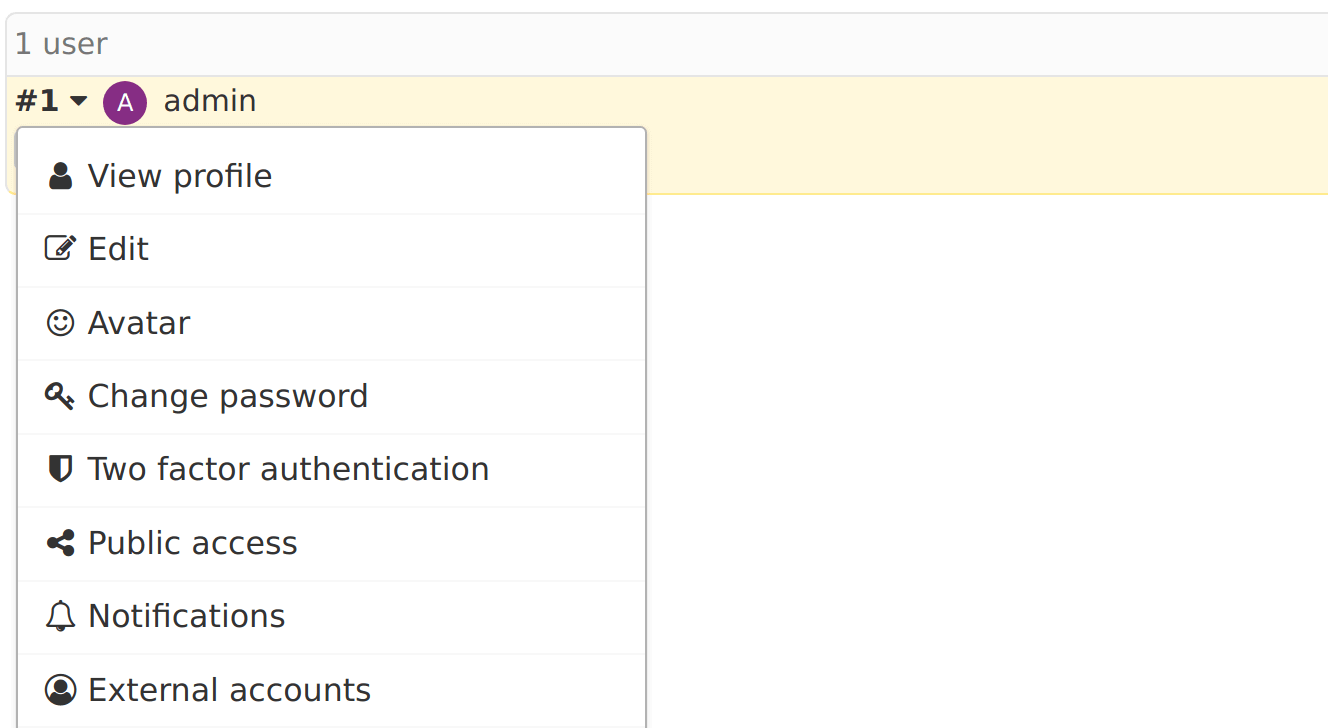
重置管理员密码
通过在管理 > 用户管理 > admin > 更改密码下设置管理员密码,提高仪表板访问安全性
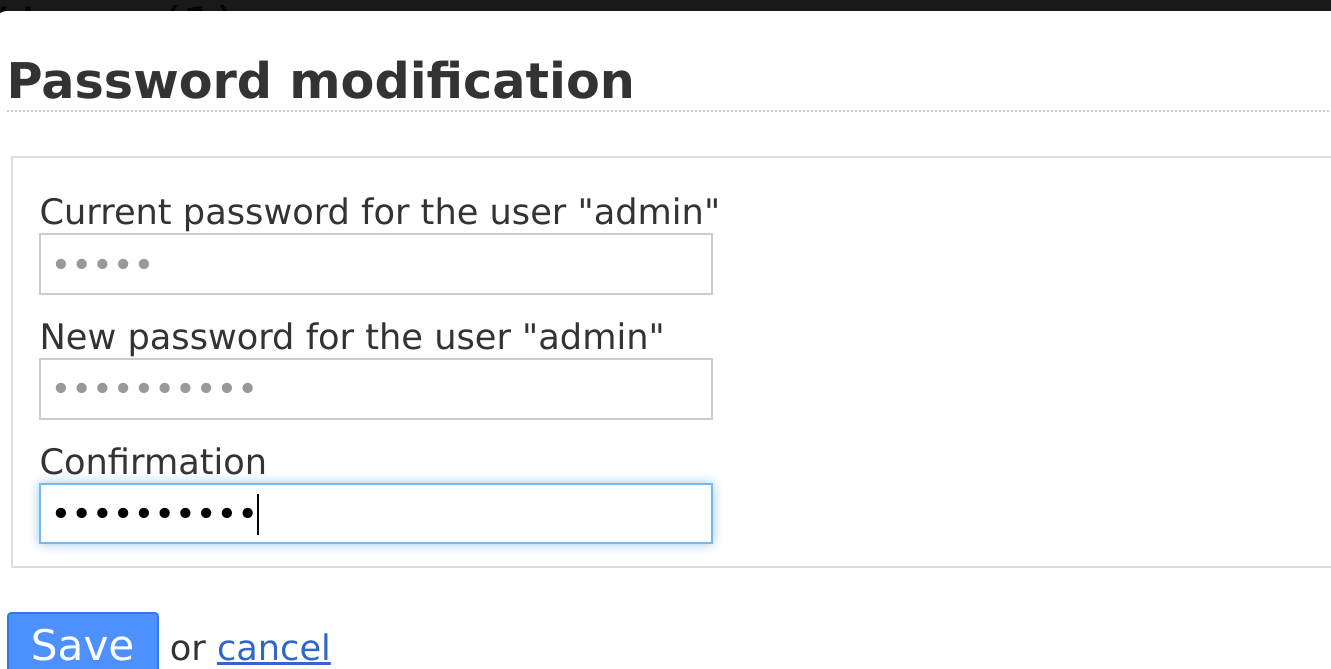
输入管理员用户的当前密码和新密码。
您已成功在 Ubuntu 20.04 上安装 Kanboard 项目管理,并使用 Nginx 作为 Web 服务器。
类似指南:
在 CentOS 8 上安装 Taiga 项目管理工具
在 Ubuntu 20.04 上安装 Taiga 项目管理平台