使用 Nginx 在 Ubuntu 20.04|18.04 上安装 Observium
在本文中,我们将了解如何在 Ubuntu 20.04|18.04 Linux 上安装 Observium。 Observium 是一种自动发现网络监控工具,维护成本低,支持 Cisco、Juniper、Linux、Windows、HP、Dell、FreeBSD、Brocade、NetApp、Netscaler 等。
在我们之前的文章中,我写了如何在 Ubuntu 上安装和配置 LibreNMS。根据记录,LibreNMS 是 Observium 的一个分支。 Observium 专注于为您的网络健康状况和状态提供美观、强大且简单直观的界面。
使用 Nginx 在 Ubuntu 20.04|18.04 LTS 上安装 Observium
Observium 由 PHP、MariaDB 和 Nginx/Apache Web 服务器提供支持。让我们首先确保所有这些依赖项都安装在我们的 Ubuntu 20.04 | 18.04 系统上。
第 1 步:安装 PHP 和所需模块
Ubuntu 18.04+ 的存储库中有 PHP 7.x。通过在终端上运行以下命令来安装它:
sudo apt update
sudo apt -y install wget php php-{pear,cgi,common,curl,mbstring,gd,mysql,bcmath,imap,json,xml,snmp,fpm,zip}
要确认安装的 php 版本,请使用命令php -v:
# Ubuntu 20.04
$ php -v
PHP 7.4.3 (cli) (built: Jun 13 2022 13:43:30) ( NTS )
Copyright (c) The PHP Group
Zend Engine v3.4.0, Copyright (c) Zend Technologies
    with Zend OPcache v7.4.3, Copyright (c), by Zend Technologies

# Ubuntu 18.04
$  php -v
PHP 7.2.8 (cli) (built: Jul 17 2018 09:50:46) ( NTS )
Copyright (c) 1997-2018 The PHP Group
Zend Engine v3.2.0, Copyright (c) 1998-2018 Zend Technologies
配置并启动 PHP-FPM
确保 php.ini 中的 date.timezone 设置为您的首选时区:
编辑这两个文件:
sudo vim /etc/php/*/fpm/php.ini
sudo vim /etc/php/*/cli/php.ini
更改 [Date] 部分下的 date.timezone:
[Date]
; Defines the default timezone used by the date functions
; http://php.net/date.timezone
date.timezone = Africa/Nairobi
重新启动 php fpm:
sudo systemctl restart php*-fpm.service第 2 步:安装 Nginx Web 服务器
对于此设置,我们将使用 Nginx 作为 Observium 的 Web 服务器,通过运行以下命令来安装它:
sudo apt remove apache2 -y
sudo apt -y install nginx
确保它能够在启动时启动:
sudo systemctl enable nginx第 3 步:安装和配置 MariaDB
安装 MariaDB 服务器:
sudo apt install mariadb-server完成安装后,为 Observium 创建数据库和用户。
Observium 与 MySQL 严格模式不完全兼容,目前请在安装 mysql 后禁用此模式。
sudo vim /etc/mysql/mariadb.conf.d/50-server.cnf在 [mysqld] 部分中,请添加:
innodb_file_per_table=1
sql-mode=""
lower_case_table_names=0然后重新启动mysql
sudo systemctl restart mariadb安装并配置数据库服务器后,您需要为 Observium 创建一个数据库。
$ sudo mysql -u root
create database observium;
grant all privileges on observium.* to observium@localhost IDENTIFIED by "StrongPassword";
flush privileges;
quit
第 4 步:下载并安装 Observium
安装 wget 命令行下载器:
sudo apt install wget添加 observium 系统用户:
sudo useradd -r -M -d /opt/observium observium现在将此用户添加到 Web 用户组 www-data
sudo usermod -a -G observium www-data完成后。继续安装 Observium 所需的软件包
sudo apt update
sudo apt install rrdtool whois fping imagemagick graphviz mtr-tiny nmap python3-mysqldb snmp snmpd python3-memcache mtr-tiny acl
下载最新的 Observium 社区版本并解压。
wget http://www.observium.org/observium-community-latest.tar.gz
tar xvf observium-community-latest.tar.gz
将生成的文件夹移动到 /opt 目录:
sudo mv observium /opt切换到 observium 目录并创建一个配置文件。
sudo cp /opt/observium/config.php.default /opt/observium/config.php编辑文件以设置数据库连接:
sudo vim /opt/observium/config.php设置如下:
// Database config ---  This MUST be configured
$config['db_extension'] = 'mysqli';
$config['db_host']      = 'localhost';
$config['db_user']      = 'observium';
$config['db_pass']      = 'StrongPassword';
$config['db_name']      = 'observium';
创建rrd和日志目录。
sudo mkdir /opt/observium/{rrd,logs}修改目录权限:
sudo chown -R observium:observium /opt/observium/
sudo chmod -R 775 /opt/observium/
配置snmpd
复制 snmpd 示例文件:
sudo cp /opt/observium/snmpd.conf.example /etc/snmp/snmpd.conf在 snmpd.conf 文件中配置下面的字符串。
$ sudo vim /etc/snmp/snmpd.conf
com2sec readonly default 0bs3rv1um重新启动snmpd
sudo systemctl restart snmpd验证服务状态是否正在运行:
$ systemctl status snmpd
● snmpd.service - Simple Network Management Protocol (SNMP) Daemon.
     Loaded: loaded (/lib/systemd/system/snmpd.service; enabled; vendor preset: enabled)
     Active: active (running) since Wed 2021-04-28 18:38:01 UTC; 5s ago
    Process: 39459 ExecStartPre=/bin/mkdir -p /var/run/agentx (code=exited, status=0/SUCCESS)
   Main PID: 39460 (snmpd)
      Tasks: 1 (limit: 4683)
     Memory: 5.5M
     CGroup: /system.slice/snmpd.service
             └─39460 /usr/sbin/snmpd -LOw -u Debian-snmp -g Debian-snmp -I -smux mteTrigger mteTriggerConf -f -p /run/snmpd.pid

Apr 28 18:38:01 ubuntu systemd[1]: Starting Simple Network Management Protocol (SNMP) Daemon....
Apr 28 18:38:01 ubuntu systemd[1]: Started Simple Network Management Protocol (SNMP) Daemon..
第5步:配置Nginx
让我们为 Nginx 创建 VirtualHost 定义来加载 Observium Web 界面。
创建新文件
sudo vim /etc/nginx/conf.d/observium.conf粘贴以下内容并进行修改以适合您的使用。
server {
 listen      80;
 server_name observium.example.com;
 root        /opt/observium/html;
 index       index.php;

 charset utf-8;
 gzip on;
 gzip_types text/css application/javascript text/javascript application/x-javascript image/svg+xml text/plain text/xsd text/xsl text/xml image/x-icon;
 location / {
  try_files $uri $uri/ /index.php?$query_string;
 }
 location /api/v0 {
  try_files $uri $uri/ /api_v0.php?$query_string;
 }
 location ~ \.php {
  include fastcgi.conf;
  fastcgi_split_path_info ^(.+\.php)(/.+)$;
  fastcgi_pass unix:/var/run/php/php-fpm.sock;
 }
 location ~ /\.ht {
  deny all;
 }
}
检查语法:
$ sudo nginx -t
nginx: the configuration file /etc/nginx/nginx.conf syntax is ok
nginx: configuration file /etc/nginx/nginx.conf test is successful
如果一切正常,重启nginx:
sudo systemctl restart nginx步骤 6:在 Web UI 上配置 Observium
导入MySQL方案:
cd /opt/observium
sudo ./discovery.php -u
示例输出:
$ sudo ./discovery.php -u

  ___   _                              _
 / _ \ | |__   ___   ___  _ __ __   __(_) _   _  _ __ ___
| | | || '_ \ / __| / _ \| '__|\ \ / /| || | | || '_ ` _ \
| |_| || |_) |\__ \|  __/| |    \ V / | || |_| || | | | | |
 \___/ |_.__/ |___/ \___||_|     \_/  |_| \__,_||_| |_| |_|
                     Observium Community Edition 20.9.10731
                                  https://www.observium.org

Install initial database schema ... done.
-- Updating database/file schema
416 -> 417 # (db) .. Done (0s).
417 -> 418 # (db) . Done (0s).
418 -> 419 # (db) .... Done (0s).
419 -> 420 # (db) .. Done (0s).
420 -> 421 # (db) ... Done (0s).
421 -> 422 # (db) .. Done (0s).
422 -> 423 # (db) ...... Done (0s).
423 -> 424 # (php)  Done (0s).
424 -> 425 # (db) . Done (0s).
425 -> 426 # (db) ............... Done (0s).
426 -> 427 # (db) ... Done (0s).
427 -> 428 # (db) ... Done (1s).
428 -> 429 # (db) ... Done (0s).
429 -> 430 # (db) (WARNING! Required MySQL version 5.6+ or MariaDB 10.0+).... Done (0s).
430 -> 431 # (db) ..... Done (0s).
431 -> 432 # (php)  Done (0s).
432 -> 433 # (db) ......... Done (0s).
433 -> 434 # (db) ... Done (0s).
434 -> 435 # (db) . Done (0s).
-- Done.
添加管理员用户:
添加用于访问 Observium 门户的用户。您可以添加多个用户。
命令语法:
adduser.php <username> <password> <level 1-10> [email]用户访问级别:
  0 - Disabled (This user disabled)
  1 - Normal User (This user has read access to individual entities)
  5 - Global Read (This user has global read access)
  7 - Global Secure Read (This user has global read access with secured info)
  8 - Global Secure Read / Limited Write (This user has secure global read access with scheduled maintenence read/write.)
  10 - Administrator (This user has full administrative access)
例子:
$ cd /opt/observium
$ sudo ./adduser.php admin StrOnPassw0rd 10
Observium CE 20.9.10731
Add User
User admin added successfully.

$ sudo ./adduser.php jkmutai StrOnPassw0rd 10
Observium CE 20.9.10731
Add User
User jmutai added successfully.
10 是最高访问级别
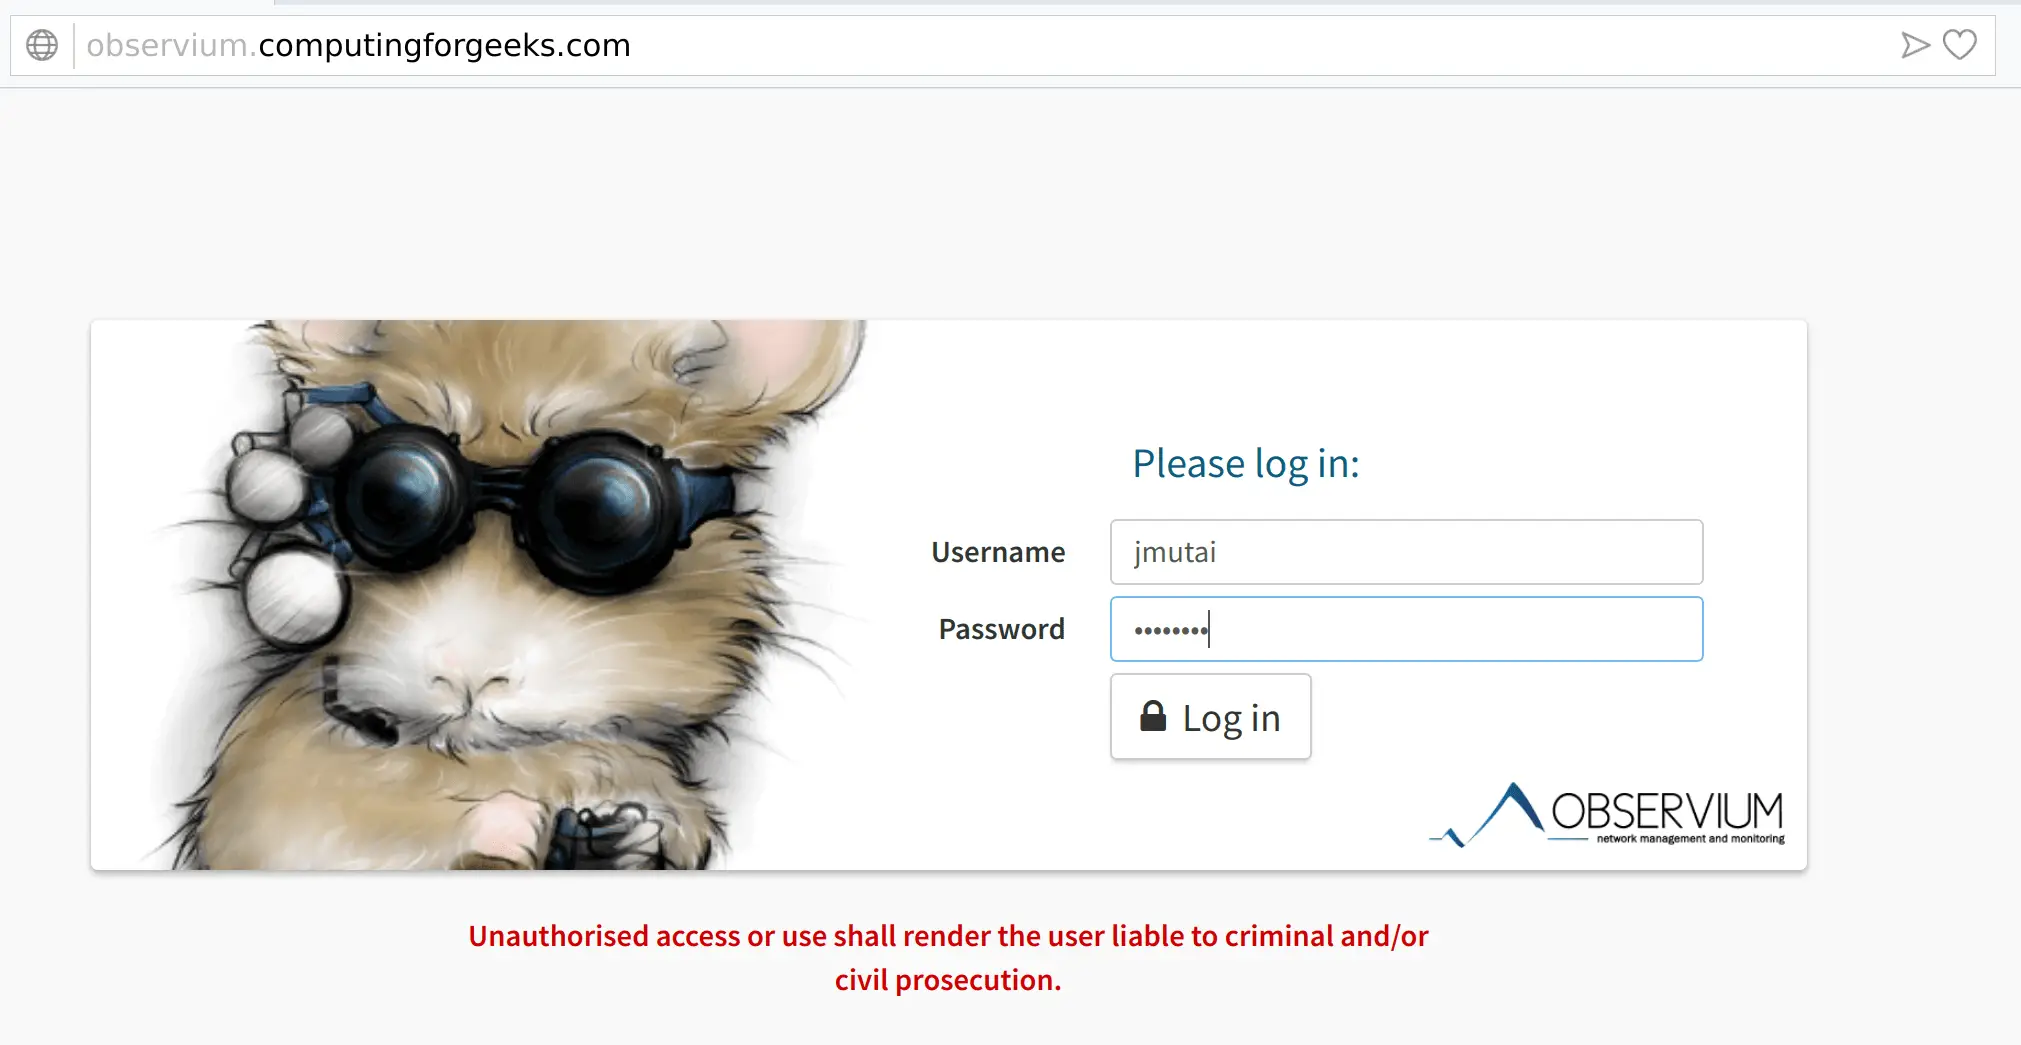
访问 Observium Web 界面
现在打开您的网络浏览器并启动安装程序:
http://observium.example.com使用管理员用户的用户名和密码登录。