使用 Let's Encrypt SSL 在 CentOS 7 上安装 DokuWiki
本指南将引导您完成在 CentOS 7 Linux 上在 nginx 后面安装 DokuWiki 和 Let’s Encrypt SSL 证书的步骤。但在我们进行任何安装之前,我假设您有一个新配置的 CentOS 7 Linux 服务器,您需要在设置 DokuWiki 之前完成一些先决条件。
设置服务器主机名。建议将 IP 地址映射到 DNS 服务器中使用的 FQDN。
sudo hostnamectl set-hostname wiki.mydomain.com还要考虑设置正确的时区:
sudo timedatectl set-timezone Region/Country
#Example:
sudo timedatectl set-timezone Africa/Nairobi
使用 NTP 服务器同步时间
sudo yum -y install chrony
sudo systemctl enable --now chronyd
sudo chronyc sources
第1步:更新系统并安装开发工具
建议确保所有系统软件包均已更新:
sudo yum -y update
sudo yum -y install git vim bash-completion curl wget unzip tar
重新启动服务器以使内核等新更改生效:
sudo reboot步骤 2:为 php 7.x 添加 EPEL 和 Remi 存储库
服务器重新启动后启动后,继续安装所有必需的 php 模块,包括 Nginx 使用的 php fpm。但首先,您需要将 epel 和 remi 存储库添加到系统中:
sudo yum -y install epel-release yum-utils
sudo yum -y install http://rpms.remirepo.net/enterprise/remi-release-7.rpm
sudo yum clean all && sudo yum makecache fast
sudo yum-config-manager --disable remi-php54
sudo yum-config-manager --enable remi-php74
第三步:安装php和所需的扩展
通过运行以下命令安装 php 7.x:
sudo yum -y install php-cli php-fpm php-mysql php-zip php-ldap php-devel php-gd php-mcrypt php-mbstring php-curl php-xml php-pear php-bcmath这应该提供 DokuWiki 所需的所有模块。检查你的 php 版本:
$ php -v
PHP 7.4.28 (cli) (built: Feb 15 2022 13:23:10) ( NTS )
Copyright (c) The PHP Group
Zend Engine v3.4.0, Copyright (c) Zend Technologies
第4步:下载DokuWiki并解压
在下载任何版本的 DokuWiki 之前,请检查 Github 版本页面以获取最新的稳定版本。
wget https://download.dokuwiki.org/src/dokuwiki/dokuwiki-stable.tgz使用 tar 提取 DokuWiki 存档
tar xvf dokuwiki-stable.tgz
sudo mkdir -p /var/www/html/
sudo mv dokuwiki-*/ /var/www/html/dokuwiki
第5步:安装certbot
我们将使用 certbot 请求 SSL 证书。安装如下:
sudo yum -y install epel-release
sudo yum -y install vim certbot python2-certbot-nginx
下载后,如果您有活动的防火墙服务,请在防火墙上打开 http 和 https 端口:
sudo firewall-cmd --add-service {http,https} --permanent第 6 步:配置 Nginx Web 服务器(非 https)
安装 nginx 网络服务器
sudo yum -y install nginx创建新的配置文件:
sudo vim /etc/nginx/conf.d/dokuwiki.conf让我们添加不带 HTTPS 的配置块,同时将 wiki.mydomain.com 替换为您的实际域名。
server {
 listen 80;
 server_name wiki.mydomain.com;
 root /var/www/html/;

 access_log /var/log/nginx/dokuwiki.access.log;
 error_log /var/log/nginx/dokuwiki.error.log;
 index index.html index.php doku.php;

 location / {
   try_files $uri $uri/ @dokuwiki;
 }

 location @dokuwiki {
   rewrite ^/_media/(.*) /lib/exe/fetch.php?media=$1 last;
   rewrite ^/_detail/(.*) /lib/exe/detail.php?media=$1 last;
   rewrite ^/_export/([^/]+)/(.*) /doku.php?do=export_$1&id=$2 last;
   rewrite ^/(.*) /doku.php?id=$1 last;
 }

 location ~ /(data|conf|bin|inc)/ {
   deny all;
 }

 location ~* \.(css|js|gif|jpe?g|png)$ {
   expires 1M;
   add_header Pragma public;
   add_header Cache-Control "public, must-revalidate, proxy-revalidate";
 }

 location ~ \.php$ {
   fastcgi_split_path_info ^(.+\.php)(/.+)$;
   fastcgi_pass unix:/var/run/php-fpm/php-fpm.sock;
   fastcgi_index index.php;
   include fastcgi_params;
   fastcgi_param SCRIPT_FILENAME $document_root$fastcgi_script_name;
   fastcgi_intercept_errors off;
   fastcgi_buffer_size 16k;
   fastcgi_buffers 4 16k;
 }

 location ~ /\.ht {
   deny all;
 }
}
检查 Nginx 配置语法:
$ sudo nginx -t
nginx: the configuration file /etc/nginx/nginx.conf syntax is ok
nginx: configuration file /etc/nginx/nginx.conf test is successful
设置数据目录权限:
sudo chown -R nginx:nginx /var/www/html/如果 SELinux 正确执行配置标签:
sudo yum -y install policycoreutils-python
sudo semanage fcontext -a -t httpd_sys_rw_content_t "/var/www/html(/.*)?"
sudo restorecon -Rvv /var/www/html
访问 DokuWiki 门户网站 http://wiki.mydomain.com
配置 php-fpm 并启动 nginx/php-fpm
现在我们已经配置了 nginx,让我们也配置 php-fpm。打开文件:
sudo vim /etc/php-fpm.d/www.conf根据指定在文件上配置以下参数:
user = nginx
group = nginx
listen = /var/run/php-fpm/php-fpm.sock
listen.owner = nginx
listen.group = nginx
listen.mode = 0660
启动并启用 nginx 和 php-fpm 服务:
sudo systemctl restart php-fpm nginx
sudo systemctl enable php-fpm nginx
检查服务状态并访问 DokuWiki Web 界面 http://wiki.mydomain/install.php
第 7 步:配置 Let's Encrypt SSL(可选)
请求 Let's Encrypt SSL 证书
sudo certbot --nginx -d wiki.mydomain.com示例输出:
Saving debug log to /var/log/letsencrypt/letsencrypt.log
Plugins selected: Authenticator nginx, Installer nginx
Starting new HTTPS connection (1): acme-v02.api.letsencrypt.org
Requesting a certificate for wiki.mydomain.com
Deploying Certificate to VirtualHost /etc/nginx/conf.d/dokuwiki.conf
Redirecting all traffic on port 80 to ssl in /etc/nginx/conf.d/dokuwiki.conf

- - - - - - - - - - - - - - - - - - - - - - - - - - - - - - - - - - - - - - - -
Congratulations! You have successfully enabled https://wiki.mydomain.com
- - - - - - - - - - - - - - - - - - - - - - - - - - - - - - - - - - - - - - - -

IMPORTANT NOTES:
 - Congratulations! Your certificate and chain have been saved at:
   /etc/letsencrypt/live/wiki.mydomain.com/fullchain.pem
   Your key file has been saved at:
   /etc/letsencrypt/live/wiki.mydomain.com/privkey.pem
   Your certificate will expire on 2022-07-01. To obtain a new or
   tweaked version of this certificate in the future, simply run
   certbot again with the "certonly" option. To non-interactively
   renew *all* of your certificates, run "certbot renew"
 - If you like Certbot, please consider supporting our work by:

   Donating to ISRG / Let's Encrypt:   https://letsencrypt.org/donate
   Donating to EFF:                    https://eff.org/donate-le
步骤 8:在 CentOS 7 上配置 DokuWiki
打开链接开始DokuWiki配置:http://wiki.mydomain/install.php,您将看到如下安装页面:
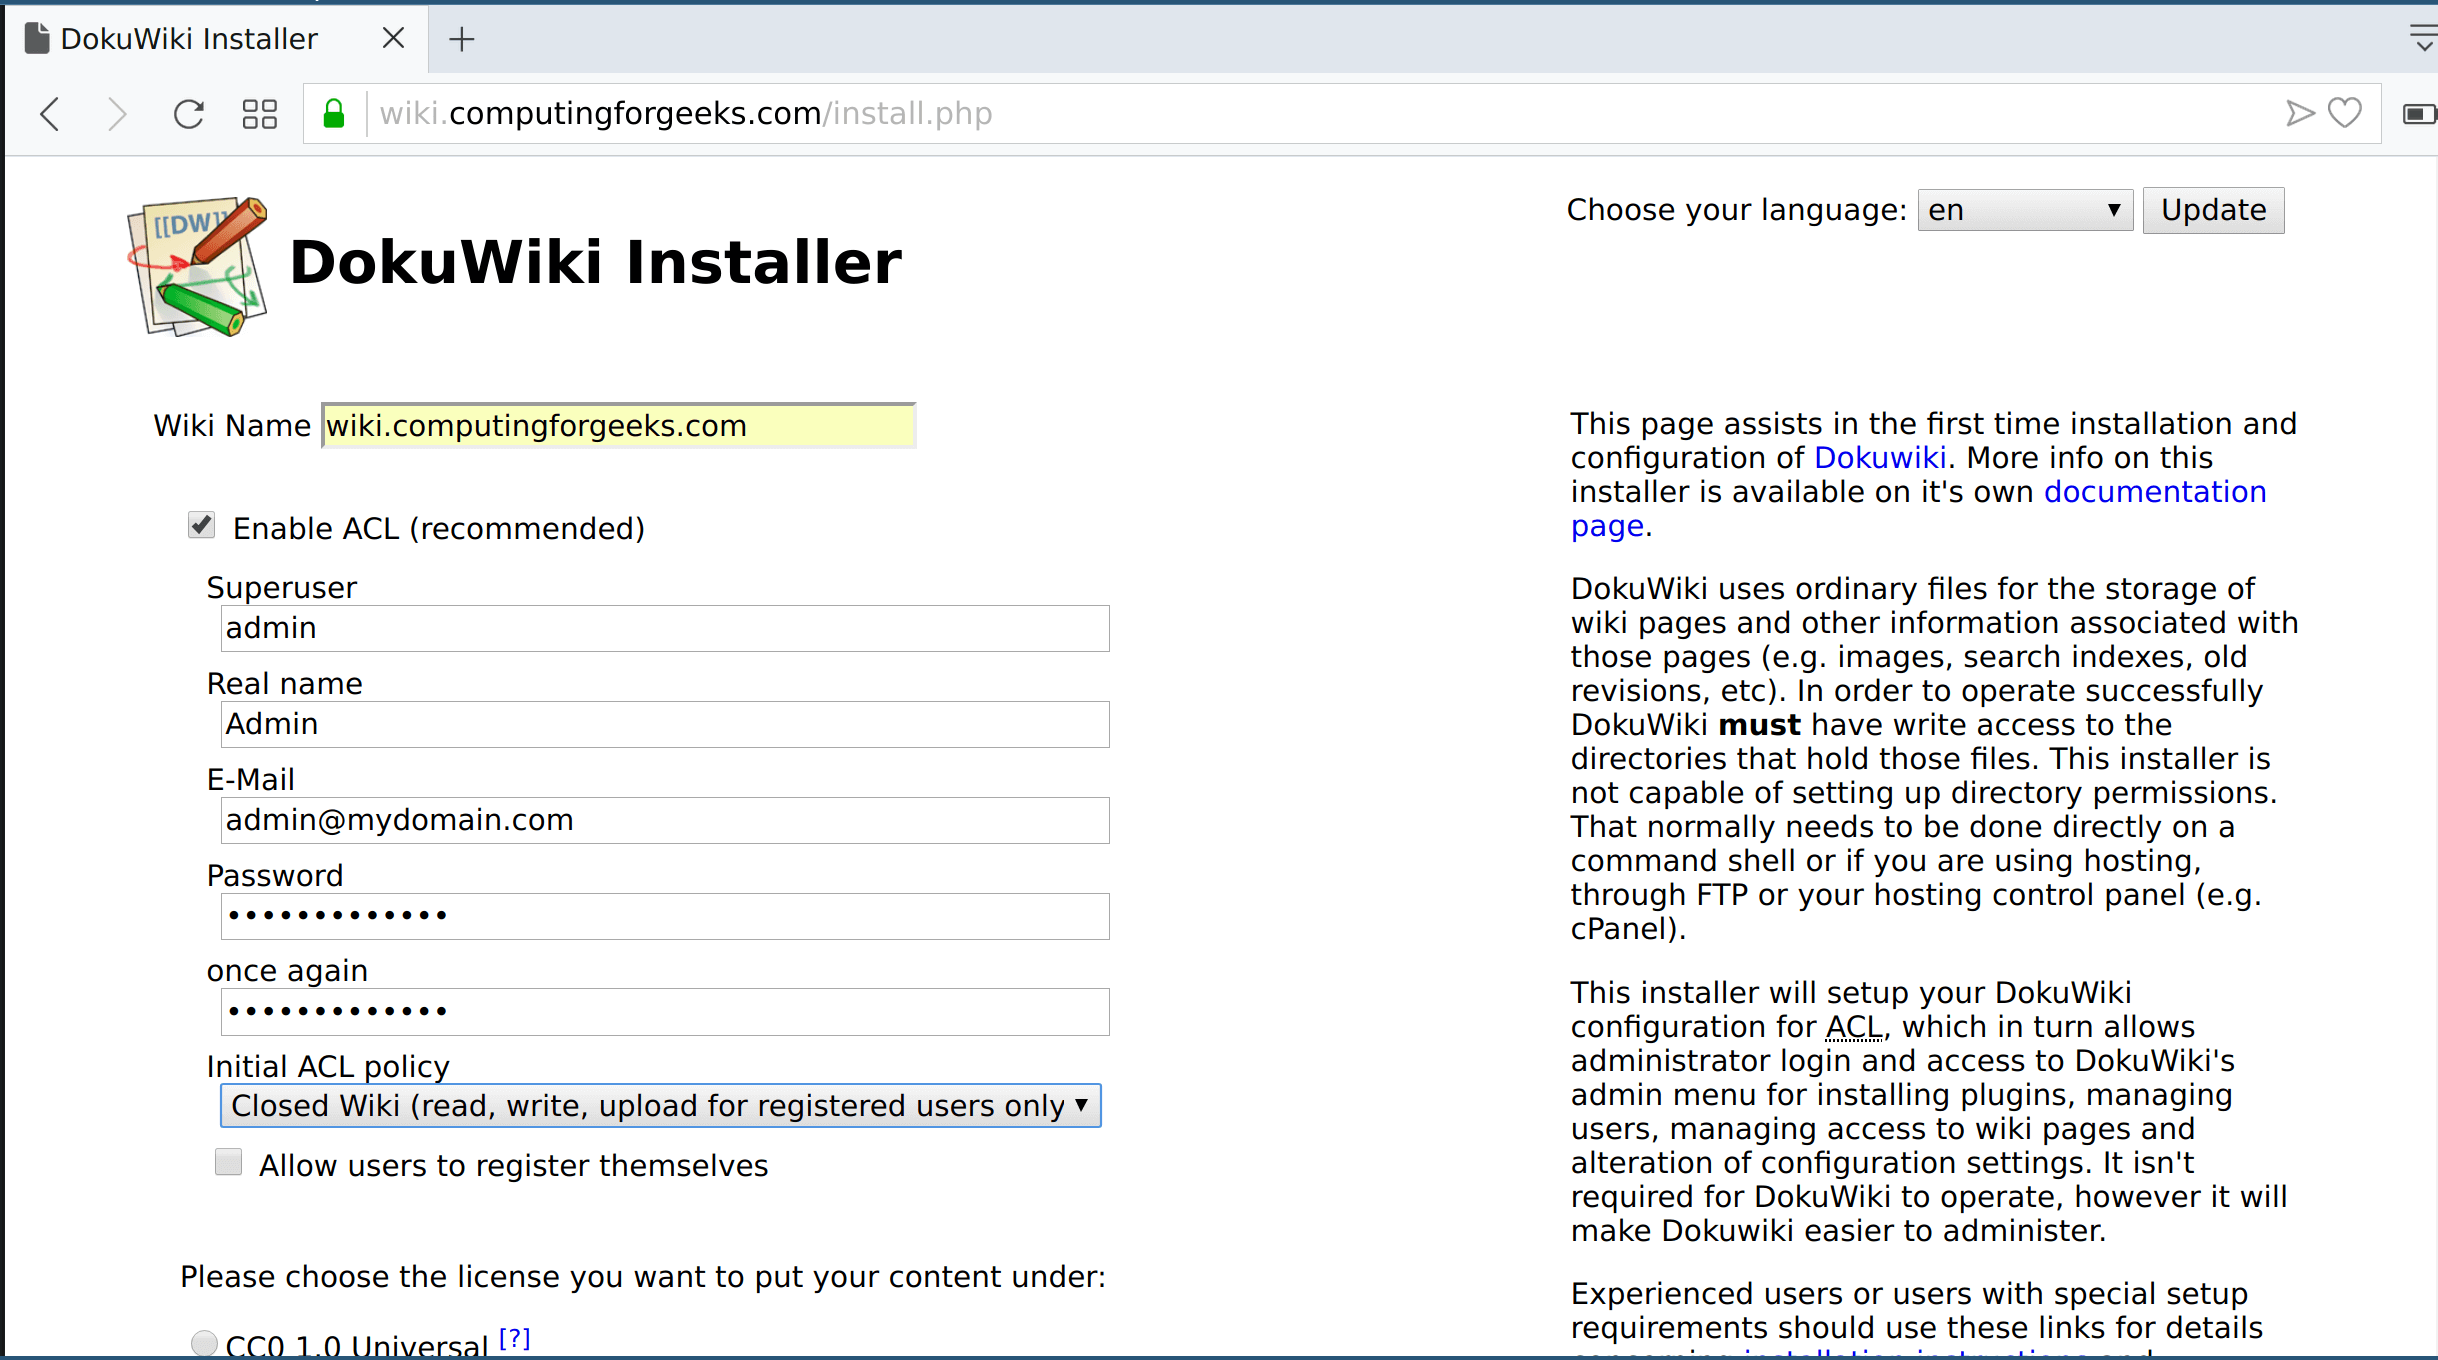
提供管理员用户详细信息,在初始 ACL 政策下从以下选项之一中选择您的政策:
- 开放维基 – 向所有人开放
- 公共维基 – 供所有人阅读,供注册用户上传和编辑
- 封闭式维基 – 仅注册用户可以访问
检查您是否要允许用户自行注册
完成后,点击保存。 wiki 页面现在应该已准备就绪。
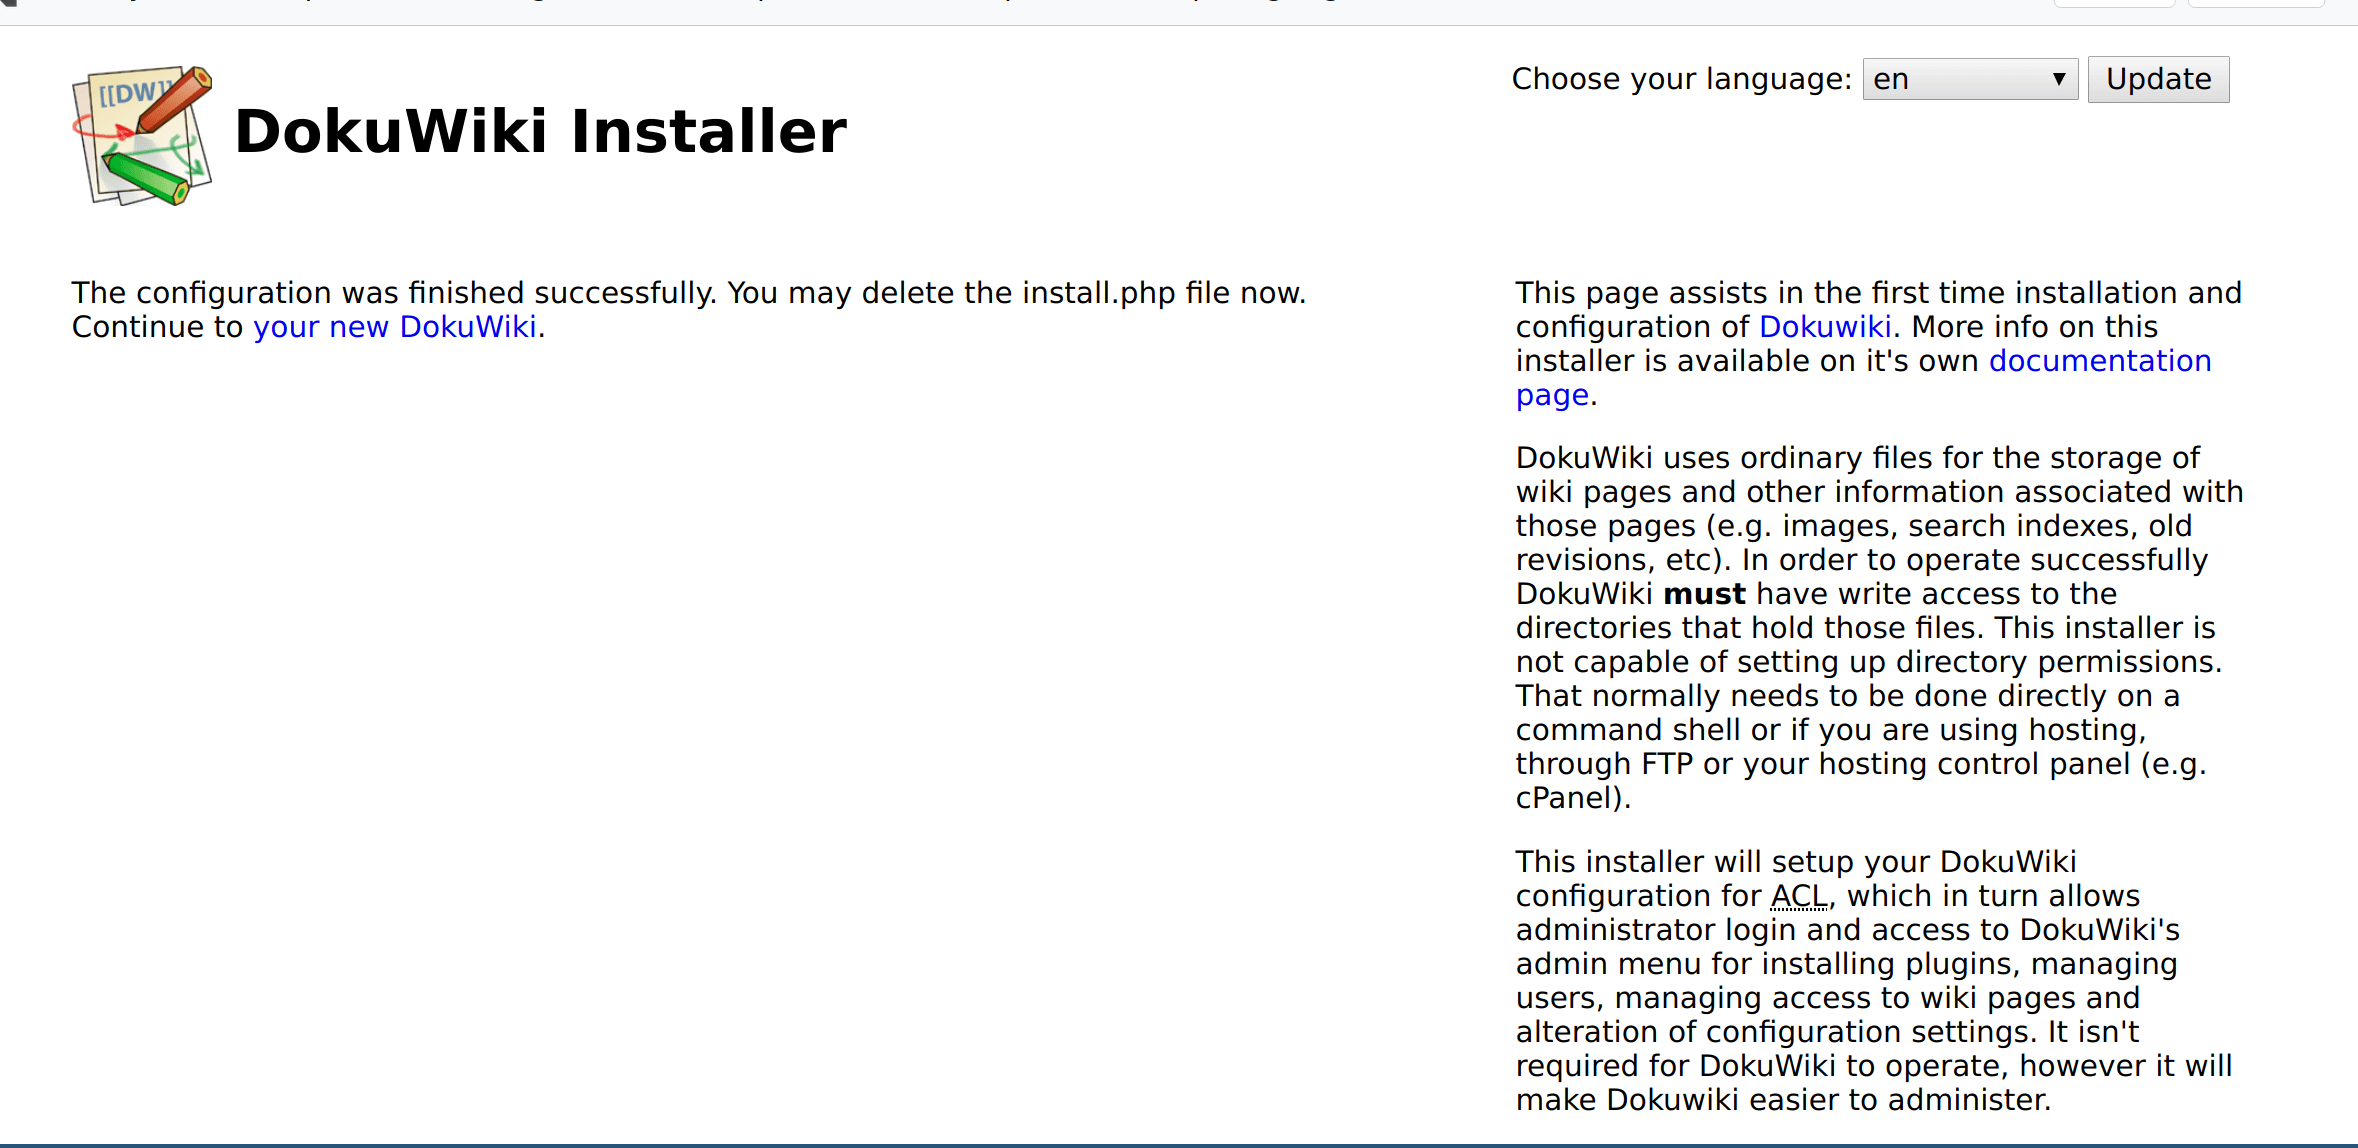
点击“您的新 DokuWiki” 即可访问 DokuWiki 主页。
第 9 步:将用户添加到 DokuWiki
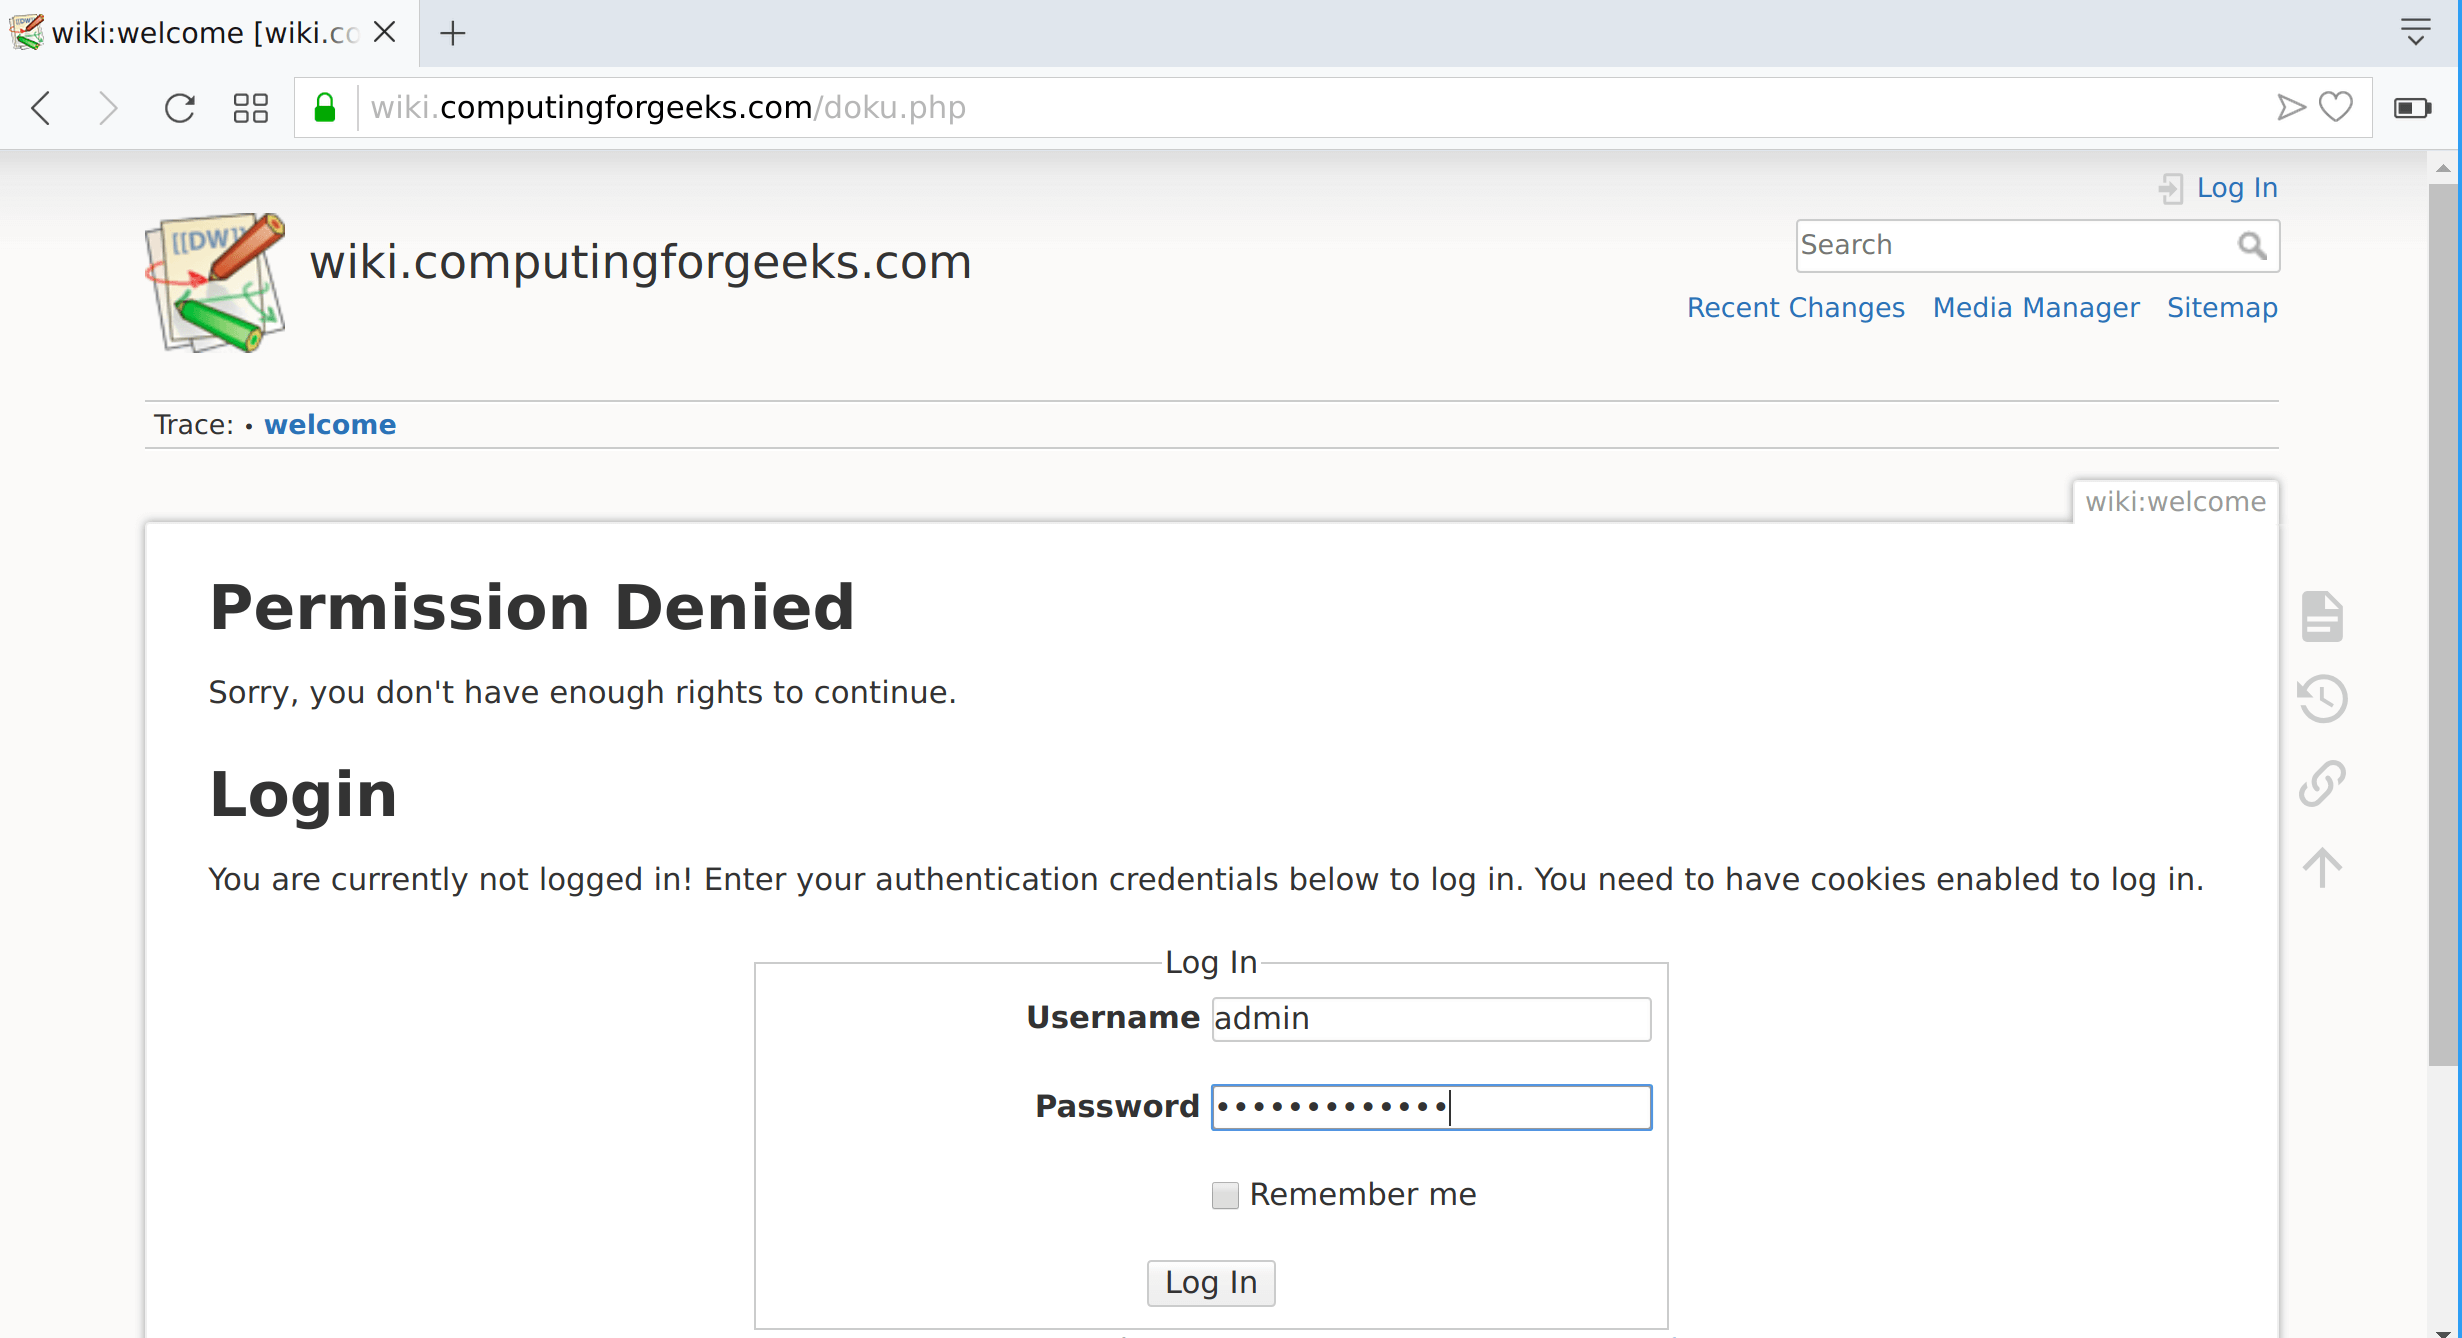
如果您选择了“关闭维基 |公开”作为您的 ACL 策略,您将获得用于编辑的登录页面。使用您之前创建的admin帐户登录,开始向系统添加其他用户:
点击页面顶部的“管理”图标,您将进入管理页面:
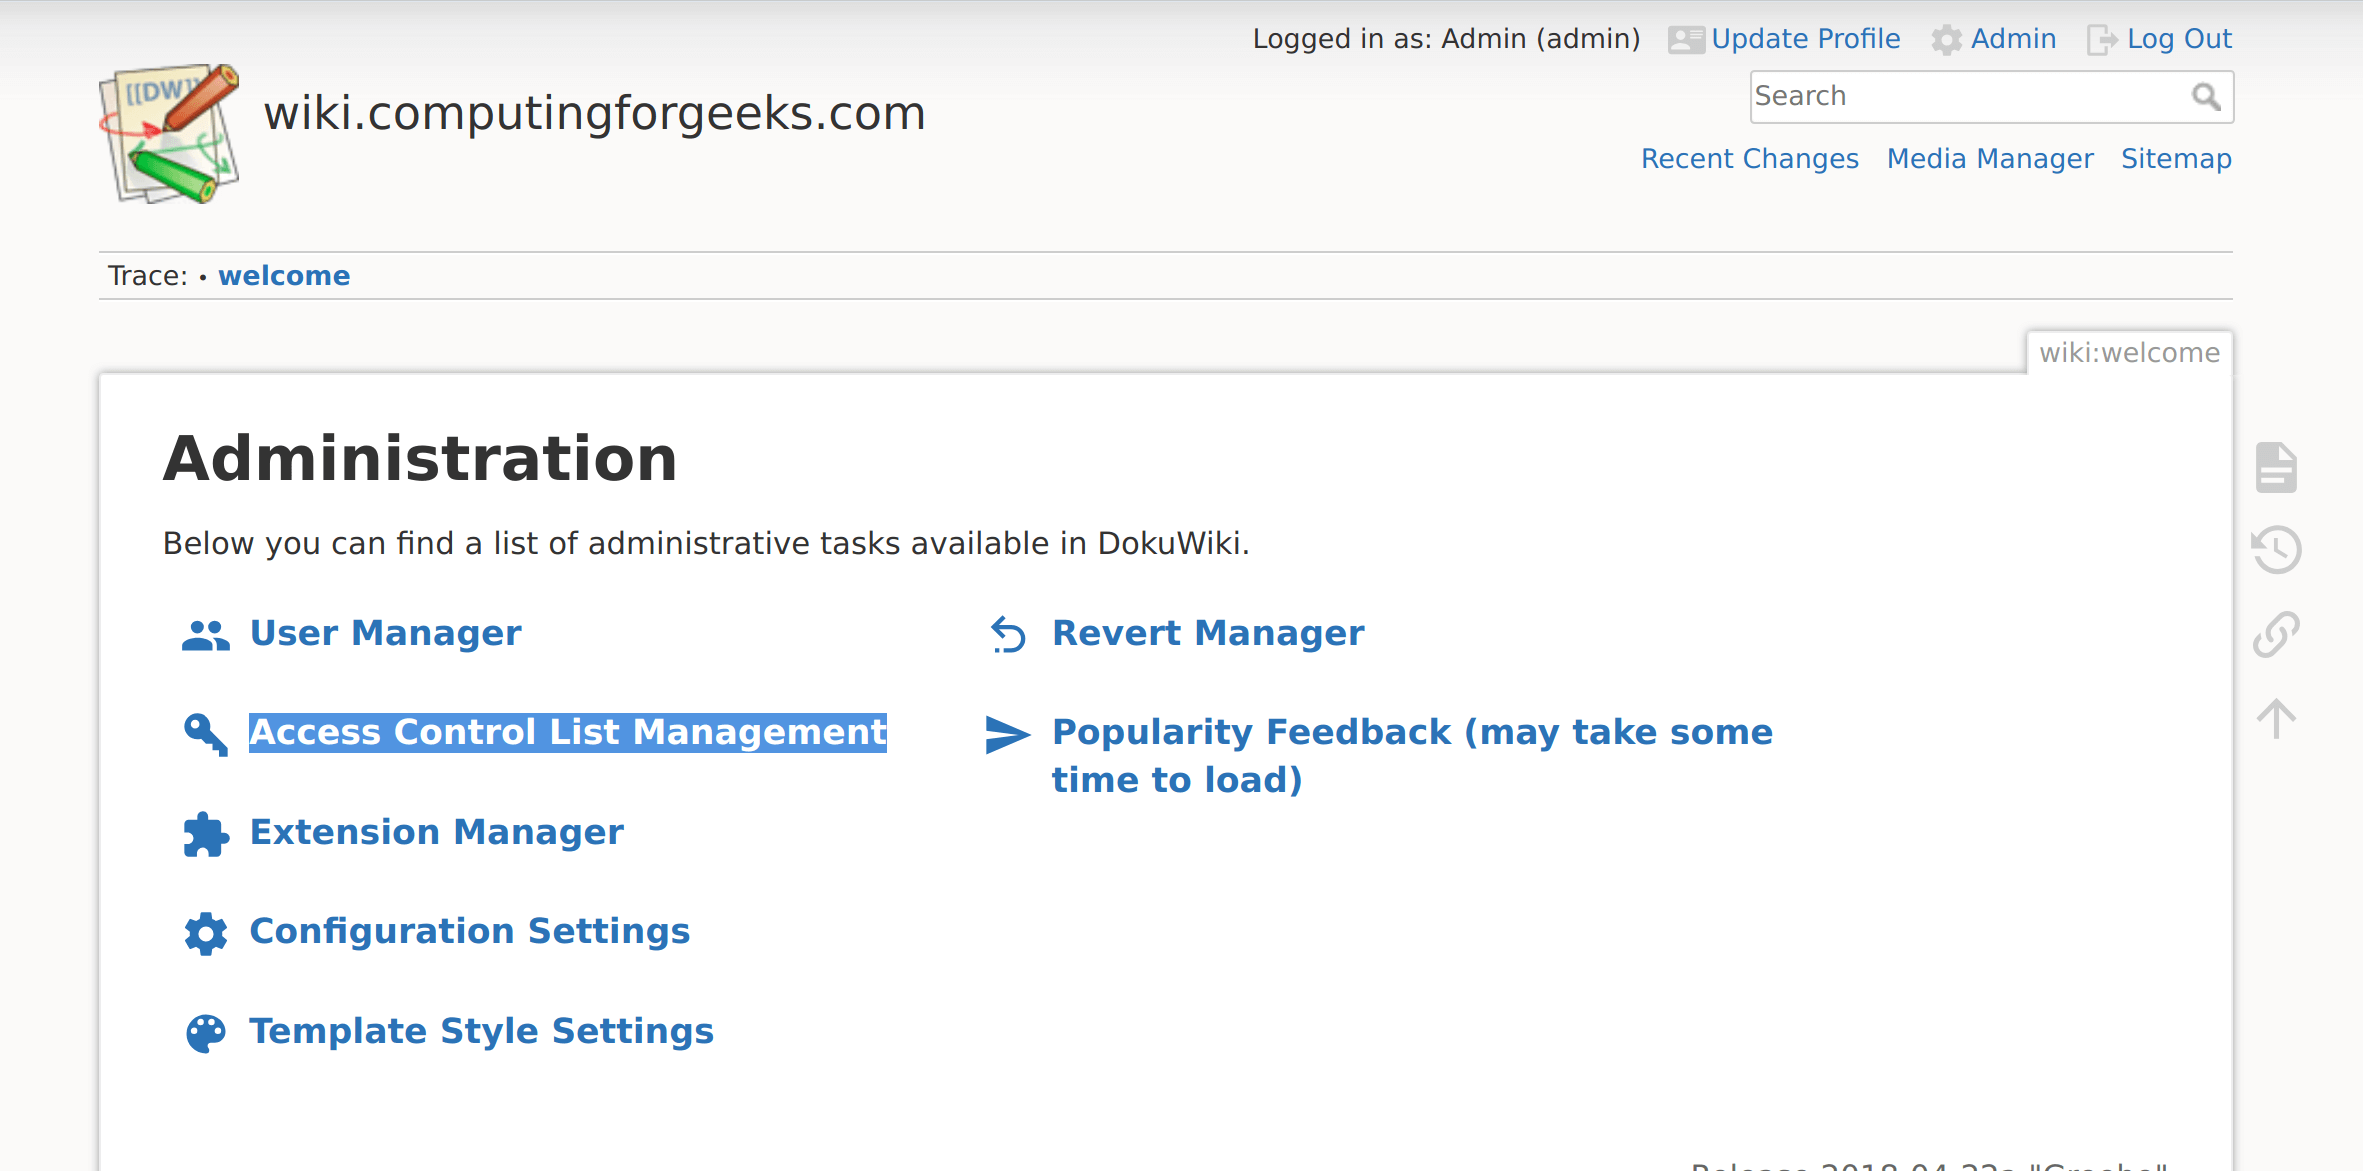
点击“用户管理器”进入添加用户页面:
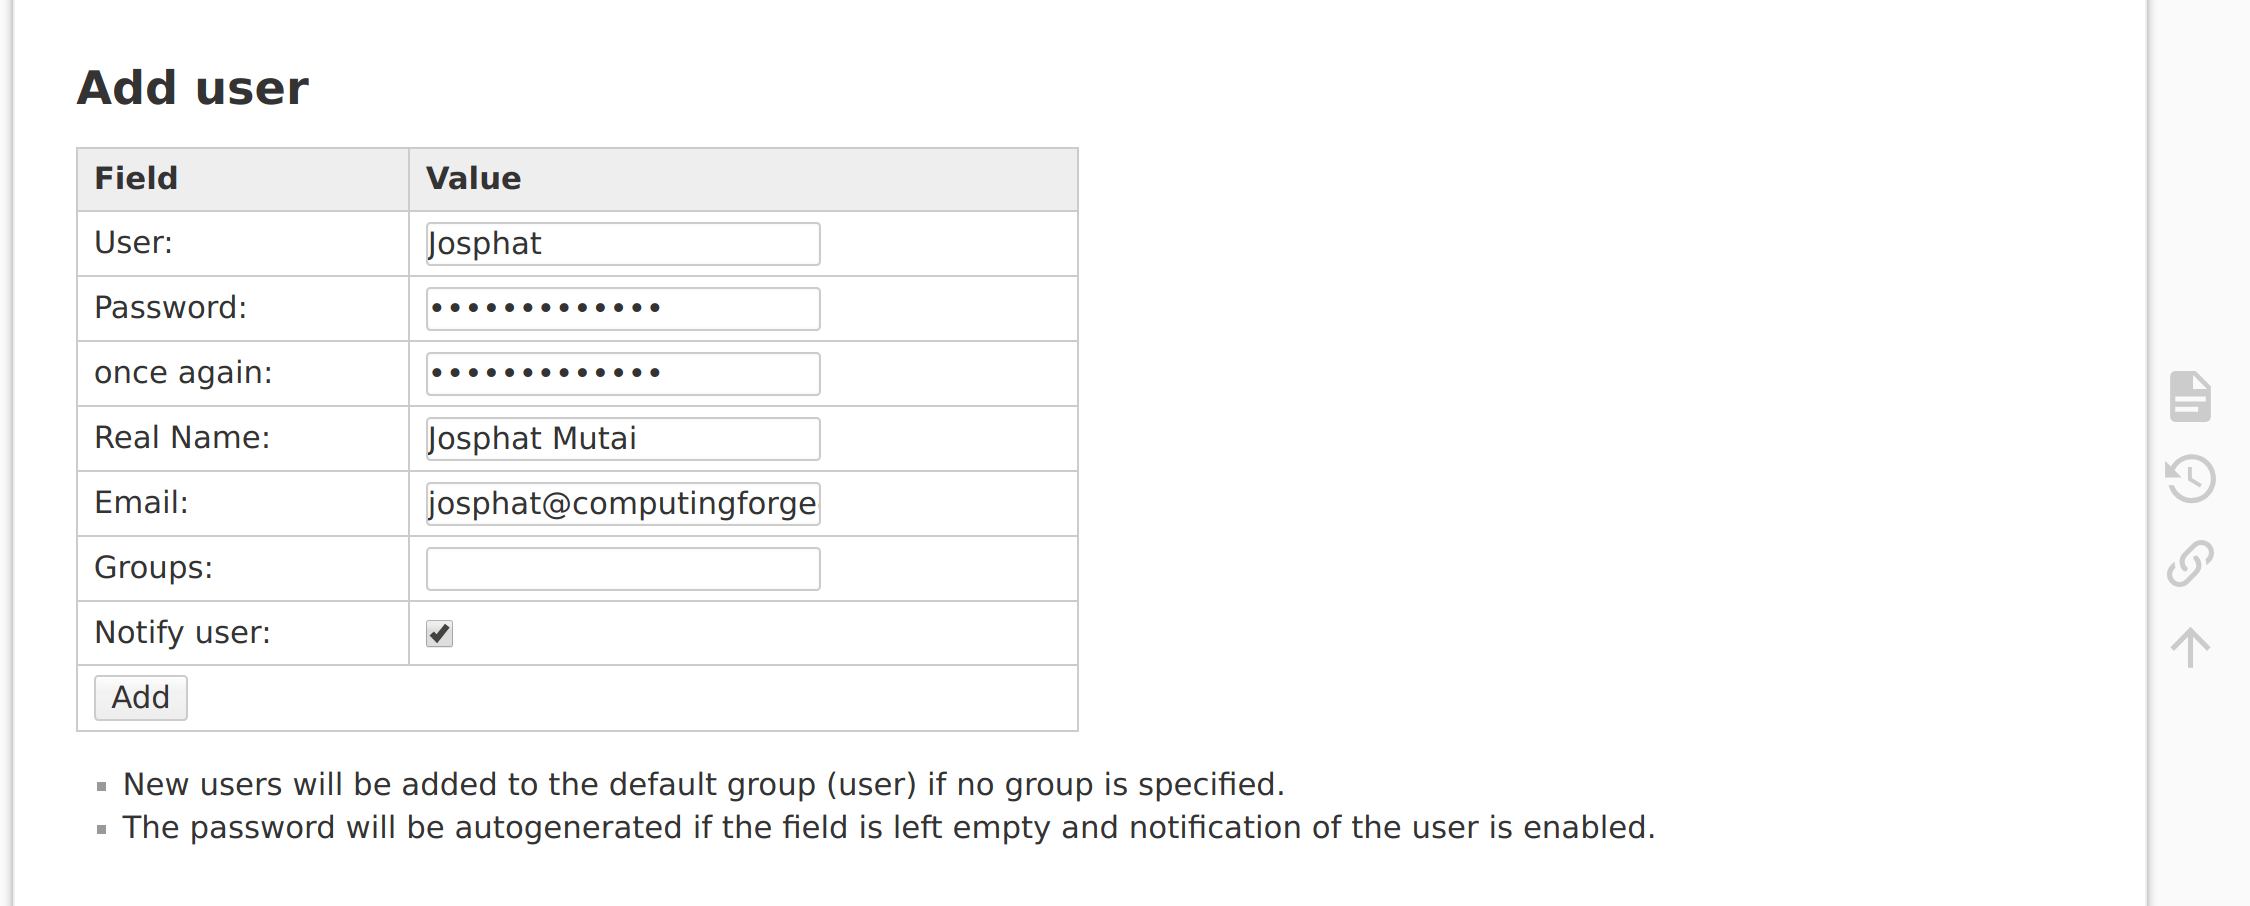
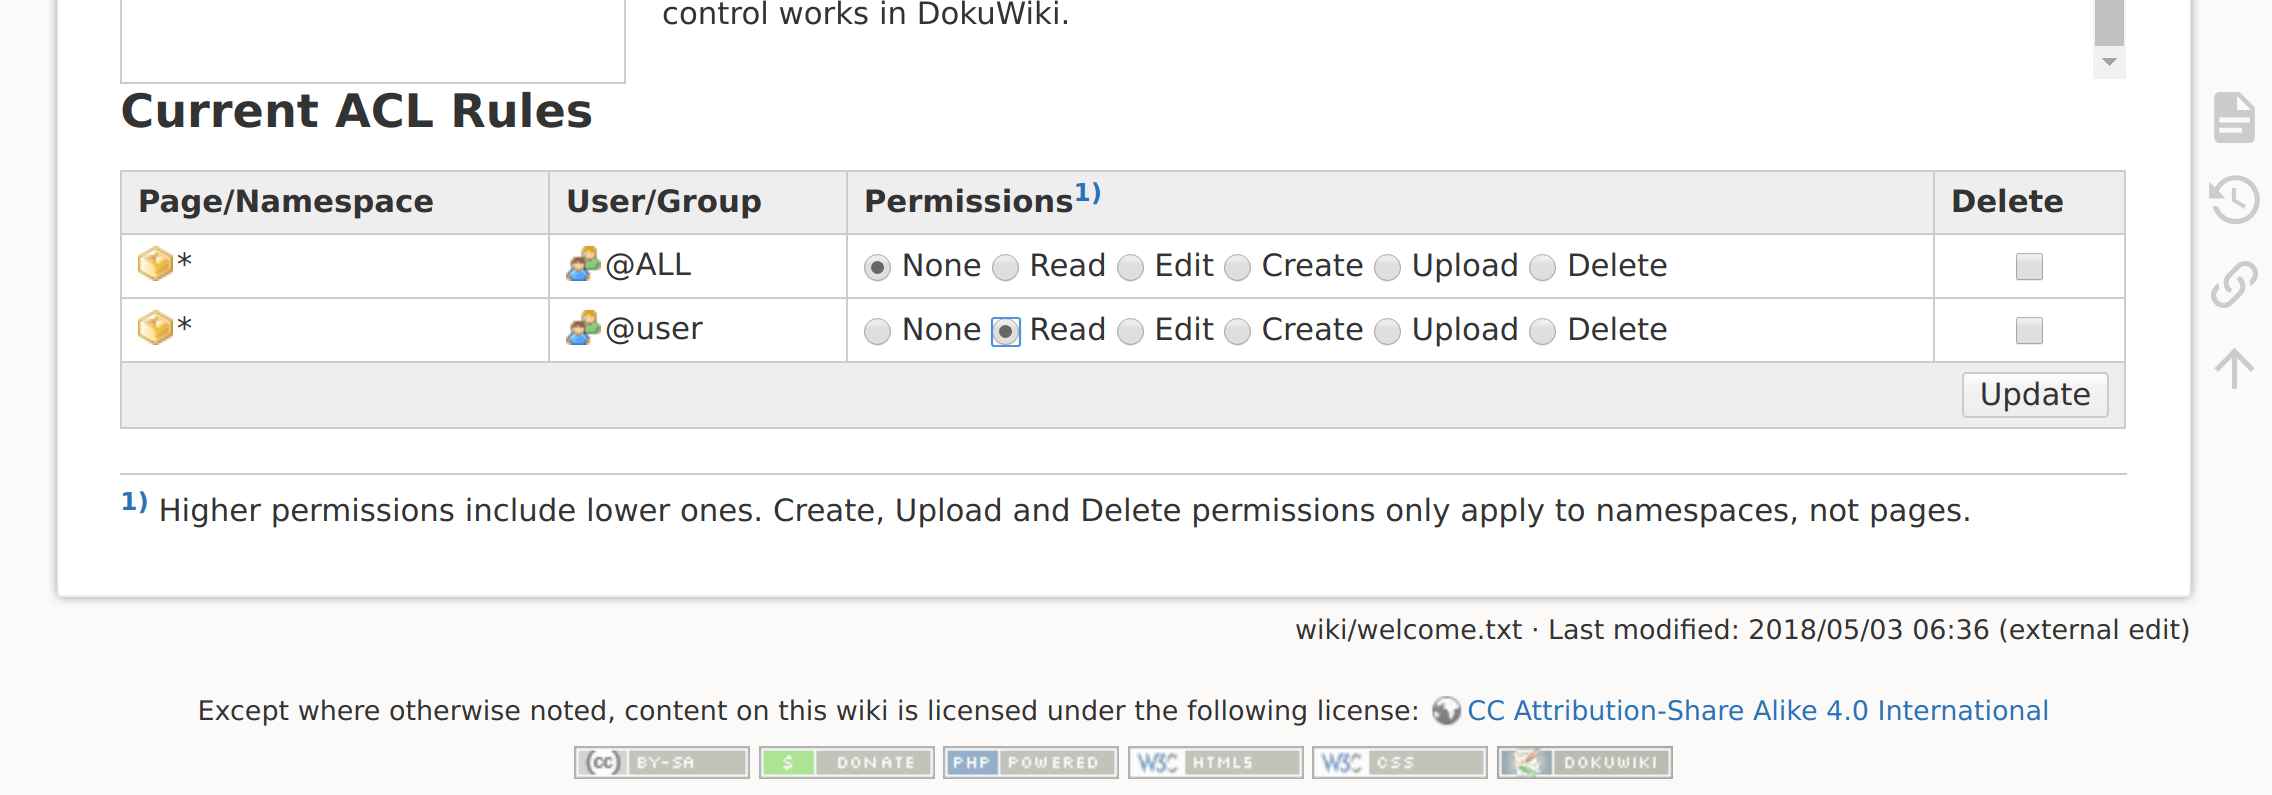
添加用户详细信息并单击“添加”按钮。添加用户后,您可以在“访问控制列表管理”页面分配ACL。
从给定的权限中选择。
相关文章
- 如何在 CentOS 7 上安装和配置 DokuWiki
- 使用 Let's Encrypt SSL 在 Ubuntu 上安装 DokuWiki