如何在 Debian 11 上安装 Django 框架
本教程适用于这些操作系统版本
- Debian 11(Bullseye)
- Debian 10(Buster)
在此页
- 先决条件
- 开始
- 安装 PostgreSQL 数据库服务器
- 创建 Python 虚拟环境
- 安装和配置 Django
- 运行 Django 开发服务器
- 使用 Gunicorn 验证 Django
- 为 Gunicorn 创建一个 Systemd 服务文件
- 将 Nginx 配置为 Django 的反向代理
- 结论
Django 是一个用 Python 编写的免费开源 Web 开发框架。它用于开发复杂的和数据库驱动的 Python 应用程序。它带有一组用于创建 Python 项目的 Python 脚本。它可以在任何可以运行 Python 的操作系统上运行,包括 Windows、macOS、Linux/Unix 和 Solaris。它可以帮助开发人员编写更少的代码并在短时间内创建一个新网站。
在本教程中,我将解释如何在 Debian 11 上使用 PostgreSQL 数据库在 Python 虚拟环境中设置 Django。然后我们将安装和配置 Nginx 作为 Django 的反向代理。
先决条件
- 运行 Debian 11 的服务器。
- 用您的服务器 IP 指向的有效域名。
- 在服务器上配置了根密码。
入门
在开始之前,最好将系统包更新到最新版本。您可以使用以下命令执行此操作:
apt-get update -y更新所有包后,使用以下命令安装其他 Python 工具和 Nginx 包:
apt-get install python3-pip python3-dev libpq-dev curl nginx -y安装所有必需的软件包后,您可以继续下一步。
安装 PostgreSQL 数据库服务器
在这里,我们将使用 PostgreSQL 作为数据库后端。因此,让我们使用以下命令安装它:
apt-get install postgresql postgresql-contrib -y安装 PostgreSQL 后,使用以下命令连接到 PostgreSQL shell:
su - postgres
psql
接下来,使用以下命令为 Django 创建数据库和用户:
CREATE DATABASE django;
CREATE USER django WITH PASSWORD 'password';
接下来,使用以下命令授予一些必需的角色:
ALTER ROLE django SET client_encoding TO 'utf8';
ALTER ROLE django SET default_transaction_isolation TO 'read committed';
ALTER ROLE django SET timezone TO 'UTC';
GRANT ALL PRIVILEGES ON DATABASE django TO django;
接下来,使用以下命令退出 PostgreSQL shell:
\q
exit
此时,PostgreSQL 数据库已为 Django 准备就绪。您现在可以继续下一步。
创建 Python 虚拟环境
接下来,您将需要创建一个 Python 虚拟环境来创建 Django 项目。
首先,使用以下命令将 PIP 包升级到最新版本:
pip3 install --upgrade pip接下来,使用以下命令验证 PIP 版本:
pip --version示例输出:
pip 21.2.4 from /usr/local/lib/python3.9/dist-packages/pip (python 3.9)
接下来,使用以下命令安装虚拟环境包:
pip3 install virtualenv接下来,为Django项目创建一个目录,并创建一个Django虚拟环境:
mkdir ~/djangoapp
cd ~/djangoapp
virtualenv djangoenv
接下来,使用以下命令激活 Django 虚拟环境:
source djangoenv/bin/activate接下来,使用以下命令安装 Django、Gunicorn 和其他包:
pip install django gunicorn psycopg2-binary至此,Python虚拟环境中安装了Django。现在,您可以继续下一步。
安装和配置 Django
Django 提供了 django-admin.py 脚本来创建项目。您可以运行以下命令来创建 Django 项目:
django-admin.py startproject djangoapp ~/djangoapp接下来,您需要编辑 settings.py 并定义您的数据库设置:
nano ~/djangoapp/djangoapp/settings.py使用您的域名更改以下行:
ALLOWED_HOSTS = ['django.example.com', 'localhost']
取消注释默认数据库后端并添加 PostgreSQL 数据库设置:
#DATABASES = {
#    'default': {
#        'ENGINE': 'django.db.backends.sqlite3',
#        'NAME': BASE_DIR / 'db.sqlite3',
#    }
#}

DATABASES = {
    'default': {
        'ENGINE': 'django.db.backends.postgresql_psycopg2',
        'NAME': 'django',
        'USER': 'django',
        'PASSWORD': 'password',
        'HOST': 'localhost',
        'PORT': '',

    }
}
在文件末尾添加以下行:
STATIC_URL = '/static/'
import os
STATIC_ROOT = os.path.join(BASE_DIR, 'static/')
保存并关闭文件,然后将初始数据库架构迁移到 PostgreSQL 数据库:
./manage.py makemigrations
./manage.py migrate
样本输出L:
  Apply all migrations: admin, auth, contenttypes, sessions
Running migrations:
  Applying contenttypes.0001_initial... OK
  Applying auth.0001_initial... OK
  Applying admin.0001_initial... OK
  Applying admin.0002_logentry_remove_auto_add... OK
  Applying admin.0003_logentry_add_action_flag_choices... OK
  Applying contenttypes.0002_remove_content_type_name... OK
  Applying auth.0002_alter_permission_name_max_length... OK
  Applying auth.0003_alter_user_email_max_length... OK
  Applying auth.0004_alter_user_username_opts... OK
  Applying auth.0005_alter_user_last_login_null... OK
  Applying auth.0006_require_contenttypes_0002... OK
  Applying auth.0007_alter_validators_add_error_messages... OK
  Applying auth.0008_alter_user_username_max_length... OK
  Applying auth.0009_alter_user_last_name_max_length... OK
  Applying auth.0010_alter_group_name_max_length... OK
  Applying auth.0011_update_proxy_permissions... OK
  Applying auth.0012_alter_user_first_name_max_length... OK
  Applying sessions.0001_initial... OK
接下来,使用以下命令为 Django 创建一个超级用户帐户:
./manage.py createsuperuser设置您的管理员用户名和密码,如下所示:
Username (leave blank to use 'root'): dadmin
Email address:
Password:
Password (again):
Superuser created successfully.
接下来,将所有静态内容收集到目录中:
./manage.py collectstatic运行 Django 开发服务器
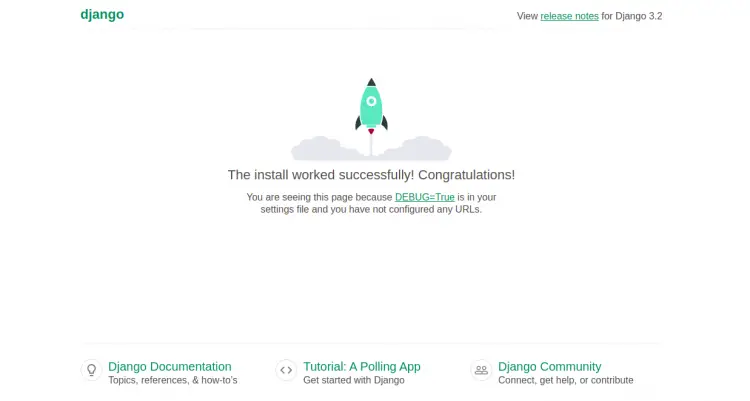
至此,Django 已安装并配置完毕。您现在可以使用以下命令启动 Django 开发服务器:
./manage.py runserver 0.0.0.0:8000如果一切正常,您应该得到以下输出:
Watching for file changes with StatReloader
Performing system checks...

System check identified no issues (0 silenced).
August 27, 2021 - 10:02:05
Django version 3.2.6, using settings 'djangoapp.settings'
Starting development server at http://0.0.0.0:8000/
Quit the server with CONTROL-C.
现在,打开您的 Web 浏览器并使用 URL http://django.example.com:8000/admin/ 访问您的 Django 项目。您将被重定向到 Django 登录页面:
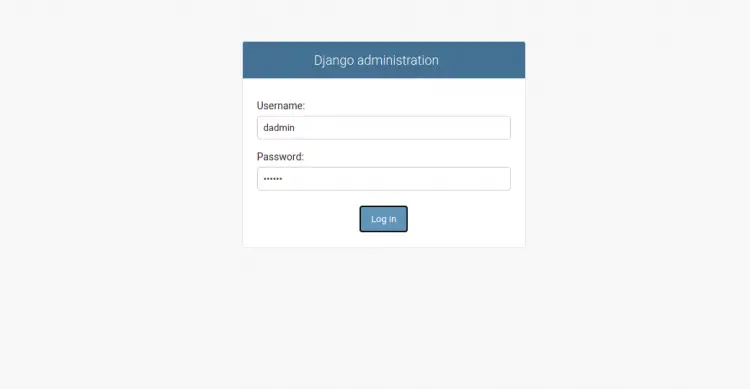
提供您的管理员用户名和密码,然后单击“登录”。您应该在以下页面上看到 Django 仪表板:
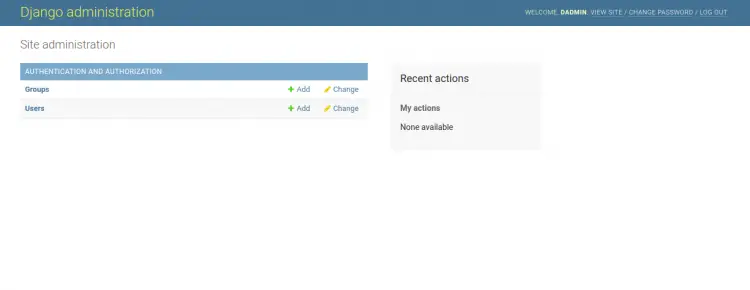
现在,返回您的终端并按 CTRL + C 停止 Django 开发服务器。
使用 Gunicorn 验证 Django
接下来,您还需要测试 Gunicorn 是否可以为 Django 服务。您可以通过以下命令使用 Gunicorn 服务器启动 Django:
gunicorn --bind 0.0.0.0:8000 djangoapp.wsgi如果一切正常,您应该得到以下输出:
[2021-08-27 10:04:22 +0000] [47383] [INFO] Starting gunicorn 20.1.0
[2021-08-27 10:04:22 +0000] [47383] [INFO] Listening at: http://0.0.0.0:8000 (47383)
[2021-08-27 10:04:22 +0000] [47383] [INFO] Using worker: sync
[2021-08-27 10:04:22 +0000] [47384] [INFO] Booting worker with pid: 47384
按 CTRL + C 停止 Gunicorn 服务器。
接下来,使用以下命令从 Python 虚拟环境中停用:
deactivate为 Gunicorn 创建系统服务文件
接下来,您需要为 Gunicorn 创建一个 systemd 服务文件来启动和停止 Django 应用程序服务器。
您可以使用以下命令创建 Gunicorn:
nano /etc/systemd/system/gunicorn.socket添加以下行:
[Unit]
Description=gunicorn socket

[Socket]
ListenStream=/run/gunicorn.sock

[Install]
WantedBy=sockets.target
保存并关闭文件,然后为 Gunicorn 创建一个服务文件:
nano /etc/systemd/system/gunicorn.service添加以下与您的 Django 项目路径匹配的行:
[Unit]
Description=gunicorn daemon
Requires=gunicorn.socket
After=network.target
[Service]
User=root
Group=www-data
WorkingDirectory=/root/djangoapp
ExecStart=/root/djangoapp/djangoenv/bin/gunicorn --access-logfile - --workers 3 --bind unix:/run/gunicorn.sock          djangoapp.wsgi:application

[Install]
WantedBy=multi-user.target
保存并关闭文件,然后为 Django 项目目录设置适当的权限:
chown -R www-data:root ~/djangoapp接下来,使用以下命令重新加载 systemd 守护进程:
systemctl daemon-reload接下来,启动 Gunicorn 服务并使其在系统重启时启动:
systemctl start gunicorn.socket
systemctl enable gunicorn.socket
接下来,使用以下命令检查 Gunicorn 的状态:
systemctl status gunicorn.socket您应该得到以下输出:
? gunicorn.socket - gunicorn socket
     Loaded: loaded (/etc/systemd/system/gunicorn.socket; disabled; vendor preset: enabled)
     Active: active (listening) since Fri 2021-08-27 10:05:46 UTC; 6s ago
   Triggers: ? gunicorn.service
     Listen: /run/gunicorn.sock (Stream)
     CGroup: /system.slice/gunicorn.socket

Aug 27 10:05:46 debian11 systemd[1]: Listening on gunicorn socket.
配置 Nginx 作为 Django 的反向代理
接下来,您需要将 Nginx 配置为反向代理来为 Django 提供服务。
为此,创建一个 Nginx 配置文件:
nano /etc/nginx/conf.d/django.conf添加以下行:
server {
     listen 80;
     server_name django.example.com;
    location = /favicon.ico { access_log off; log_not_found off; }


    location /static/ {
         root /root/djangoapp;
     }

    location / {
         include proxy_params;
         proxy_pass http://unix:/run/gunicorn.sock;
     }
}
保存并关闭文件,然后验证 Nginx 是否存在任何配置错误:
nginx -tOutput:nginx: the configuration file /etc/nginx/nginx.conf syntax is ok
nginx: configuration file /etc/nginx/nginx.conf test is successful
最后,重新启动 Nginx 服务以应用更改:
systemctl restart nginx要检查 Nginx 的状态,请运行:
systemctl status nginx示例输出:
? nginx.service - A high performance web server and a reverse proxy server
     Loaded: loaded (/lib/systemd/system/nginx.service; enabled; vendor preset: enabled)
     Active: active (running) since Fri 2021-08-27 10:06:59 UTC; 6s ago
       Docs: man:nginx(8)
    Process: 47494 ExecStartPre=/usr/sbin/nginx -t -q -g daemon on; master_process on; (code=exited, status=0/SUCCESS)
    Process: 47495 ExecStart=/usr/sbin/nginx -g daemon on; master_process on; (code=exited, status=0/SUCCESS)
   Main PID: 47496 (nginx)
      Tasks: 2 (limit: 2341)
     Memory: 2.5M
        CPU: 49ms
     CGroup: /system.slice/nginx.service
             ??47496 nginx: master process /usr/sbin/nginx -g daemon on; master_process on;
             ??47497 nginx: worker process

Aug 27 10:06:59 debian11 systemd[1]: Starting A high performance web server and a reverse proxy server...
Aug 27 10:06:59 debian11 systemd[1]: nginx.service: Failed to parse PID from file /run/nginx.pid: Invalid argument
Aug 27 10:06:59 debian11 systemd[1]: Started A high performance web server and a reverse proxy server.
现在,您可以使用 URL http://django.example.com/admin 访问 Django 应用程序。您还可以使用 URL http://django.example.com/ 访问 Django 应用程序。
结论
恭喜!您已经成功安装了一个使用 Gunicorn 和 Nginx 作为反向代理的 Django 应用程序。您现在可以开始使用 Django 框架部署您的 Python 应用程序。